Selenium WebDriver is an automation tool widely popular and is useful to run tests against multiple browsers like Google Chrome browser, Firefox Browser, Internet Explorer, etc. This type of testing done on different browsers is usually known as Cross-Browser Testing. So if we want to launch any of these browsers' drivers for testing, we have to set the corresponding executable path explicitly. After that, we instantiate the appropriate driver instance and go ahead with the code we want to execute. These steps become cumbersome as we need to carry them out every time the versions change. Hence we use the "WebDriverManager" class in Selenium.
Using WebDriverManager, we can download the binary file (or .exe files) of the driver for automation testing. In this article, we will discuss the significance of WebDriverManager in automation and also how to use it in Selenium for automation testing by covering the details under the following topics:
- What is the traditional way of instantiating browsers in Selenium?
- Why is WebDriverManager needed?
- How to instantiate a browser using WebDriverManager in Selenium?
- How To add WebDriverManager to a Selenium project?
- What are the different capabilities of WebDriverManager in Selenium?
- How to instantiate a specific browser version?
- How to instantiate a platform version (x32 or x64) using?
- And how to set a proxy username and password?
What is the traditional way of instantiating browsers in Selenium?
We know that to execute Selenium automation scripts on browsers like chrome or firefox, we must download the binary files of these drivers like chromedriver and geckodriver, etc. After this, we need to set the path to these binaries in the automation script or add the classpath location.
So if you want to execute Selenium WebDriver automation scripts on the Chrome browser, then you need first to download chromedriver.exe and then use the System.setProperty method to set its path as follows:
System.setProperty("webdriver.chrome.driver", "/absolute/path/to/binary/chromedriver");
Similarly, for the Firefox browser, we will repeat the above command with geckodriver.exe. as follows:
System.setProperty("webdriver.gecko.driver", "/absolute/path/to/binary/geckodriver");
If we fail to define this path or if we provide the wrong path, then the script raises an error, as shown below.

The above console window shows the error when we do not set the path to the driver.
The above downloading process and setting the file path repeats for each driver instance we are using to execute automation scripts. And if we want to run the scripts on different operating systems(say Windows, macOS, and Linux), then the entire process of downloading driver binaries and the setting path becomes more monotonous. Also, the hard work doesn't stop here. When new binaries or new browser versions are released, we will have to check the compatibility for each executable once again and then repeat the process if there are compatibility issues.
In a nutshell, this process of manually downloading the executables, setting their path in scripts, and then executing the scripts is time-consuming and inefficient. In the latest versions, Selenium provides us with a "WebDriverManager" class that automates this process for us to concentrate on Selenium scripts rather than on browser settings.
Next, let us get acquainted with WebDriverManager class.
Why is WebDriverManager needed?
WebDriverManager in Selenium, as mentioned above, is a class that allows us to download and set the browser driver binaries without us, as developers, having to put them in automation scripts manually.
So a WebDriverManager class in Selenium:
- automates the management of WebDriver binaries.
- downloads the appropriate driver binaries, if not already present, into the local cache.
- downloads the latest version of the browser binary, unless otherwise specified.
- Eliminates the need to store driver binaries locally. We also need not maintain various versions of the binary driver files for different browsers.
How to instantiate a browser using WebDriverManager in Selenium?
But how do we set the browser using this class? To do this, we use WebDriverManager class code. It is as shown below in place of the "System.setProperty()" call.
WebDriverManager.chromedriver().setup();
It will set the Chrome browser in the automation script.
The next step is to set the browser binaries. WebDriverManager has an automated way to download browser executables(exes) or binaries. It supports different browsers like Chrome, Firefox, Microsoft Edge, Internet Explorer, Opera, or PhantomJS.
Consider the following lines of code:
WebDriverManager.chromedriver().setup();
driver = new ChromeDriver();
The first line performs the following functions:
- WebDriverManager.chromedriver().setup: checks for the latest version of the specified WebDriver binary. If the binaries are not present on the machine, then it will download the WebDriver binaries. Next, it instantiates the Selenium WebDriver instance with the ChromeDriver.
Using the WebDriverManager in Selenium test cases, it needs to include in the Selenium test project. Let's see how we can download and use the WebDriverManager in a Selenium project:
How To add WebDriverManager to a Selenium project?
To add WebDriverManager to the Selenium project, we have to follow the steps below:
- Download the latest version of WebDriverManager, as highlighted below (or any version as per project requirement) from here.
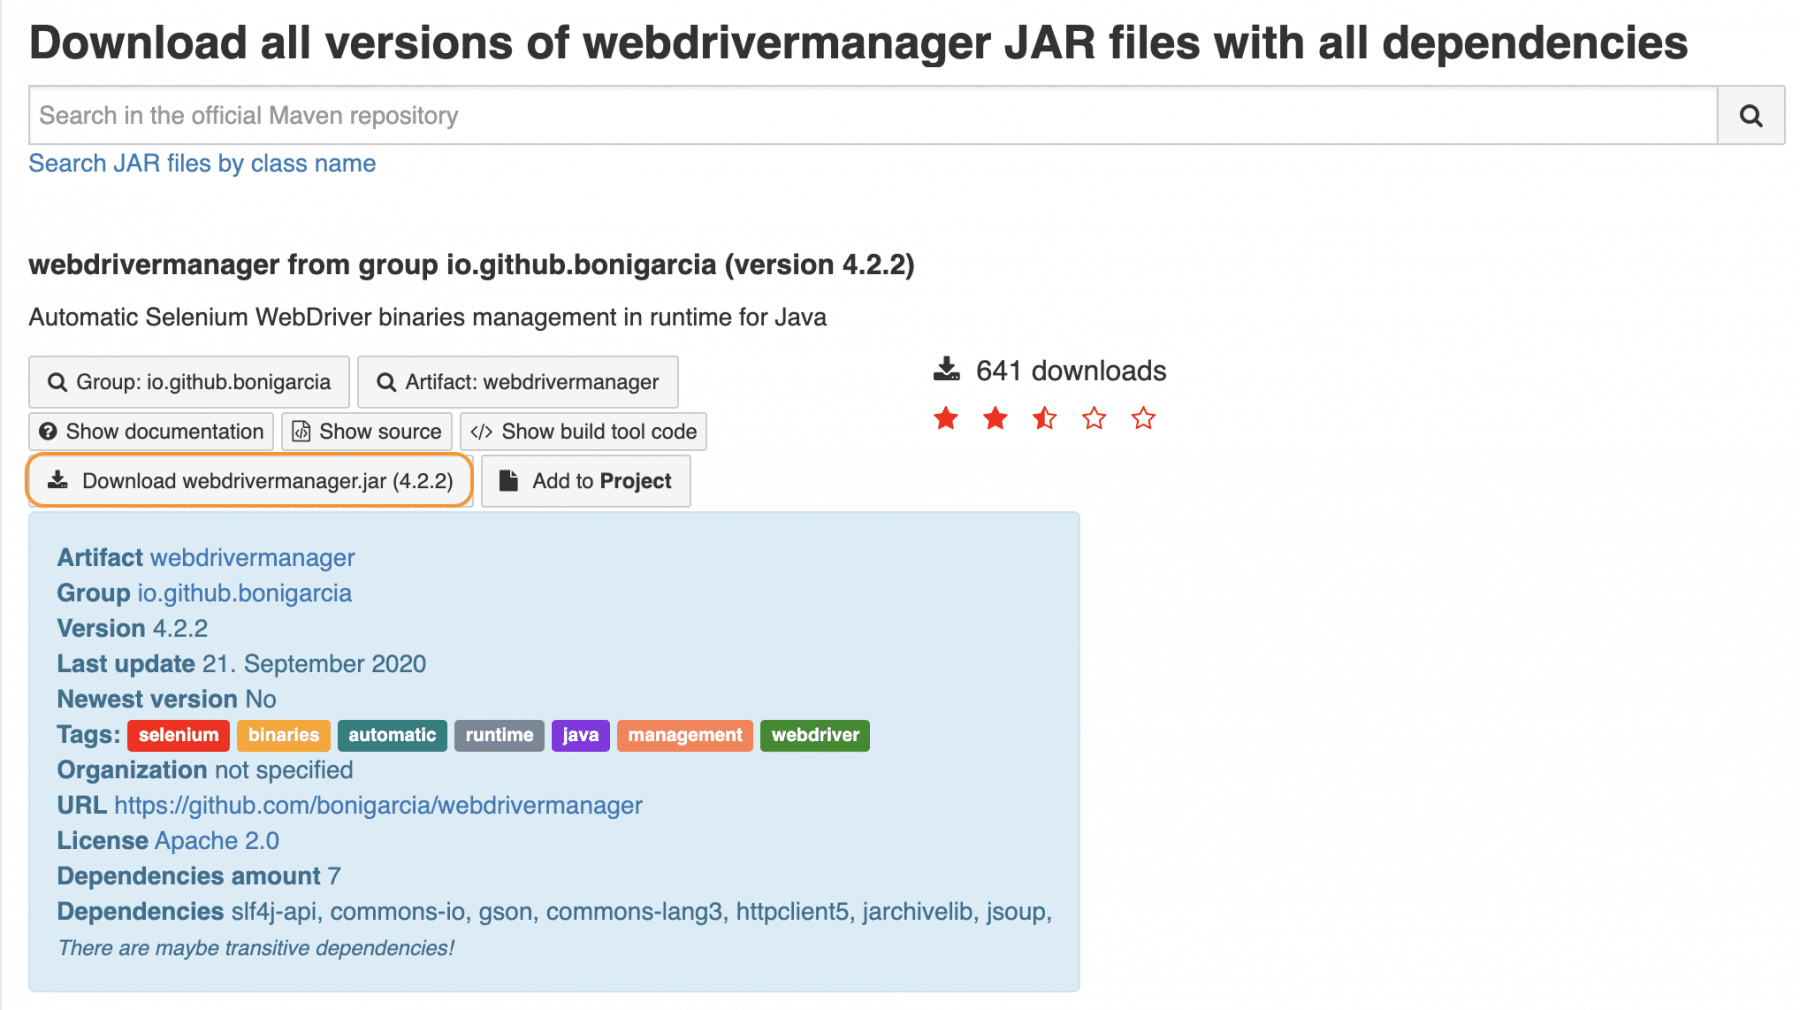
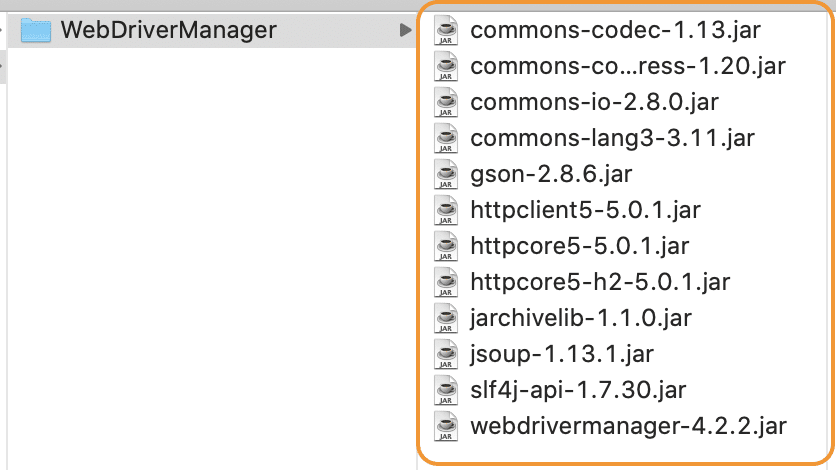
- It will download a zip file. Now extract the jar/zip file. It will show various jar under the folder, as shown below:
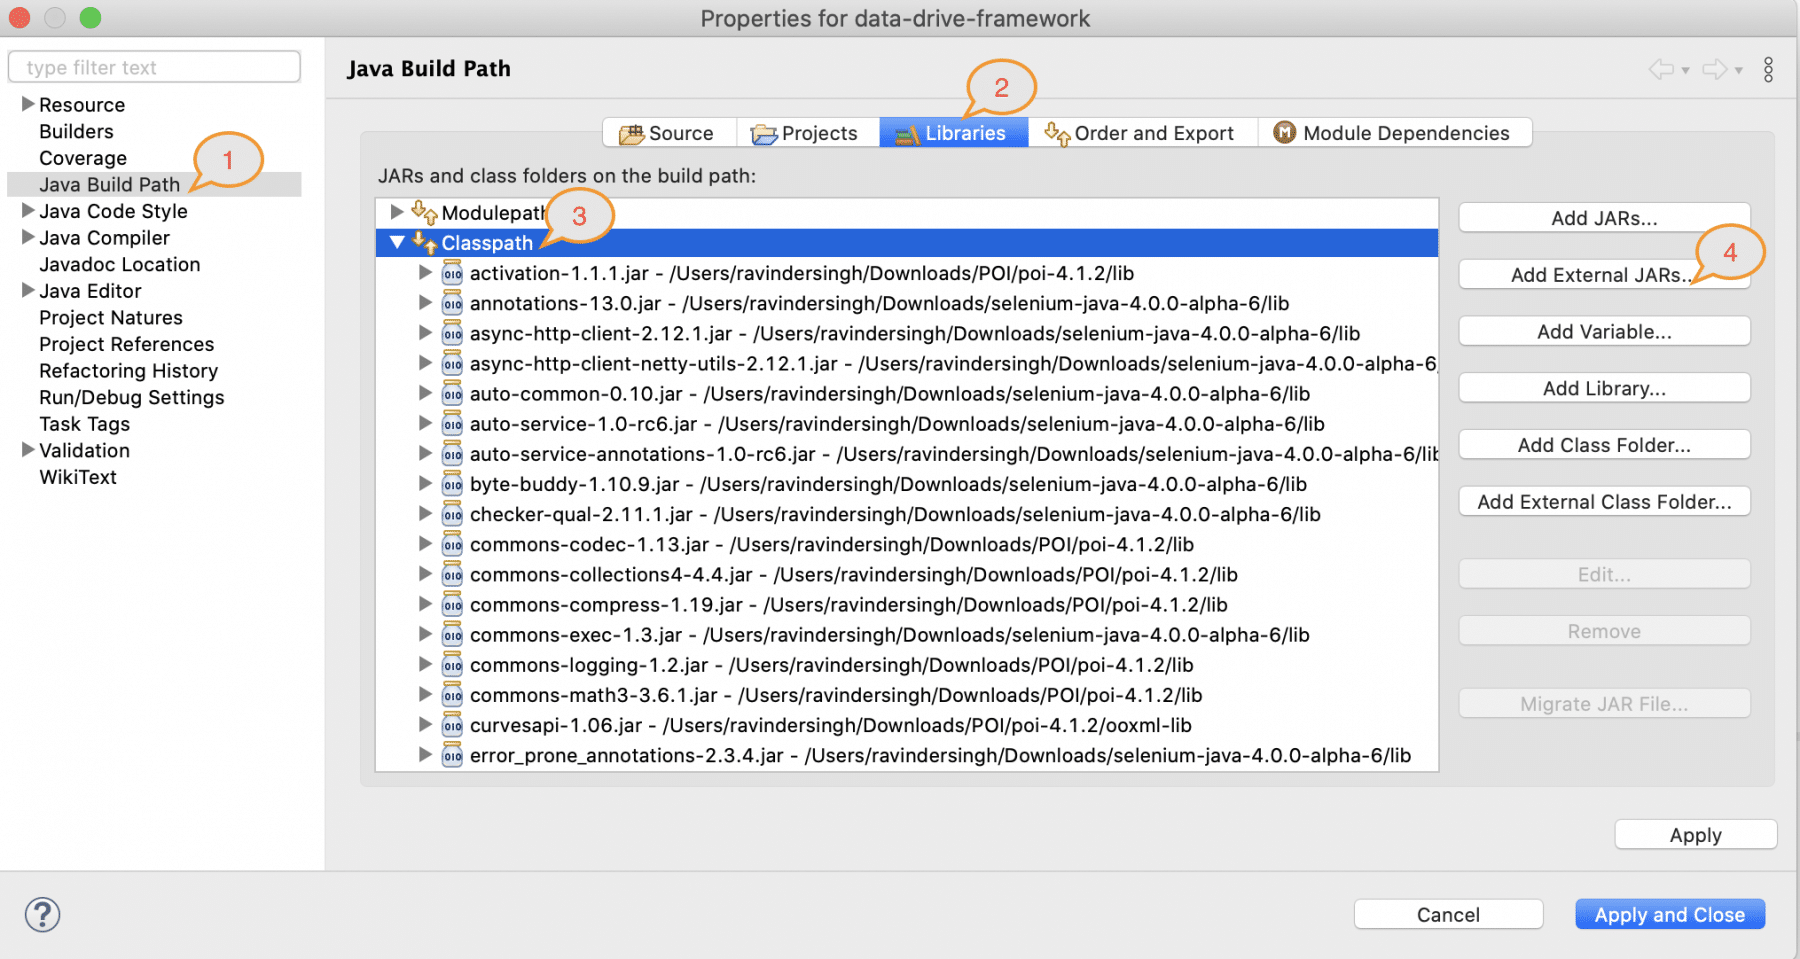
- Once we extract the zip file, we have to reference these jar files in our project. For this, navigate to project properties and click Build Path-> Configure Build Path in Eclipse

- Click "Add External Jars" as per the steps highlighted below to include all the WebDriverManager jars extracted.
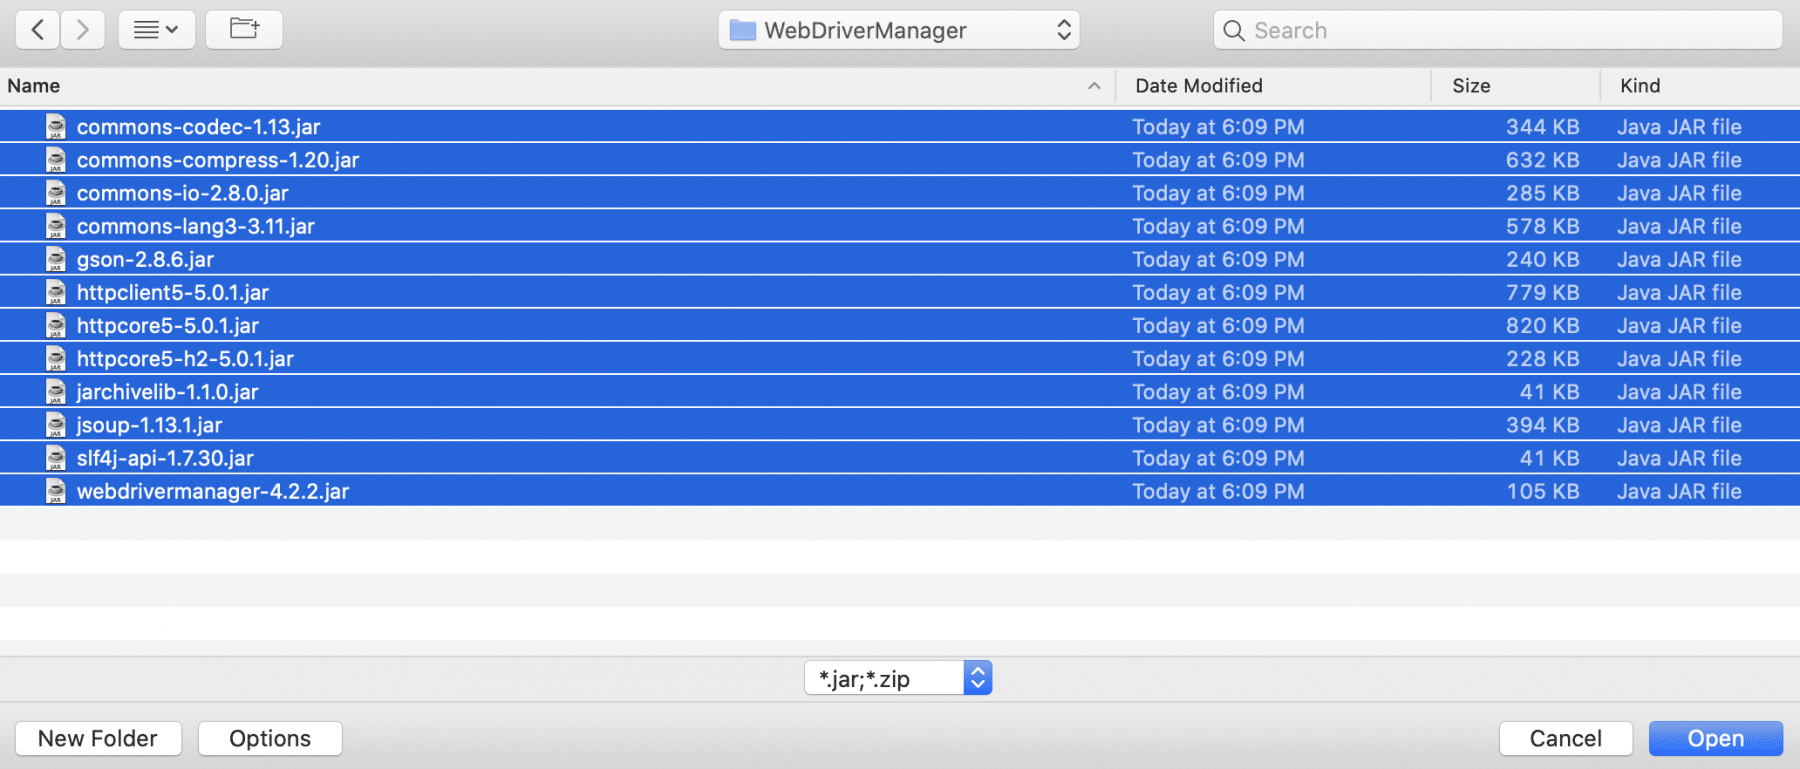
- After clicking on the "Add External JARs", selected all the extracted JARs, as shown below:
- When this finishes, the project references show these referenced jars in the project explorer as highlighted below, and they are ready to be consumed in the Selenium test scripts.

Once these jars appear in our project references, as shown above, we are ready to use WebDriverManager in our programs.
The below code snippet shows a quick usage of WebDriverManager:
import org.openqa.selenium.WebDriver;
import org.openqa.selenium.chrome.ChromeDriver;
import org.openqa.selenium.chrome.ChromeOptions;
import io.github.bonigarcia.wdm.WebDriverManager;

public class WebDriverManagerDemo {

	public static void main(String[] args) {
		ChromeOptions chromeOptions = new ChromeOptions();
		WebDriverManager.chromedriver().setup();
		WebDriver driver = new ChromeDriver(chromeOptions);

		// Navigate to the demoqa website
		driver.get("https://www.demoqa.com");

		driver.quit();

	}

}
- In the above program, we include the WebDriverManager class in our program using the "import" statement.
- Then we create a WebDriverManager instance with WebDriveManager.chromedriver.setup() in our program
- We then create a driver instance of Google Chrome and open a site "www.demoqa.com".
- So when we execute the above program, the expected output is the URL "https://www.demoqa.com" will open in a new Chrome browser instance.
Note: We can also include WebDriverManager in Maven or Gradle project as a dependency. Then these IDEs download the latest version of WebDriverManager if it is not already present in the cache.
The below figure shows all the supported browsers which can be managed and automated using WebDriverManager class in Selenium:
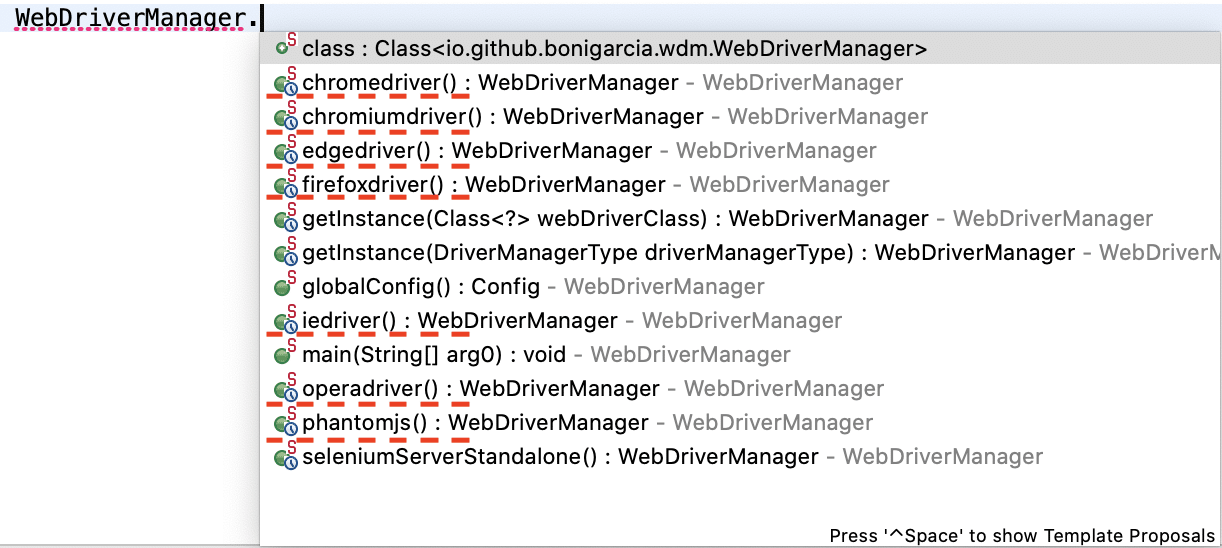
As seen from the above screenshot, we can use WebDriverManager class to set any of the following browsers.
WebDriverManager.chromedriver().setup();

WebDriverManager.firefoxdriver().setup();

WebDriverManager.iedriver().setup();

WebDriverManager.edgedriver().setup();

WebDriverManager.operadriver().setup();

WebDriverManager.phantomjs().setup();
What are the different capabilities of WebDriverManager in Selenium?
Apart from setting up an appropriate browser for the automation scripts, WebDriverManager also possesses various capabilities, as listed below.
How to instantiate a specific browser version?
If we wish to use a specific version of the browser instead of the latest version, we can do so using the WebDriverManager.
For example, the latest chromedriver version is 87.0 (released on 15/10/2020). But if we want an earlier version, say, Chromedriver version 85.0, we have to add the following code.
WebDriverManager.chromedriver().driverVersion("85.0.4183.38").setup();
Because of the above line of code, we will use ChromeDriver version 85.0.0 instead of the latest 87.0.0.
A sample code to set the chromedriver version to '85.0.4183.38' is as below:
import org.openqa.selenium.WebDriver;
import org.openqa.selenium.chrome.ChromeDriver;
import org.openqa.selenium.chrome.ChromeOptions;
import io.github.bonigarcia.wdm.WebDriverManager;

public class WebDriverManagerDemo {

	public static void main(String[] args) {
		ChromeOptions chromeOptions = new ChromeOptions();
		WebDriverManager.chromedriver().driverVersion("85.0.4183.38").setup();
		WebDriver driver = new ChromeDriver(chromeOptions);

		// Navigate to the demoqa website
		driver.get("https://www.demoqa.com");

		driver.quit();

	}

}
The program gives the following output.
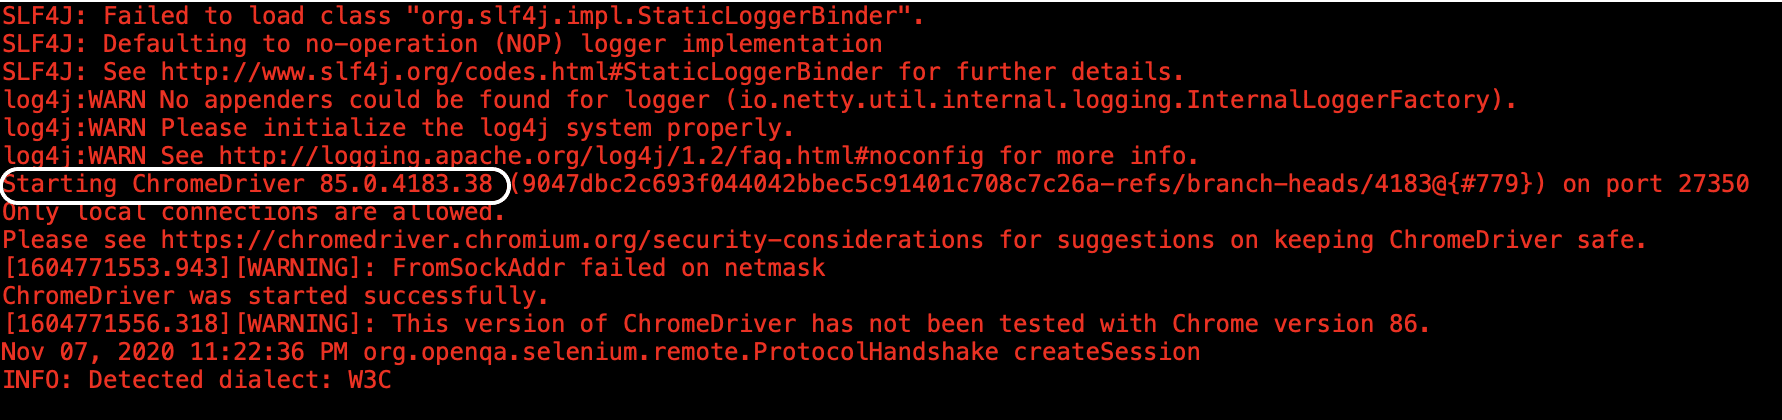
As we can see from the above screenshot, as a result of executing the above program, the Chromedriver started successfully. We can see the details of starting the chrome driver instance in the first line of output. Here we have set the Chrome version to "85.0.4183.87".
Similar to the WebDriver version, you can specify the browser version also, and WebDriverManager will automatically select the corresponding WebDriver. You can achieve the same using the following command:
WebDriverManager.chromedriver().browserVersion("83.0.4103").setup();
So, instead of "driverVersion", here you are specifying the "browserVersion".
How to instantiate a platform version (x32 or x64) using?
WebDriverManager picks up appropriate binaries for the machine we will use to execute the automation scripts. But in case we wish to use a different binary, then we can use the architecture method that allows us to set the architecture version.
The architecture version accepts one of the following arguments:
- github.bonigarcia.wdm.Architecture.X64
- github.bonigarcia.wdm.Architecture.X32
For example, to set the X32 version, the code will be:
WebDriverManager.chromedriver().architecture(io.github.bonigarcia.wdm.Architecture.X32).setup();
Alternatively, we can also use arch32() or arch64() methods to specify binary types.
- chromedriver().arch32().setup();
- chromedriver().arch64().setup();
How to set a proxy username and password?
If your organization has a proxy server, you need to specify proxy server details like server name or IP address, username, and password to the WebDriverManager. Otherwise, it may raise/ cause errors like io.github.bonigarcia.wdm.WebDriverManagerException: java.net.UnknownHostException: chromedriver.storage.googleapis.com.
WebDriverManager provides the appropriate methods to set the proxy details as follows:
- proxy(“hostname: port number”)
- proxyUser(“username”)
- proxyPass(“password”)
Having discussed all these capabilities, we can use all of them together, as shown in the following piece of code.
WebDriverManager.chromedriver()
                 .version("83.0.0")
                 .arch32()
                 .proxy("proxyhostname:80")
                 .proxyUser("username")
                 .proxyPass("password")
.setup();
WebDriverManager lot more configurations and features, which makes the management of browsers and drivers very easy. So, why are you waiting? Just kick off the journey of using WebDriverManager in all your Selenium test scripts?
Key TakeAways
- WebDriverManager automates the browser setup in the Selenium code.
- By default, it downloads the latest version of the browser binary and also the binary for the appropriate platform.
- We have to add the dependency for WebDriverManager in case the code belongs to Maven or Gradle environment.
- It supports various browsers like Google Chrome, Firefox, IE, Edge, Opera, etc.
- Apart from automatically setting browser binaries, WebDriverManager also allows us to set values for parameters like browser driver version (in case we want a specific version), platform version, proxy details, etc.