Table of Contents
How to Create New Request in Postman?
Now, since we have installed Postman and have become familiar with the interface, it's time to start our first steps on Postman for which Postman is actually used for. To start with this tutorial, we will start with the Header part of the Postman and follow the steps.
You may also go through the recording of the Postman Tutorial where our experts have explained the concepts in depth.
Create New Request in Postman
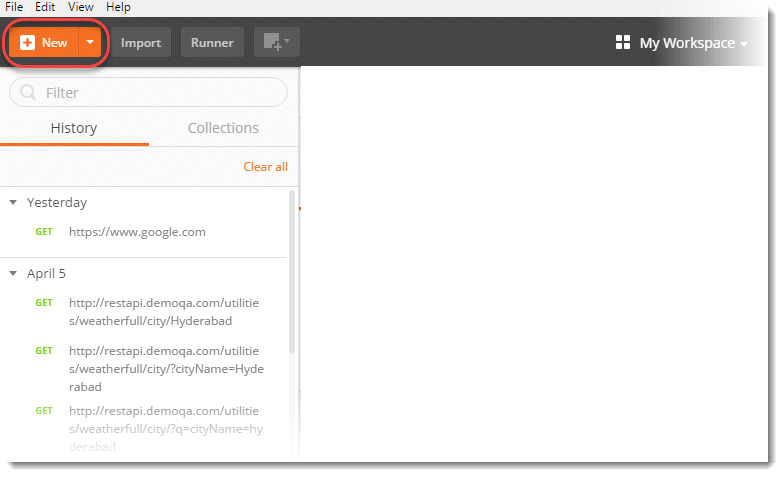
- Click on the NEW option in the header part.
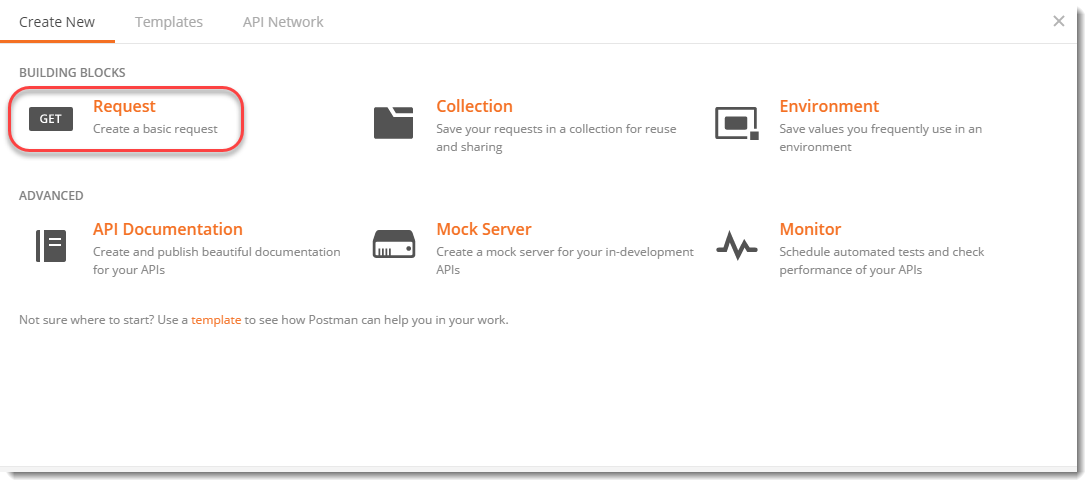
- Click on Request.
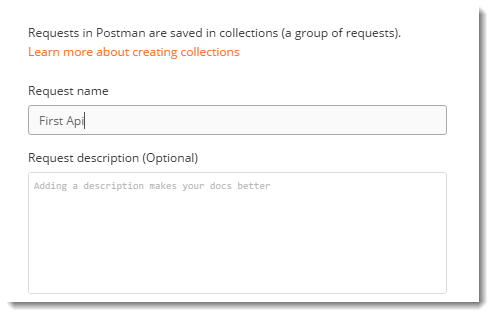
- Enter a meaningful Request Name, like First Api we are using. You can also use the description about the API to remember later about what that API did for other teammates and yourself, but it's optional and we won't be using that in this tutorial.
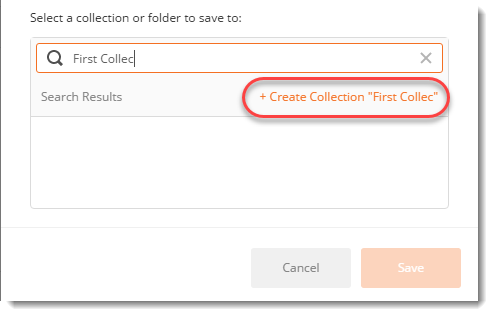
- Enter a meaningful Collection name in the bottom panel, like First Collec we are using, and select +Create Collection as shown. Press Save.
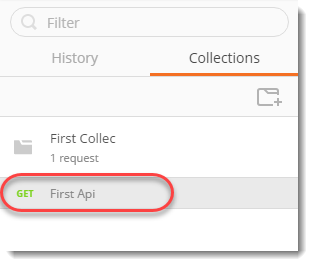
- Select Collections tab in the sidebar, then you will notice all the collections folders, select First Collec and then select First Api under the First Collec tab.
- Enter www.google.com in the Address Bar and press Send.

- Press Save if you wish to overwrite "First Api" or press the dropdown as shown and Save as a new request.

The Save As option opens the same panel which opened through New Request at the start of this tutorial. It gives the option to enter the name and associate the request to some collection.
This way you have created a Request and saved it under the desired collection. In the next tutorial, we will send our first GET request.
