In the previous tutorial of How to Install Jenkins, we successfully installed and run Jenkins on our system. In this tutorial, we will continue from the same place where we left. If you have stopped Jenkins then you need to change your default directory in your shell to the one in which you downloaded the war file and run the command java -jar jenkins.war again. This will initialize Jenkins and will ask you for username and password. If you have not changed the password and username in the previous tutorial, your username will be admin and the password will be same that was used to unlock the downloading process. So coming back to the Jenkins, in this tutorial we will be focusing on following:
- Creating a New Jenkins Job
- Configure Jenkins Job to run Batch Command
Before starting on Jenkins, I would like to tell you that we will be using Windows commands in this tutorial. Although the transition is not very tough and we have previously discussed also, but still if you have other OS than Windows, please know the transition commands beforehand.
How to Create a New Jenkins Job?
Jenkins Job is a parent element and sometimes also referred as project. With in that you can look at the results, console, reports etc at the one place. We will come to all these things a little later but for now, let's just create a new Jenkins Job.
1.Click on New Item
![]()
2.Write any name you like, we are using Postman Collection here
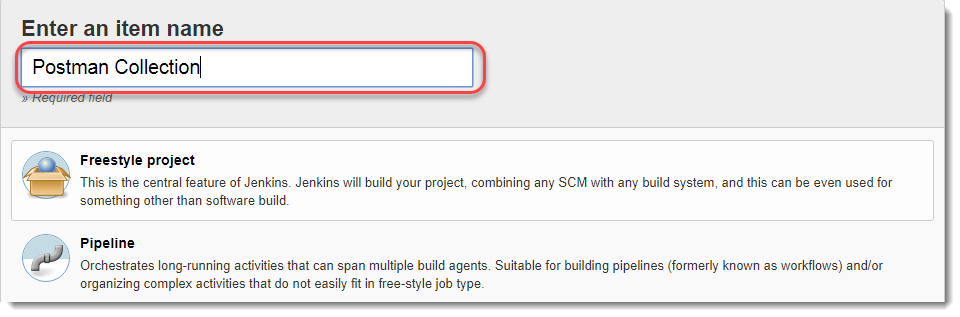
Below you will see a list of different projects you can start. Every project is defined with couple of lines. We will be using Freestyle project in this tutorial. Now if you read the lines below Freestyle project in Jenkins, they are a little confusing. So let us simplify it.
What is a freestyle project?
A freestyle project is a project in which you can run any types of build. These builds can include shell scripts, dos scripts or maybe invoke ant etc. If you visit the development guide of Jenkins, you will see that they specify a freestyle project as Jenkins can be used to perform the typical build server work, such as doing continuous/official/nightly builds, run tests, or perform some repetitive batch tasks. This is called "free-style software project" in Jenkins.
So basically freestyle project is something which is very flexible and which lets you build, run and execute a variety of things. And most of all, the majority of plugins are written for freestyle projects in Jenkins. So it kind of becomes a primitive choice.
Coming back to creating the workspace, just select Freestyle project by clicking on it and press OK. The workspace will be created.
Leave this screen and move to Dashboard by clicking Jenkins.
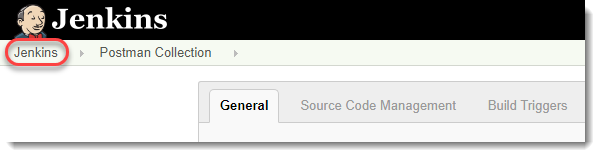
You will see your project name on the dashboard

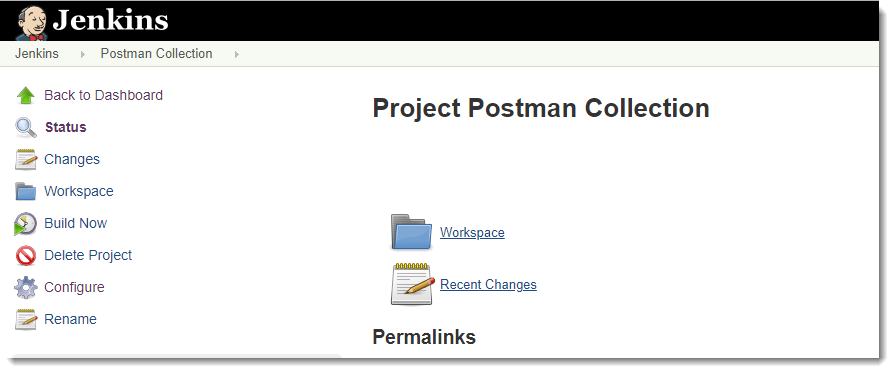
Click on the project name and you will enter in the Project or a Job. So this way we have created our first project/job in Jenkins. We will work in this project only. In the next section we will learn about how to run batch commands in Jenkins
How to Configure Jenkins Job to Run Batch Command?
Now that we have created our own Jenkins Job, we will move forward towards running batch commands in the Jenkins. A batch command is a command that is run in the shell of your system like command prompt in Windows. This name comes from the batch file that were created for early operating systems like DOS and Windows. The commands which were mentioned in these files could be run only through the shell of the system. Hence, the name derived as batch commands for the individual commands. So by following these steps, we will be running batch commands in Jenkins.
I hope you are inside the Jenkins Job/Project and the following screen is visible to you at your system.
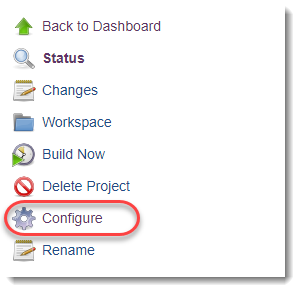
1.Go to Configure.
2.Go to Build.

- Open the dropdown in the batch section and click on Execute Windows Batch Command
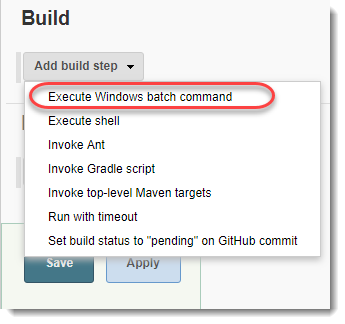
Note: Since we are on a windows machine, we will be running the commands which are run on windows command prompt. If you have MAC then you should select Execute Shell in the above section and then execute the shell commands only. We have previously discussed these commands for MAC that we will run here. Please refer the tutorial How to run Collections in Postman using Newman Commands.
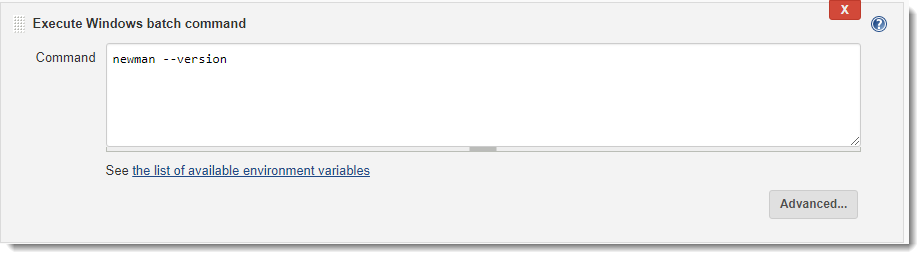
- After selecting the option, a box will appear to enter the commands. So for now, just for testing we will run the command to check if we have Newman installed on the machine or not which is required to run Jenkins with Newman. This can be done using command newman --version
-
Click on Save and the command will be saved.
-
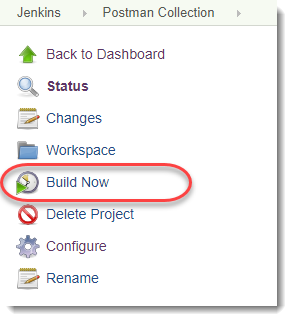
Click on Build Now.
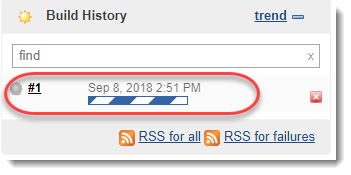
- You will see the build being run below the above menu
-
Once the build is complete, click on the ball located in the left of the Build Number. It will take you to the console.
-
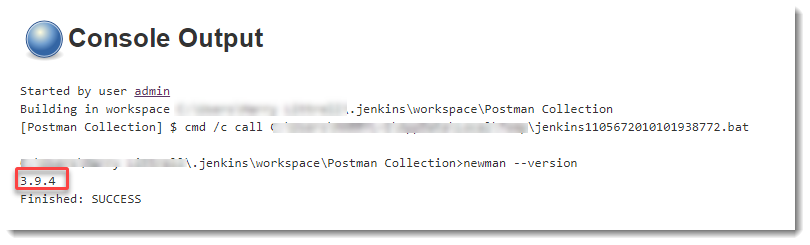
Now you can see the command run successfully and the output shown successfully.
Since now that we have Installed Jenkins and learnt How to Configure Jenkins Job to Run Batch Commands, it's time to run a Postman Collections on Jenkins.