In this chapter we will Set Up Project for Selenium Automation Framework in CSharp. To achieve that we need to go through the series of steps.
- Download and Install Visual Studio
- Create a new Project
- Set Up Selenium with Visual Studio in C#
- Create a new Package
- Create a new Test Class
- Set Up NUnit & Test Adapter
- Create First LogIn Test
Step 1: Download and Install Visual Studio
Before going head it is required to have Visual Studio installed in the machine. Please go through the chapter of Download and Install Visual Studio. Make sure that you do not create any Console Application project. Just follow the steps till the installation of the Visual Studio.
Step 2: Create a new Project
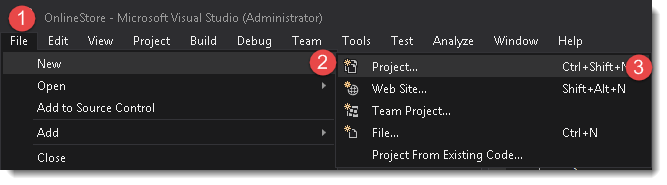
- Create a new Project by browsing through File >> New >> Project.
2) Select Visual C# from the left, then select Class Library from the middle. It will give the option to mention the Project name, location & solution name. Give the sensible name to the project, just for the sake of simplicity, enter OnlineStore and give the preferred location to the project. Click on OK button to proceed.
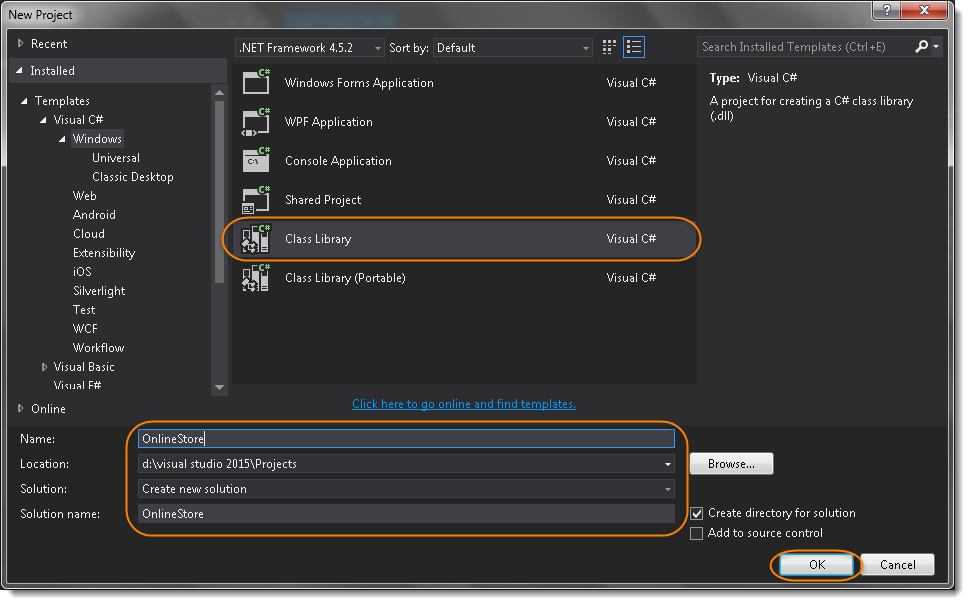
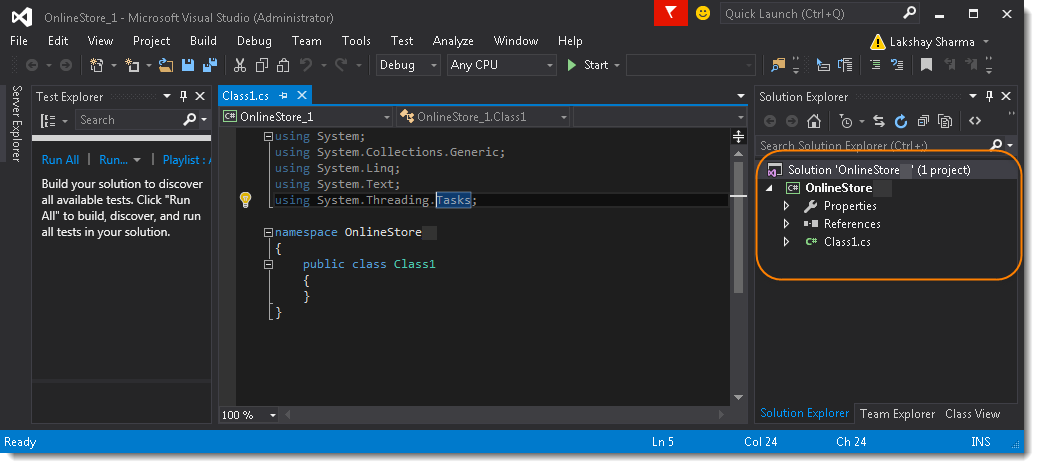
3) Now you will end up with the below screens on your machine.
Step 3: Set Up Selenium with Visual Studio in C#
-
Go to Tools >> Extensions and Updates...
-
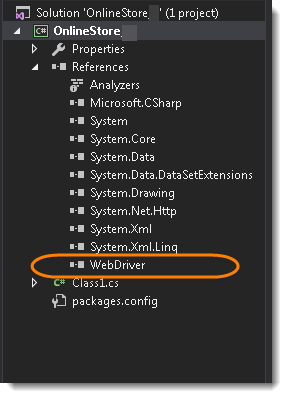
In the Search Box, search for Selenium.WebDriver or Selenium. This will take a few seconds to populate the Selenium. Once done, just select Selenium.WebDriver and click on Install to start the installation process.
You can also follow the steps to Set Up Selenium with Visual Studio in CSharp here.
Now that we have the Selenium DLLs referenced in our project it time to test the configuration by running a quick test.
Step 4: Create a new Package or Folder
- Right click on the project and go to OnlineStore >> Add >> New Folder.
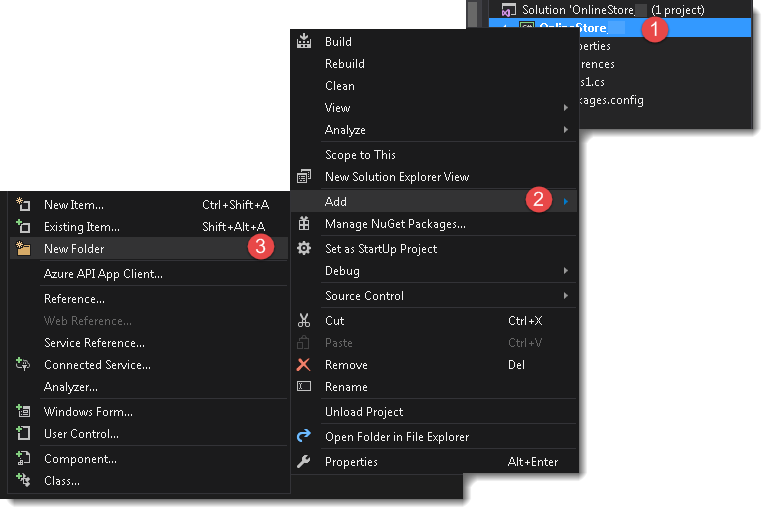
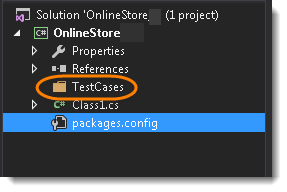
- Name the folder TestCases.
Step 5: Create a TestCase
1) Right click on the TestCases folder and go to*** Add >> Item....***
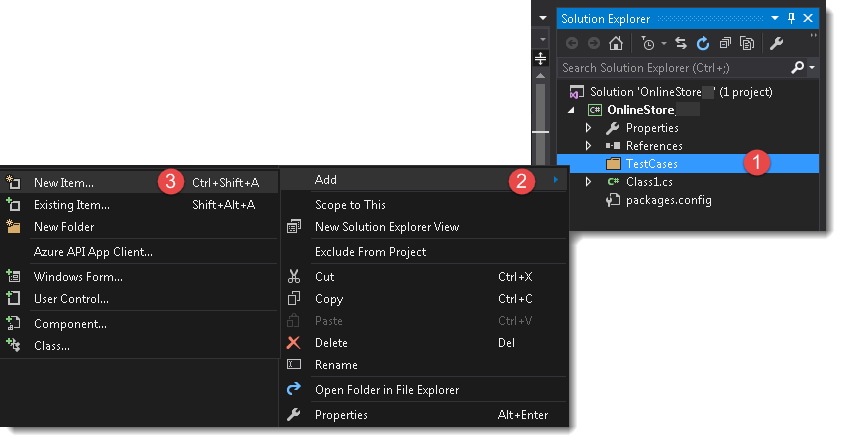
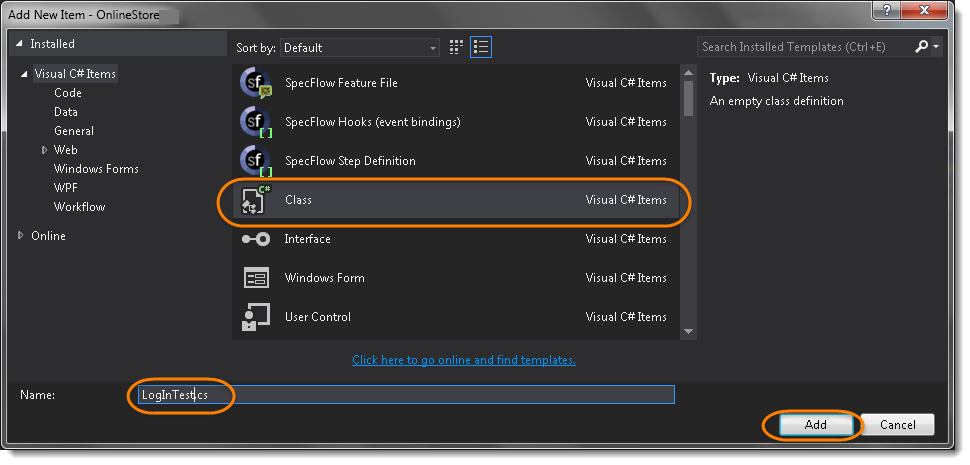
- Name the Class as LogInTest, as the first test we are planning to automate is for the LogIn application.
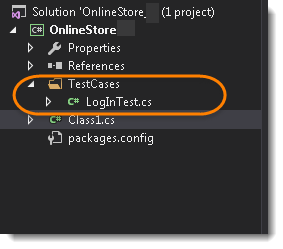
- The current state of the Project Solution Explorer should be like this.
Step 6: Set Up NUnit, NUnit Framework & NUnitTestAdapter
I have written a nice tutorial on How to Set Up Selenium Test using NUnit Framework. It is better to install NUnit and UnitTestAdapter before moving to writing Selenium Test.
Note: If you are using NUnit Version 2, then you should install NUnitTestAdapter version 2, but if incase the NUnit Version is above 3 then you must install NUnit3TestAdapter. Otherwise you will not see your test in the Test Explorer window.
Step 7: Write first LogIn Test
- Enter the below code in the LogIn Test.
using NUnit.Framework;
using OpenQA.Selenium;
using OpenQA.Selenium.Firefox;

namespace OnlineStore_1.TestCases
{
    class LogInTest
    {
        [Test]
        public void Test()
        {
            IWebDriver driver = new FirefoxDriver();
            driver.Url = "https://www.store.demoqa.com";

            // Find the element that's ID attribute is 'account'(My Account)
            driver.FindElement(By.XPath(".//*[@id='account']/a")).Click();

            // Find the element that's ID attribute is 'log' (Username)
            // Enter Username on the element found by above desc.
            driver.FindElement(By.Id("log")).SendKeys("testuser_1");

            // Find the element that's ID attribute is 'pwd' (Password)
            // Enter Password on the element found by the above desc.
            driver.FindElement(By.Id("pwd")).SendKeys("Test@123");

            // Now submit the form.
            driver.FindElement(By.Id("login")).Click();

            // Find the element that's ID attribute is 'account_logout' (Log Out)
            driver.FindElement(By.XPath(".//*[@id='account_logout']/a")).Click();

            // Close the driver
            driver.Quit();

        }
    }
}
-
It is time to build the project. Click on Build >> Build Solution.
-
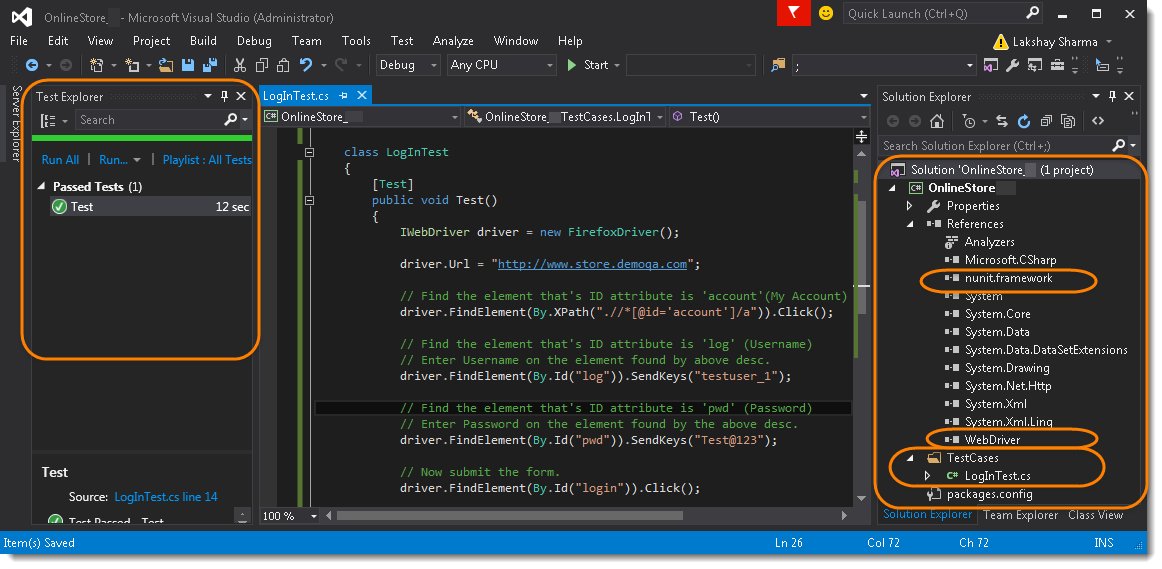
Now Go to Test >> Windows >> Test Explorer. Noticed that the Test is appeared in the Test Explorer window.
-
Right-click on the test and click Run Selected Test. The LogIn test will run.
Note: Delete the Class1.cs file, as it was created by default when the project was created. To delete it just right click on the file and select Delete.
OnlineStore Project SnapShot