Create Appium tests from Eclipse using advanced Test Development Tools
Appium Studio for Eclipse simplifies your Appium testing by allowing you to create Appium tests for your native, web, or hybrid application quickly and easily using advanced test development tools:
● Immediate visual feedback - Easily create robust and maintainable tests with a dynamic device reflection that provides immediate visual feedback on all actions.
● Powerful object identification that identifies objects by their native/web properties, including image/OCR and customized UI. You can also write scripts with drag and drop script editor.
● Leverage pre-configured Eclipse project framework assets for mobile including code snippets, properties & configuration files to reduce errors and easily create stable projects.
● Out-of-app Appium testing - Achieve high coverage rates by testing outside of your app (SMS, network, settings, Facebook) and 3rd party integrations for complex use cases such as code scanning or fingerprint authentication.
Watch the following step-by-step tutorial to learn how to create an Appium test using Appium Studio for Eclipse.
1. Write your test logic
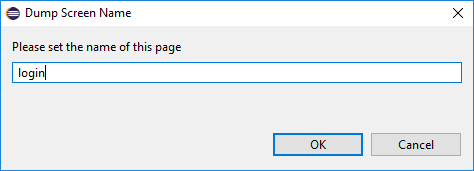
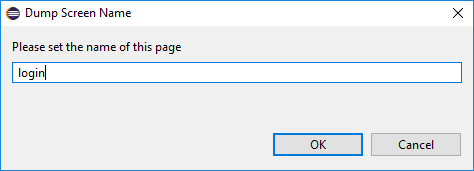
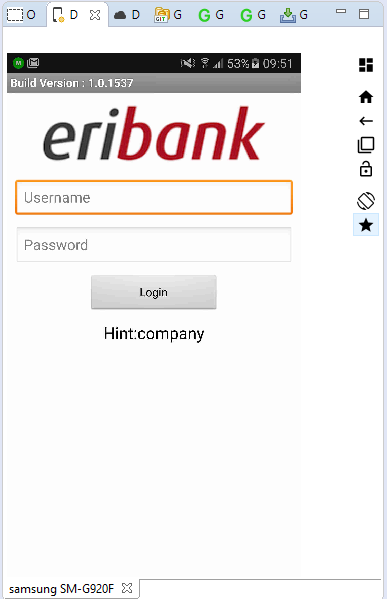
We will show one of many ways you can write your test logic. Click on the 'Dump UI' icon () right to the device reflection. Provide the page name (in this case 'login') and click 'OK'.
A 'dump' file is created and is open by the editor.
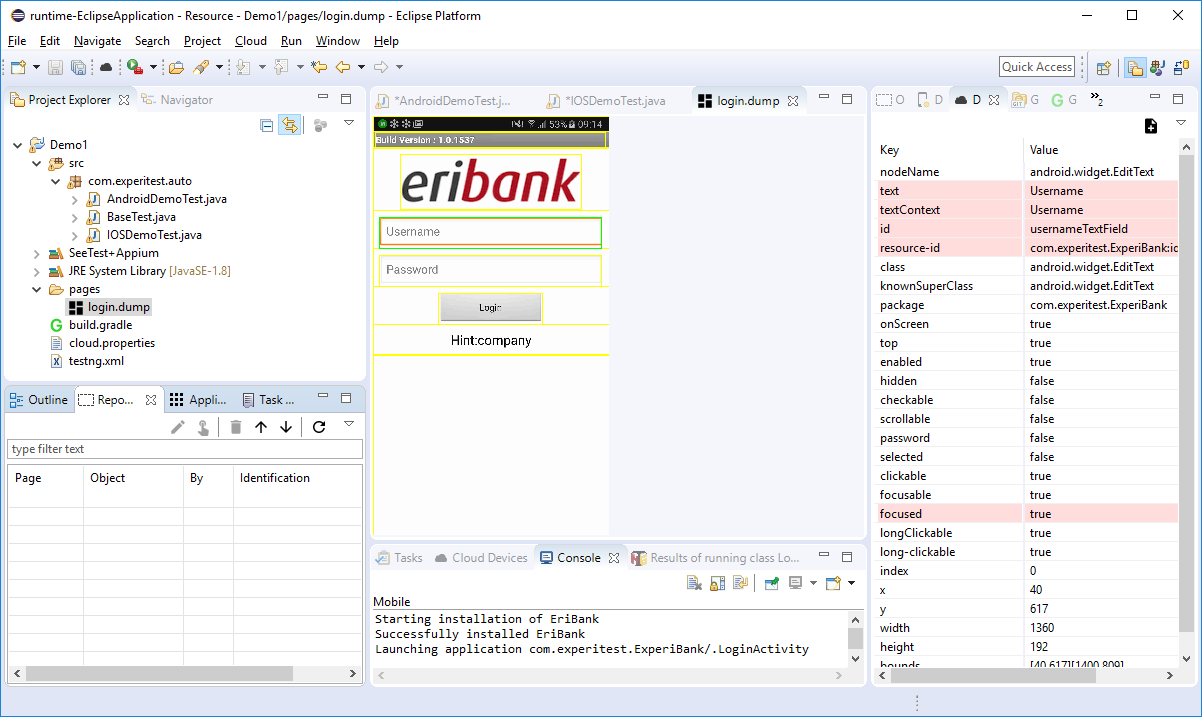
Select the element you would like to interact with (like the 'Username' text field). In the 'Dump Properties' view, you will see all of the properties of the element.
The lines that are colored in pink are properties that are unique to that page. Using those lines to identify the elements will assure unique identification.
Select the property (or properties) you would like to use to identify the element. Then click on the 'Add to Repository' icon ().
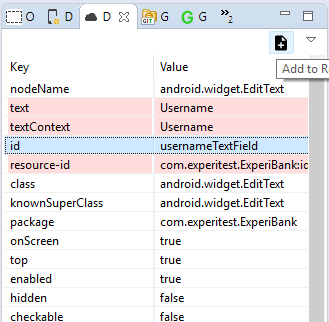
Approve the name of elements in the repository. The element name is a compound of the page name and the element name separated by a dot ('.').
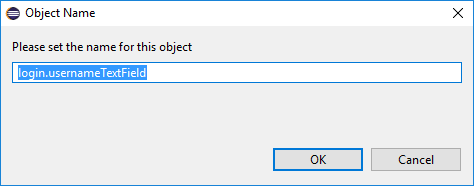
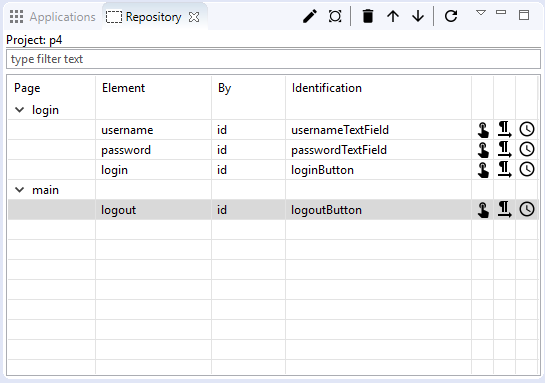
Once the element is approved it will be added to the repository (see the 'Repository' view).
Add all the 'interesting' elements on the page to the repository.
2. Build your test flow
Drag and drop the element into your test code.
- - dragging the 'Finger' icon will add a 'click' command.
- - dragging the 'Text' icon will add a 'sendText' command.
In this case, I have used the 'Text' icon for both the username and the password elements, then I have used the 'Finger' icon for clicking on the login button. To finalize the 'sendKeys' commands you need to provide the text need to be sent to the text field.
3. Run and verify your test code
In the 'Devices' view click on the 'Overwrite capabilities' icon ().
Clicking the 'Overwrite capabilities' option will cause the execution of any test to be directed to this device (regardless of the device query capability), as well as ignoring the install and launch capability. This way it is very easy to debug your test code without the need to reinstall the application every time.
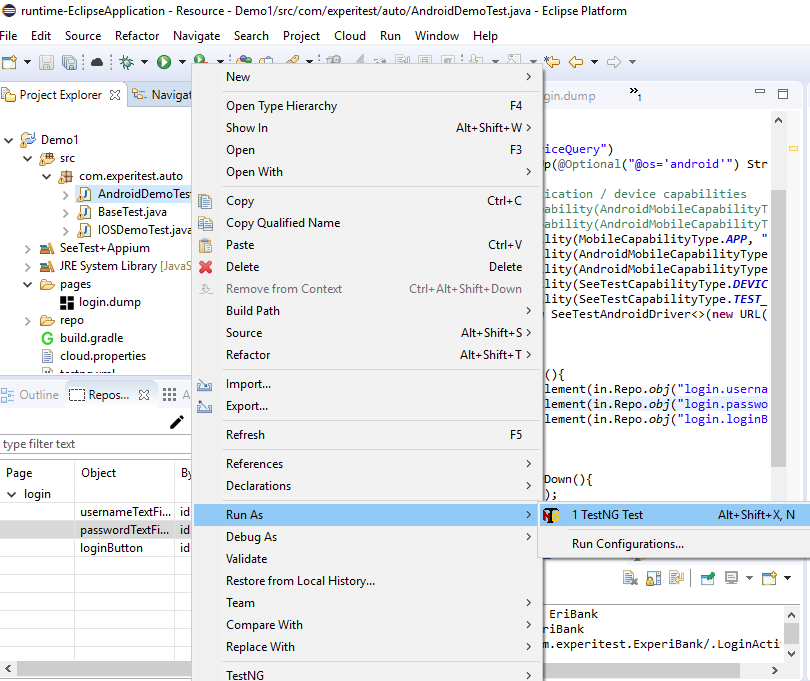
Now run the test by right-clicking on the test class and selecting 'Run as...'
Once the execution finishes you can see the results in the 'reports' folder under your project.
