Appium Studio allows you to test and connect to Android Emulators (x86 based emulators are preferred) or iOS Simulators. For both Android and iOS devices tablet and iPad emulators are included.
Connecting an Android Emulator to Appium Studio
Testing your applications on emulated Android devices should not replace testing on Real Devices, keep in mind that emulators can change both functional and performance aspects of your app.
For better performance, It is recommended to use x86 based emulated mobile devices.
GenyMotion (It can be downloaded from here). Can provide multiple images of x86 emulators.
This option is for users who wish to work with Android emulators instead of real devices. Appium Studio can connect and perform tests on all Android Emulators.
The main requirement is for the emulator to be identified by the ADB.
Most SDKs require a high-performance machine. The minimum recommended spec is an Intel i5 processor with 8GB of RAM.
Details about two recommended main Android Emulator toolkits: Google Android SDK (It can be downloaded from here).
The following features will not be available for such emulators:
- No reflection can be open (Open device button will be disabled)
- No object spy, to get object properties and to extract elements you should go to the debug tab
- No recording
How to Add emulators:
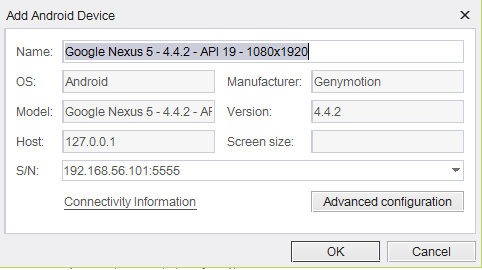
Step 1: Configure the emulator and open the AVD on the machine.
When the emulator screen is open, you can verify that ADB recognizes the device.
Step 2: Follow step 2 and onward on how to connect a real device.
Download the free Appium Studio Community Edition
Connecting an iOS Simulator to Appium Studio
In addition to working with physical devices, you can also work on simulators to create and run tests.
Minimum requirements:
Mac machine with XCode 8+ is required.
Preliminary setup
Before working with simulators in the studio, the desired simulators must be installed through XCode.
Add new simulator:
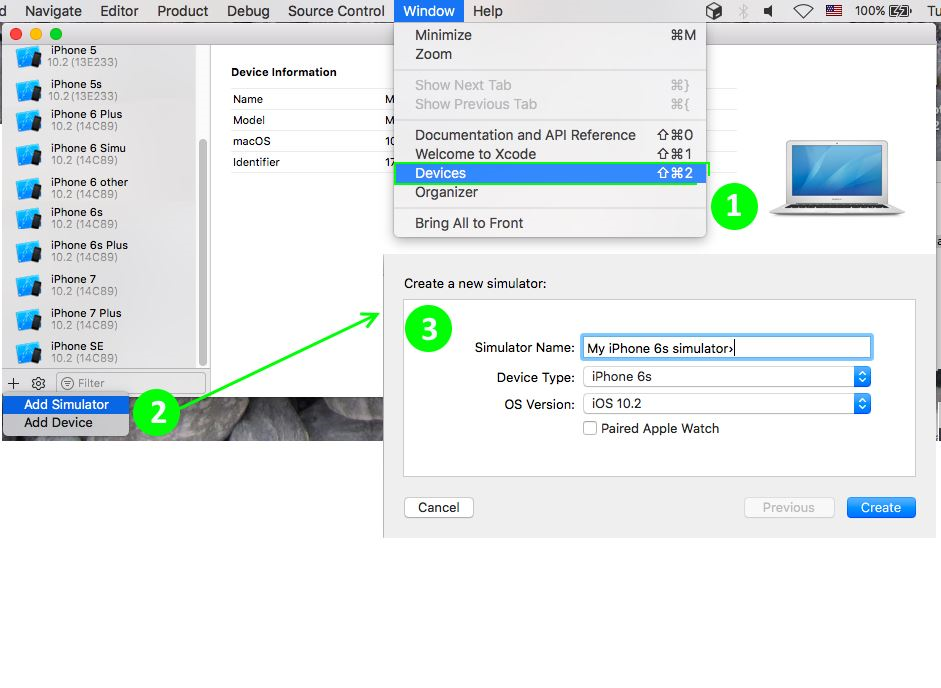
- Open XCode
- In the Window menu select Devices (1)
- Currently installed simulators are listed in the left pane
- Click on the + sign at the bottom of the list and then Add Simulator (2)
- In the new dialog (3), choose a name for your simulator, it's iOS version, and then click on Create
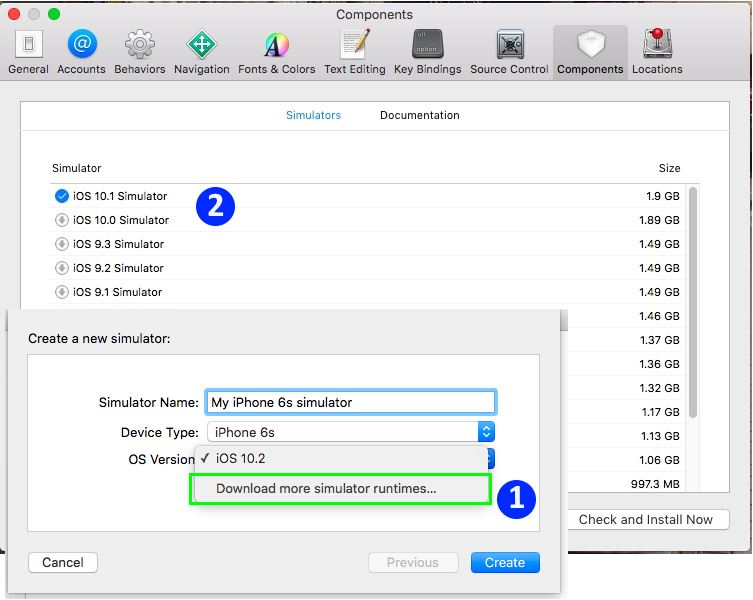
Add new iOS version
- From the 'Create a new simulator' dialog, click on the OS Version box
- Click the arrow next to the versions you wish to download
Supported iOS versions
Currently, only iOS 10+ is supported by the studio. If there are simulators with lower versions installed, they will not appear in the Studio.
Add simulator in the Studio
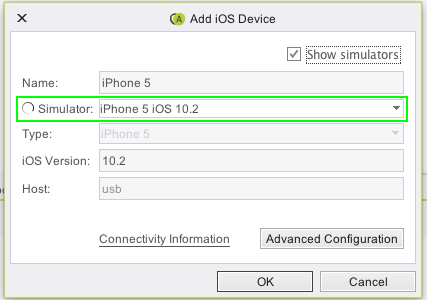
- Open the Add Device dialog and select iOS device
- Select the checkbox 'Show Simulators'
- The supported simulators will be listed in the Simulator box (marked in the following image)
- Select a simulator from the list
- Click OK
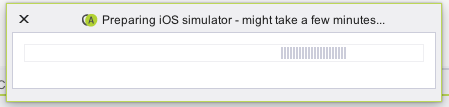
The simulator will be booted immediately. The first time a simulator is booted, the boot might take up to 10 minutes, because it needs to be set up. Next boots should take about 1 minute, depending on your Mac's specifications.
Current simulator limitations
- Only a single simulator can be on 'Device manager' at a time. The Add Device dialog won't allow adding more simulators if there already is a simulator added.
- To use a different simulator, the current simulator must be deleted first from the Device Manager.
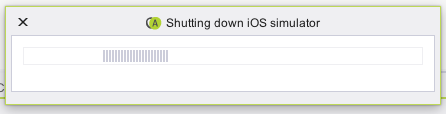
Delete simulator
Deleting a simulator from the Device Manager will shut it down. A progress bar will be displayed while the shutdown is in progress.
Download the free Appium Studio Community Edition
Simulator applications
Building applications
iOS simulators running on your Mac run on a different architecture than physical devices. This means 'regular' application files won't work on simulators.
To build your applications for simulators:
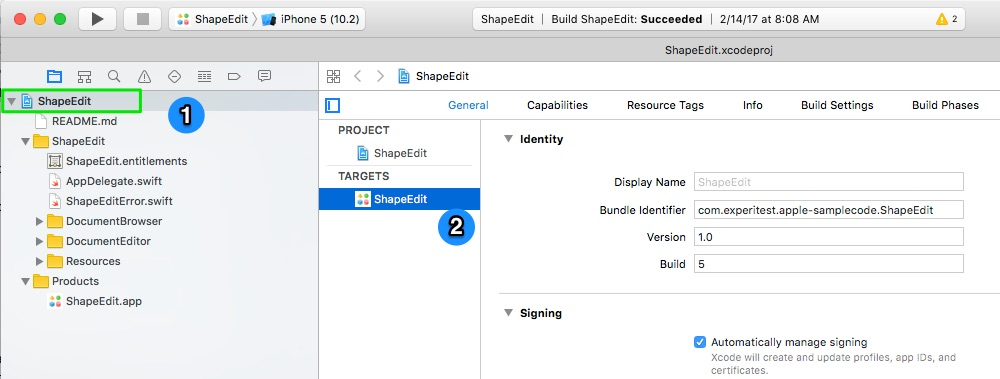
1)Open the application project in XCode
2) Open the project settings (1), by clicking the root file in the Project Files left pane
3) Select a build Target (2)
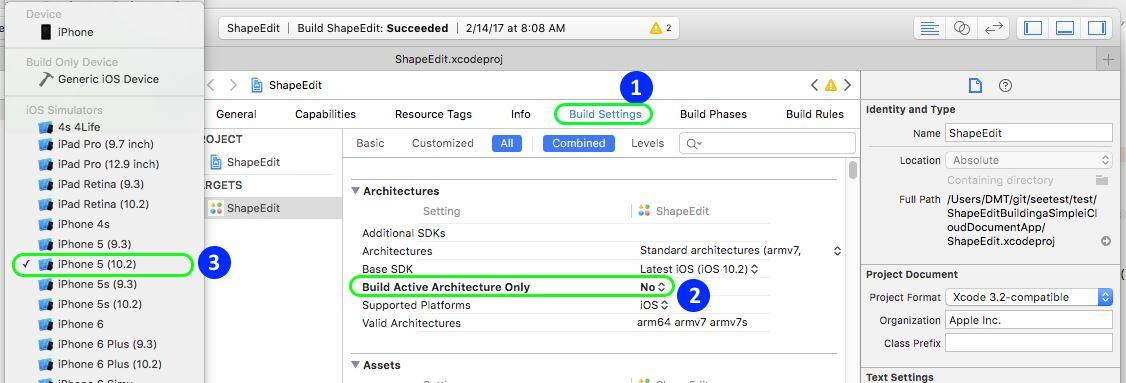
4) Click on Build Settings (1)
5) Under Architectures, select No in Build Active Architectures Only (2)
* 6) Select a simulator from the devices list (3)*
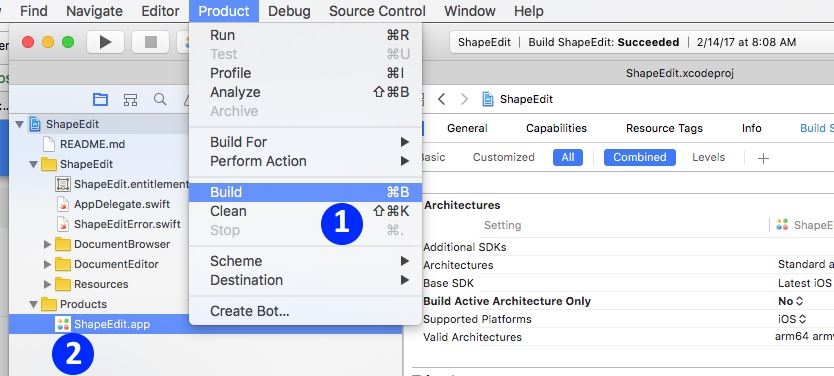
7) Build your application, from the Product menu click Build (1)
8) When the build ends successfully, the output file (.app) can be taken from the Products folder (2)
9) Right-click the application under Products and select Show in Finder
10) This .app file can be used for installation on simulators in the studio
Import application to studio
Click 'import' from the application manager and select the .app application file.