In the previous tutorial , we installed Java 8 on our machines because to launch JMeter we need Java. In this tutorial we are going to install latest version of JMeter, i.e., JMeter 4 (As on 4th July 2018) and following are the topics that we are going to cover in this tutorial.
- Pre-Requisites to install JMeter 4.0
- JMeter 4.0 Highlights
- How to Download JMeter?
- How to Launch JMeter?
Before installation let’s take a look on the pre-requisites for JMeter 4.0 installation and the features introduced in JMeter 4.0
Pre-Requisites
Software Requirements: Since JMeter is pure Java software, Java should be on your machine. JMeter 4.0 supports only java 8 and 9. It does not support any prior version of java and also does not support java 10.
Operating System Requirements: If your Operating system supports java, then JMeter should run correctly on your system. Below mentioned operating systems and the file required to launch JMeter on the respective operating systems.
- Windows: jmeter.bat (Launch JMeter on windows)
- MAC: jmeter.sh (Launch JMeter on MAC)
- Linux: jmeter.sh (Launch JMeter On Linux)
We will talk about these files in the later sections.
JMeter4.0 Highlights:
JMeter 4.0 is a major release after JMeter 3.3, which is released within two years of its previous major release, i.e., JMeter 3.0. Improvements in JMeter 4.0 has majorly focused on user experience and keeping this in mind it has made it easier for the user to navigate and create test. Below are some features that would acknowledged by JMeter 4.0 user.
- Workbench no longer will be seen on GUI as has been dropped in JMeter 4.0.
- GUI of JMeter4.0 has been changed to black from white.
- English is now JMeter 4.0’s default language. Previous versions of JMeter uses computer’s locale language.
- Most used elements will be seen first in JMeter 4.0.
- JMeter 4.0 uses 8 or 9 version of Java.
- JSON Assertion is now a core part of JMeter. Therefore, third party plug-in for JSON Assertions is no longer required.
- Boundary Extractor is new in JMeter 4.0. It is a post- processor which executes after each Sample request in it request and allows the user to extract values from a server response using right and left boundaries provided by the user.
- Precise throughput timer, this timer introduces variable pauses, calculated to keep the total throughput (e.g. in terms of samples per minute) as close as possible to a give figure.
Note: JSON Assertion is used to perform assertions on JSON Document.
To get deeper insight of the changes introduced in JMeter 4.0 please refer JMeter.
How to Download JMeter?
In this section we will download latest version of JMeter. Downloading JMeter is similar for MAC as well as Windows. In the below steps I will be downloading JMeter 4.0 on MAC but you can follow same steps for Windows as well.
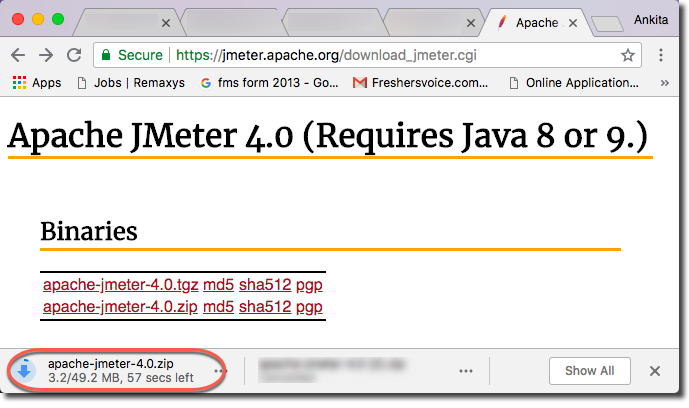
- Go to Apache Jmeter's website to download JMeter.

-
Click apache-jmeter-4.0.zip for MAC as well as Windows
-
As you will click apache-jmeter-4.0.zip JMeter will start downloading.
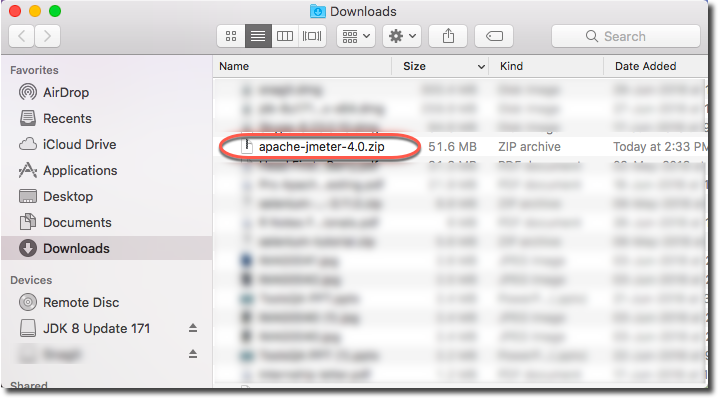
- Once download is complete navigate to downloads folder of your machine and there you will see apache-jmeter-4.0.zip file.
- Unzip the File by and save it your preferred location. For MAC I have double clicked the file to Unzip it; for Windows you may right click it and Unzip. After Unzip open the folder. In my case I have copied the folder to desktop and now I will open the folder.
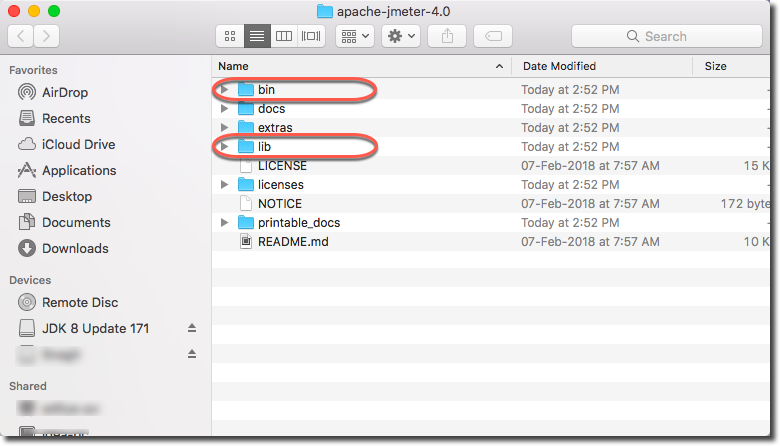
- Bin folder contains templates, .bat, .sh, .jar files to start JMeter. It also contains User & JMeter's properties files.
- Lib folder contains all required jar files.
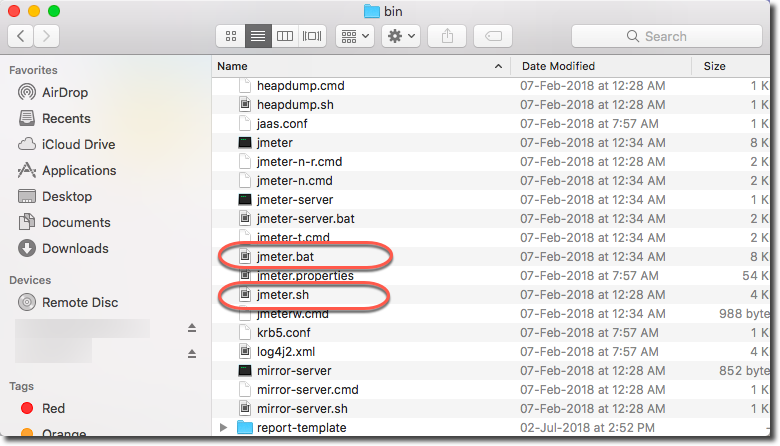
- jmeter.bat is required to launch jmeter GUI on windows
- jmeter.sh is required to launch jmeter GUI on MAC and Linux
Therefore, now we have downloaded JMeter and now we are ready to launch this JMeter's GUI on our system.
How to Launch JMeter?
For MAC navigate to terminal press command + space. As soon as you press command + space Spotlight will appear.

For Windows to navigate to Command Prompt press Window + R or go to Run.
Note: If terminal is already open please close and reopen it
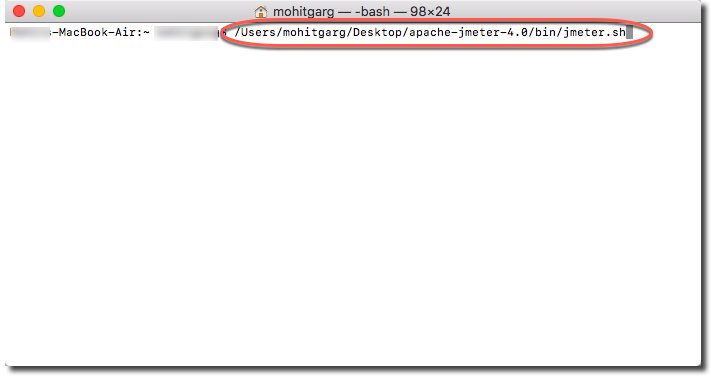
1. Launch JMeter by switching to the bin directory and typing the following:
<file path>/apache-jmeter-4.0/bin/jmeter.sh
Example in my case it is:
/Users/mohitgarg/Desktop/apache-jmeter-4.0/bin/jmeter.sh
- As soon as you press Enter after typing the above command your terminal will look like picture below.
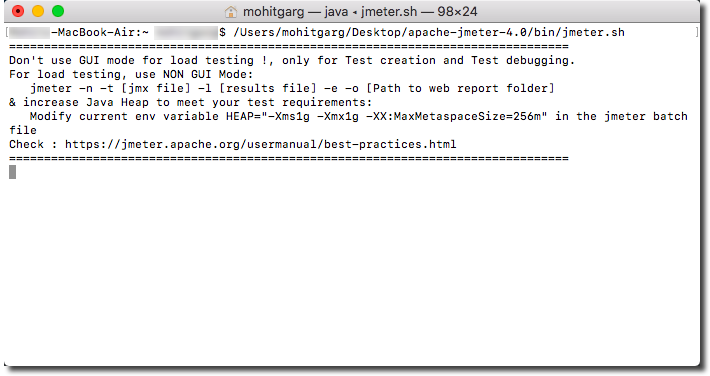
- Apache JMeter will start loading.

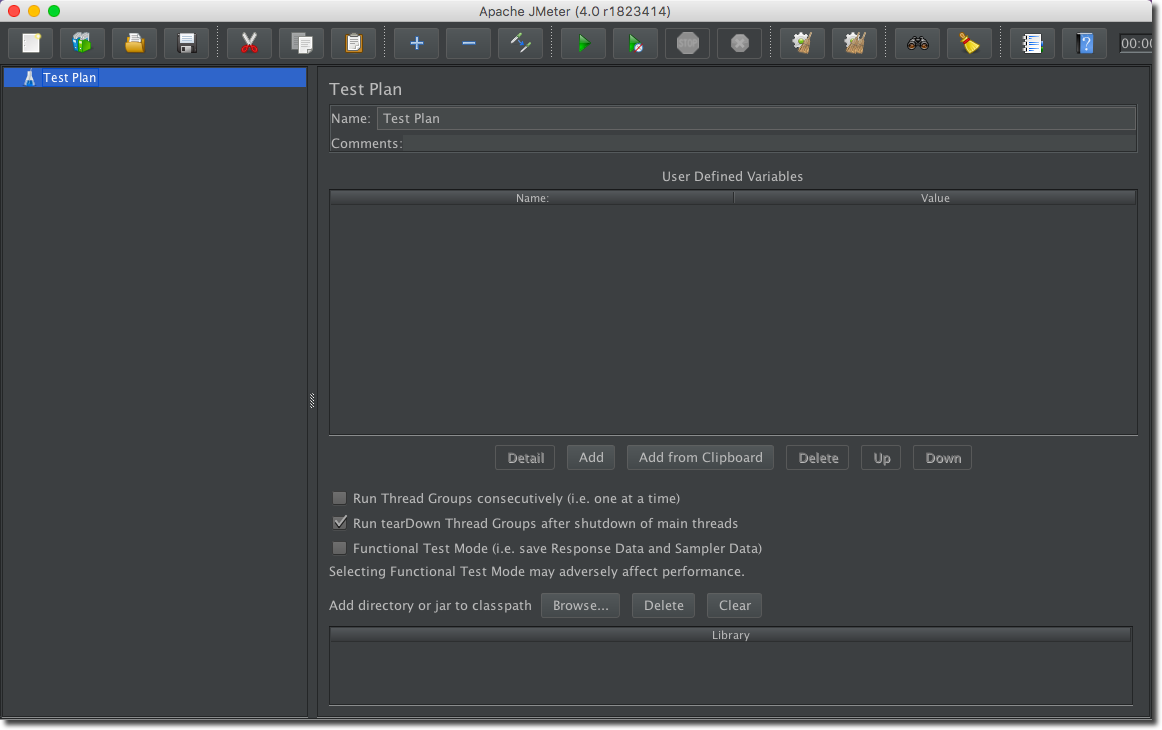
- After a few seconds JMeter GUI will launch. JMeter GUI looks as shown below.
Note : To launch JMeter on Windows just double click the jmeter.bat file or go to command prompt and type <file path>/apache-jmeter-4.0/bin/jmeter.bat and wait for a few seconds JMeter GUI will be launched.
Hence, summarizing this tutorial. Now, we know how to download and launch JMeter on MAC OS as well as Windows. In the upcoming tutorial we will get familiar with the GUI of JMeter and will ultimately, build our first Test Plan.