Eager to get started with the Python. Why not? I had the same feeling when I was about to start it. Now, it's your turn to feel that excitement. Therefore, let's install Python on your PC. Additionally, we will cover the following sections in this tutorial.
-
Install Python
- Linux
- Windows
- Mac OS X
-
Install IDLE
- Linux
- Windows
- Mac OS X
-
Install PyCharm Community Edition
- Windows
- Linux
- Mac OS X
-
Common Setup for PyCharm
Install Python
We need to install Python to start coding in it. It's open-source. So, we don't need to pay for anything. Therefore, let's see how to install it on your PC. We will see the installation guide for both Linux and Windows.
Install Python on Linux
Most probably, Linux distributions have already installed Python. As a result, you don't need to worry about the installation.
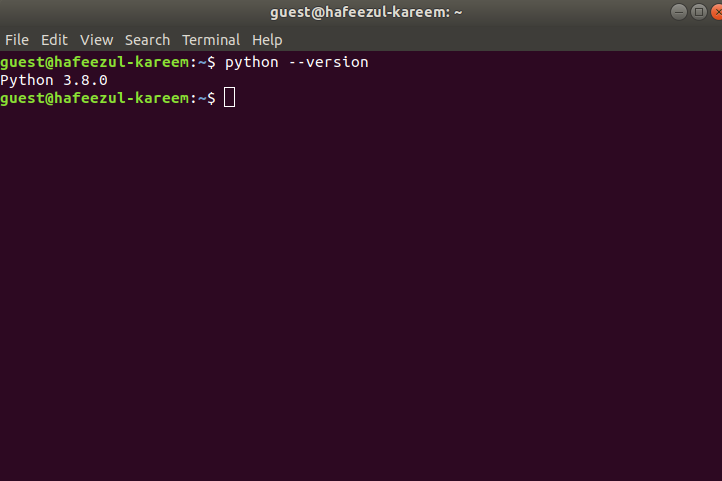
Check your Python version by typing the Python --version command in terminal. If you run the command then, it will return the Python version.
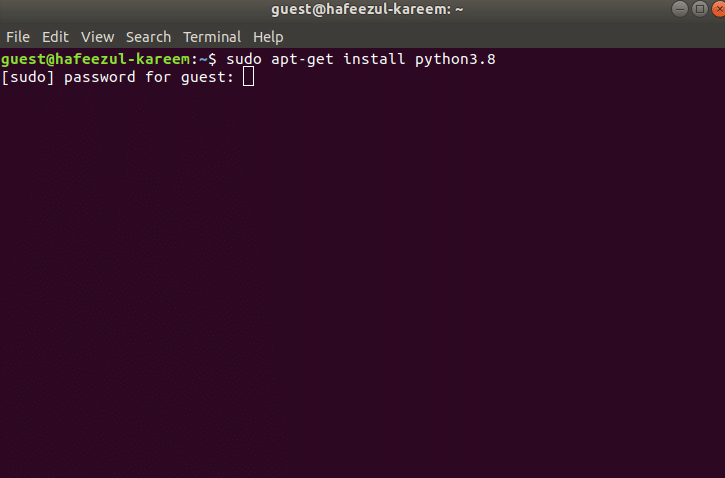
Additionally, if your PC doesn't have Python installed in it, run the following command to install it.
- sudo apt-get install python3.8
You can specify any version of the Python in the above command. But, here in this course, we are going to use python3.8. Enter the password to start the installation. In addition to this, make sure you have internet access for the terminal.
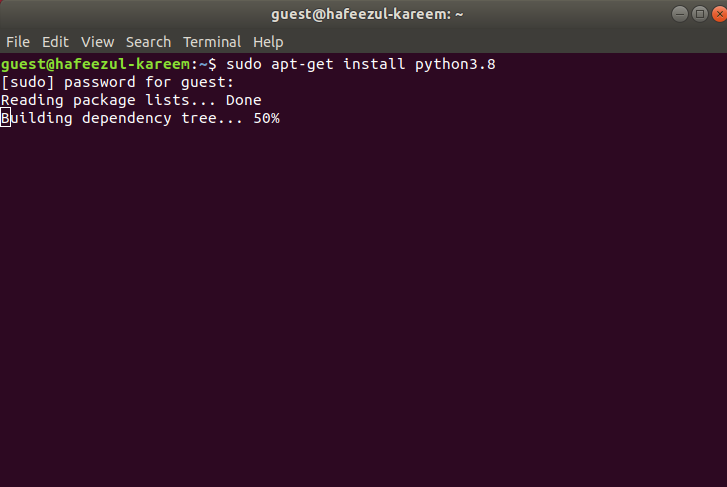
It will take a little time to install Python.
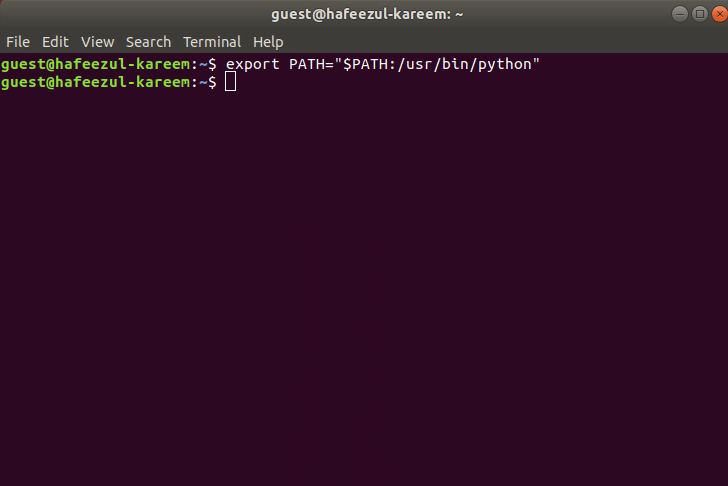
We have to set the PATH variable to access it from any directory. To set it, run the following command.
- export PATH="$PATH:/usr/bin/local/python3.8"
Now, check the release of the Python after installation. You have successfully installed the Python on your PC. Run the command python3.8 to start interactive mode. You have to type python3.8 in the terminal to get the interactive mode of Python. Moreover, we are going to change it as well in a moment.
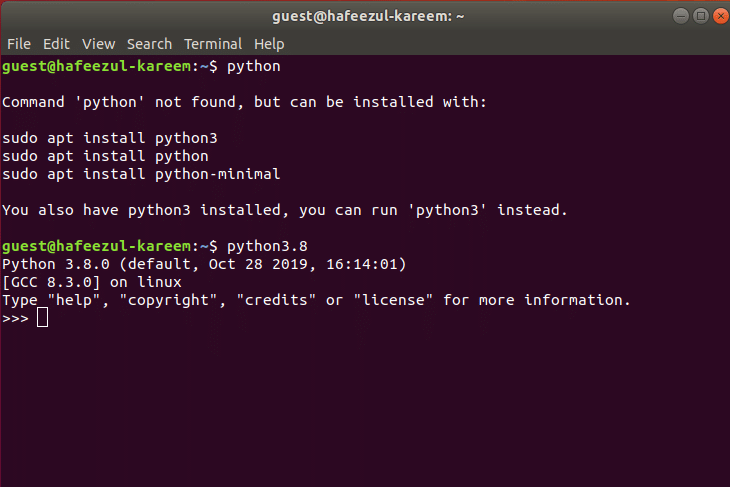
We have to access the interactive shell with the command python but, it's not possible until we finish the following steps.
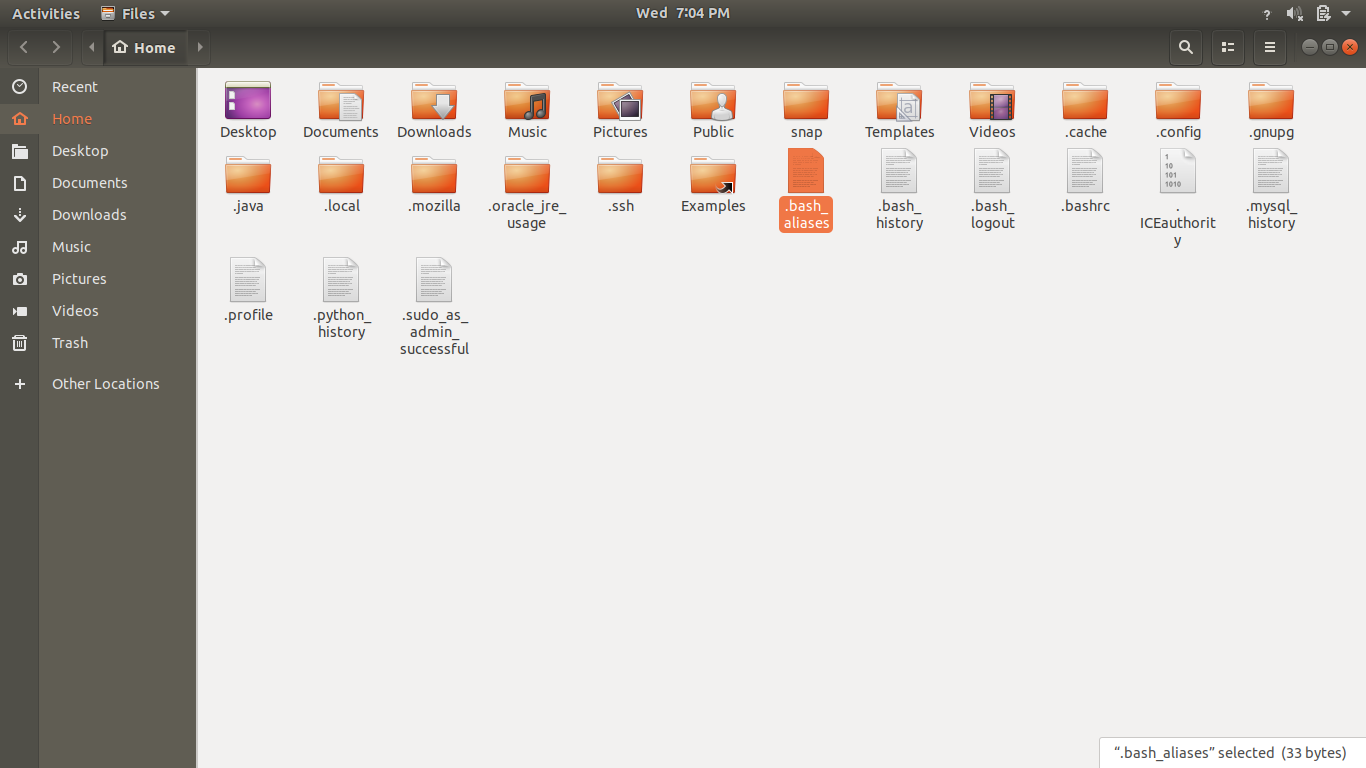
Firstly, create a file with the name .bash_aliases in the /home/ directory.

Secondly, open the file and paste the text alias python='/usr/bin/python3.8'.

Finally, go to the terminal and type python to access the interactive shell.
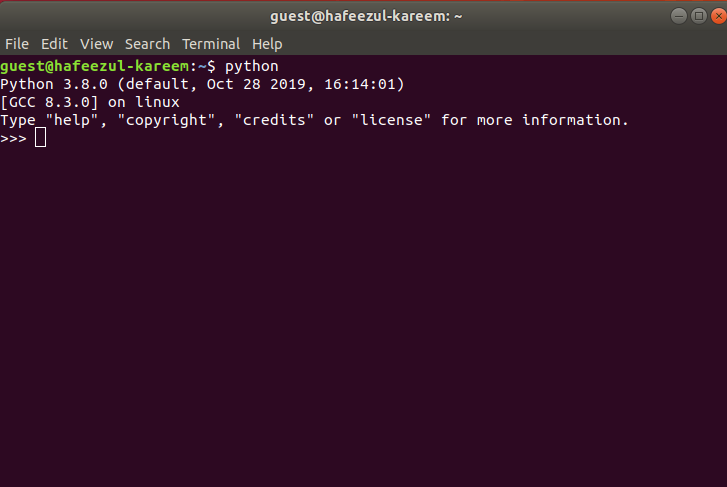
That's it, and you're all good to go.
Install Python on Windows
Go to the Python Official website and download the file by clicking the Download Python [lastest version] button. I am highly recommending you to download the latest version of Python.

Note: If we click on the download button, it will automatically download the latest python version .exe file.
Firstly, double click on the file to start the installation. A dialogue box will open as follows.
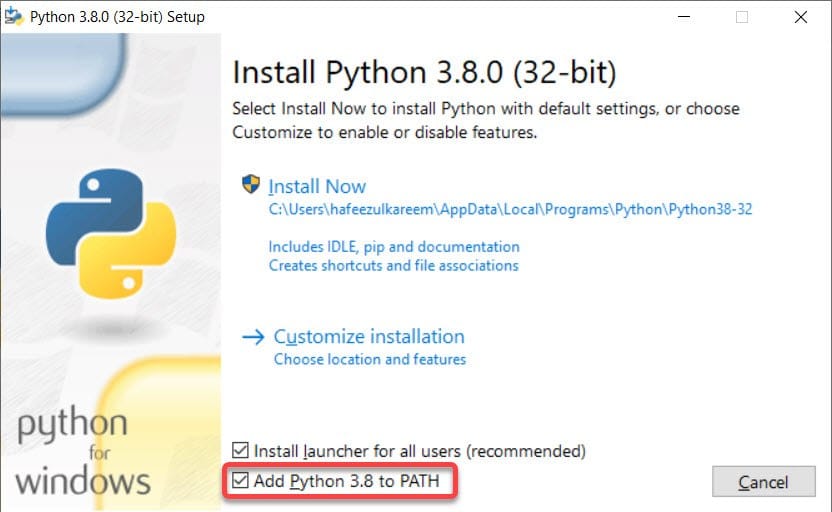
After that, leave the default option Install launcher for all users (recommended) to install it for all the users. Check the Add Python 3.8 to the PATH option to install it globally. After this, click on Install Now. Permit to install it when it asks.
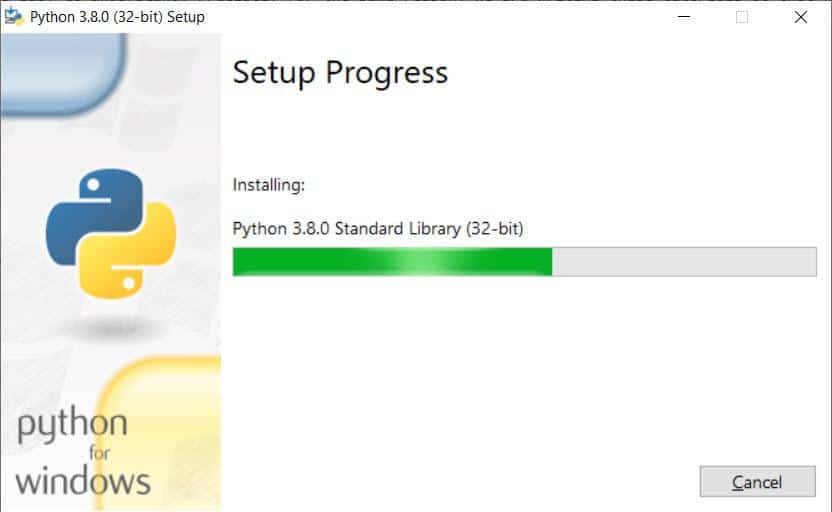
Additionally, you can see the progress of the installation in the above picture.

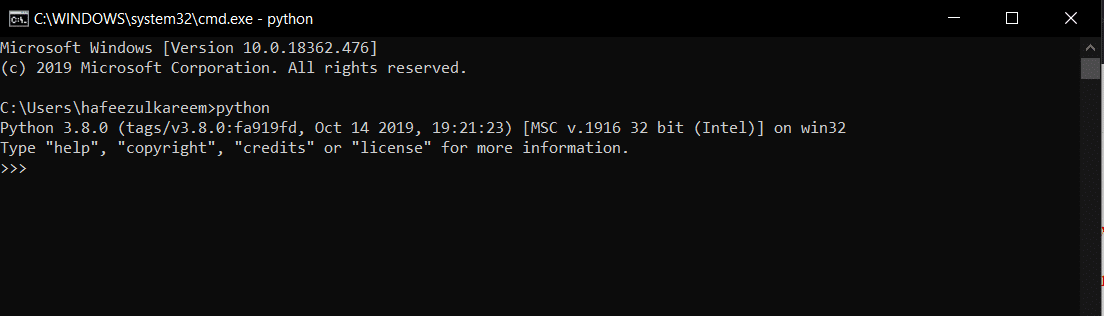
Consequently, you have successfully installed the Python on your PC. Run the python command in command-line to start the interactive mode of Python.
Set up Environment Variable for Python in Windows
In case if you get the error, 'python' is not recognized as an internal or external command, operable program, or batch file, it means the environment variable for Python is not correctly set.

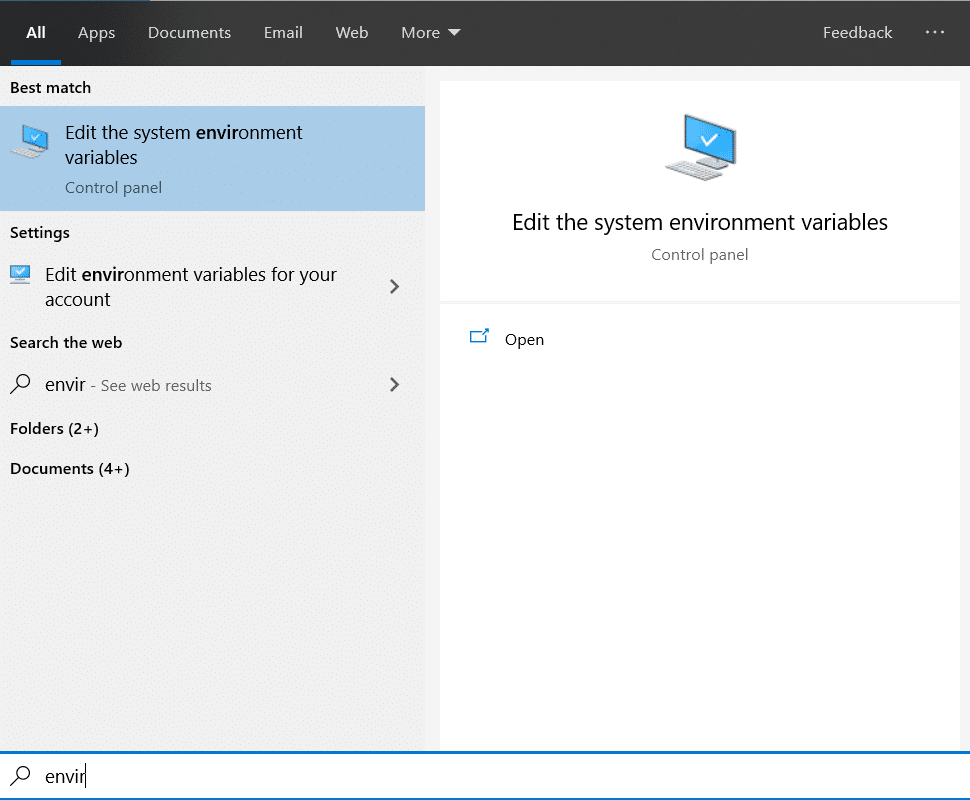
Follow the below steps to set the environment PATH for the Python.
- First, go to Local Disk (C:)/Users/YourComputerName/AppData/Local/Programs/Python/Python_Version/Scripts

- Second, search for the Edit the system environment variables and open it.
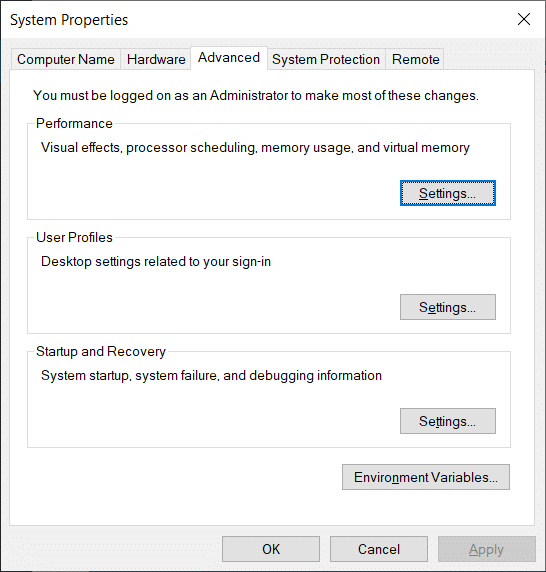
- Thirdly, click on the Environment Variables, a new window will appear, as shown below.
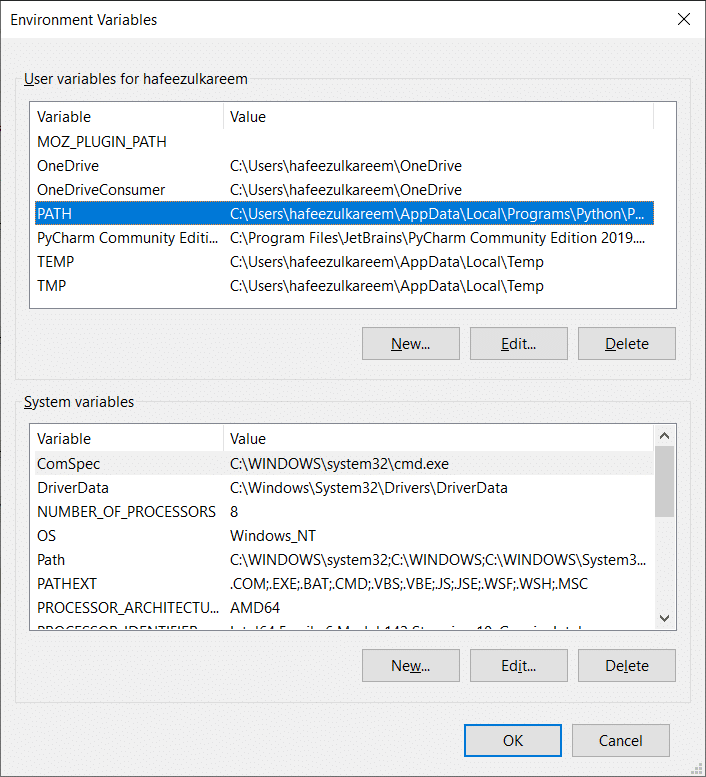
- Fourthly, double click on the PATH.
- After that, click on the New button and paste the path you have copied earlier.
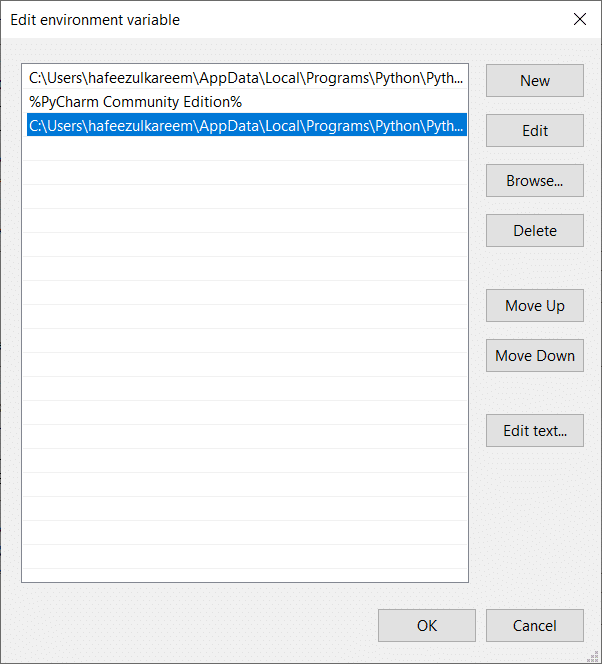
-
Now, remove the Scripts at the end of the path and add again by clicking the New button.
-
Finally, click OK for three windows. Now, you can run the Python in the command-line.
Install Python on Mac OS
If your Mac OS doesn't have Python installed, then follow the below procedure to install the latest version of Python.
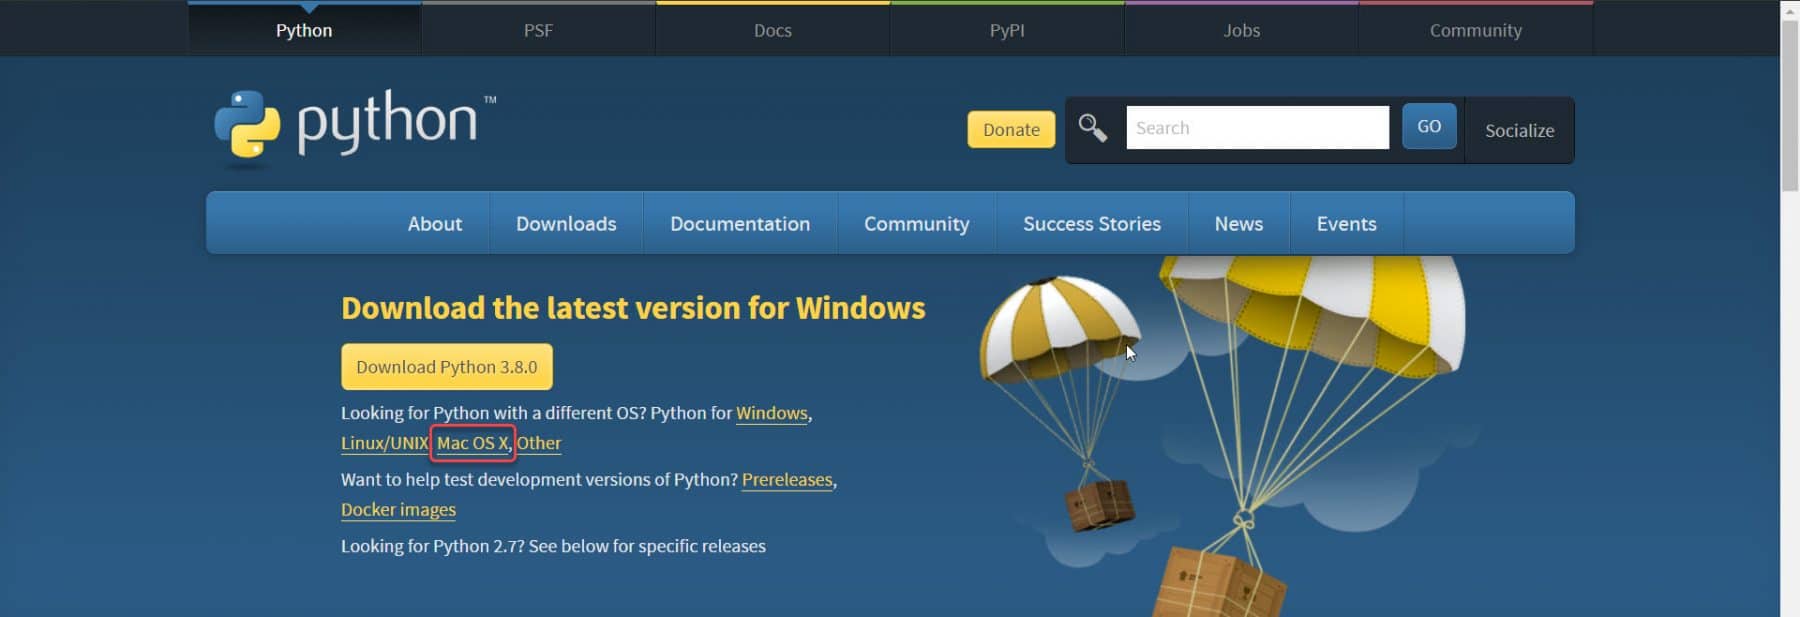
- Firstly, go to the download page of the Python official website.

- Secondly, click on the Mac OS X to go to the Python versions page.
- Thirdly, click on the Latest Python 3 Release - Python 3.8.0 to go to the files download page.
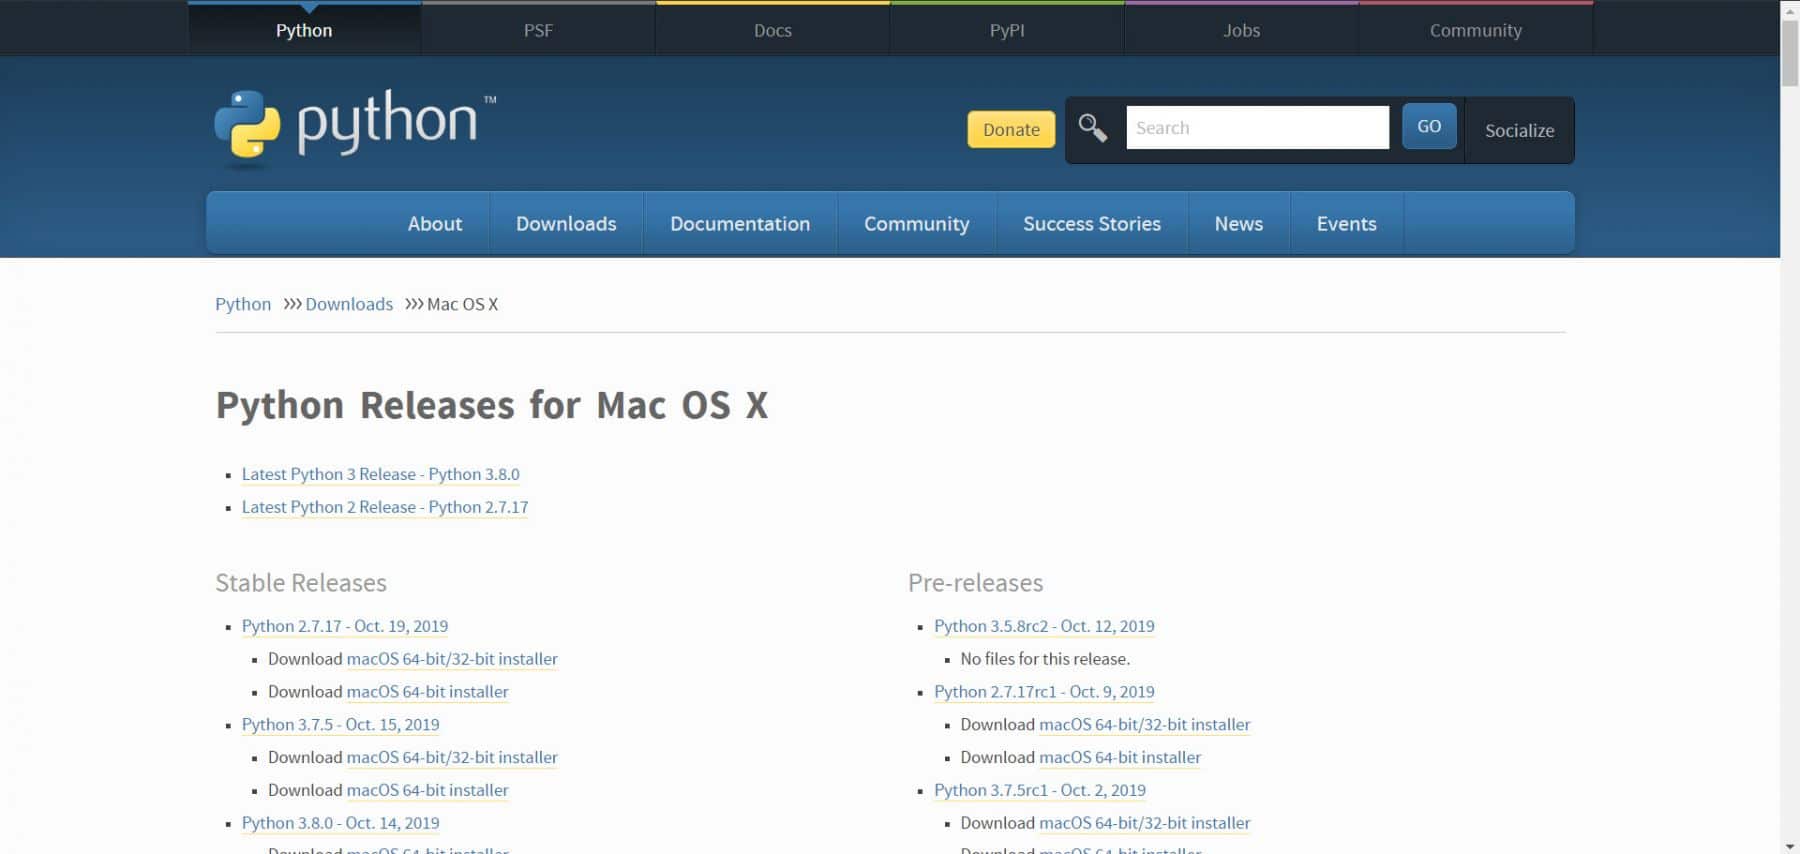
- Fourthly, scroll to the Files section. Click on the macOS 64-bit installer to download the file.

- Finally, after the completion of the downloading, double click the .pkg to start the installation.
We are going to work with the Python3.8.0 in this course. So, confirm the Python version before moving. Consequently, run the command python --version to get the version of Python.
Install IDLE Integrated Development Environment (IDE)
IDLE is the Integrated Development Environment for Python. It is an IDE for Python. [Don't think much: IDE provides different types of features like coding, debugging, monitoring resources, etc.
Install IDLE on Windows
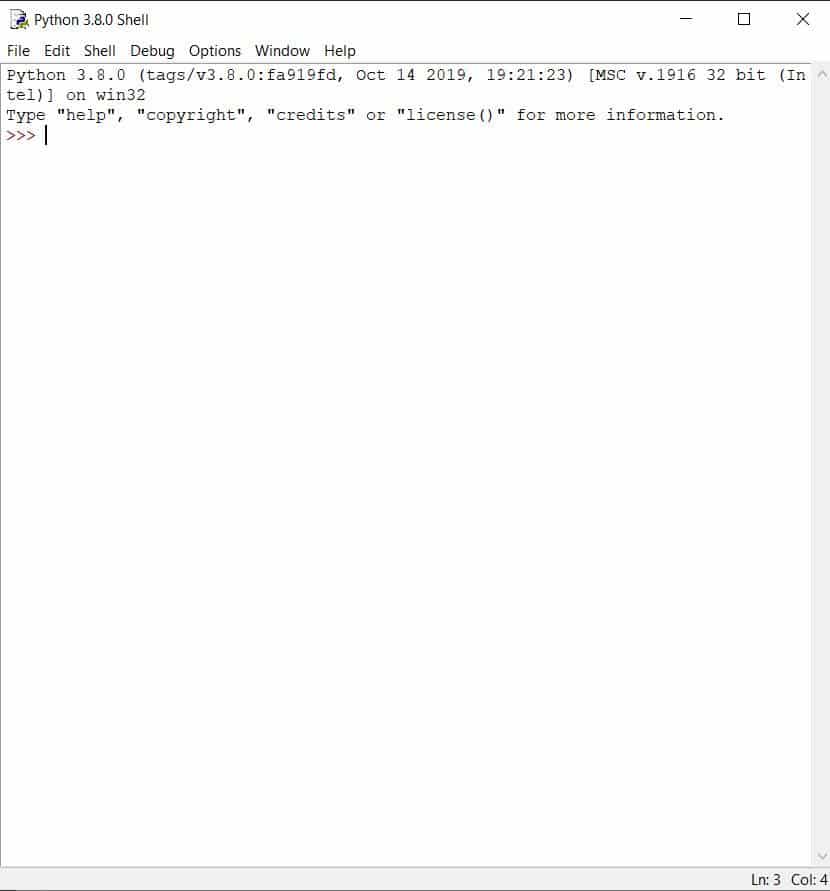
We don't have to install it separately for Windows. If you have Python installed on your PC, then it will have an IDLE as well. Moreover, Windows users don't worry about anything; stay calm. Search for the IDLE in the start menu and click it to open. It'll look as follows.

Install IDLE on Linux
To check whether your Linux operating system has IDLE or not, run the idle command in terminal and hit ENTER.
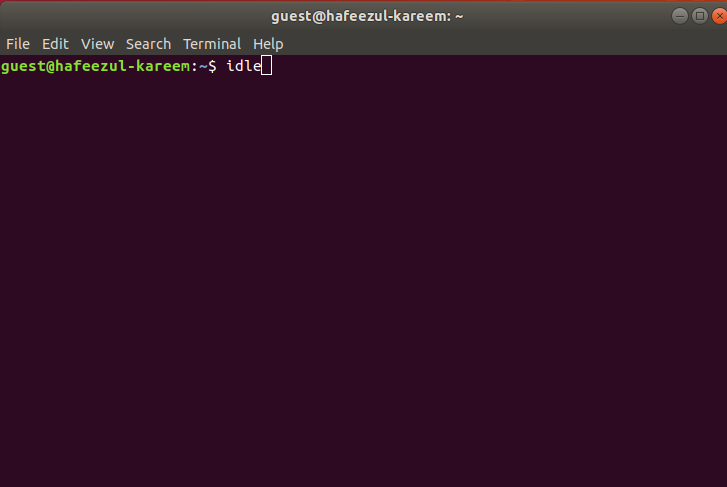
If you have IDLE installed in your Linux, then it will open a window as follows. That's the IDLE.
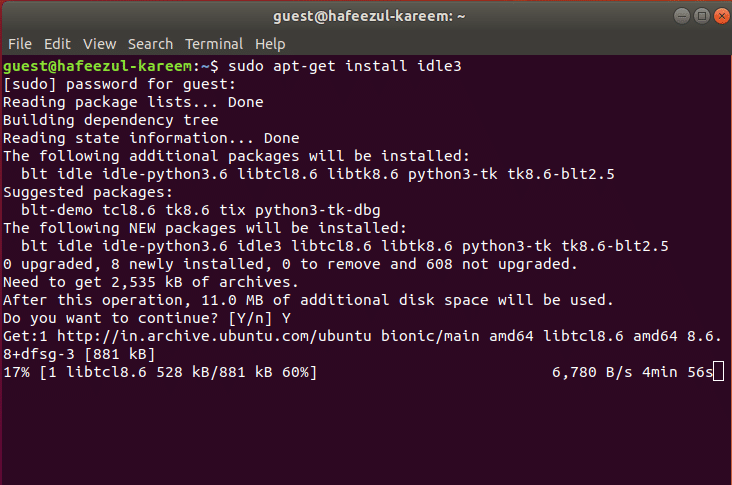
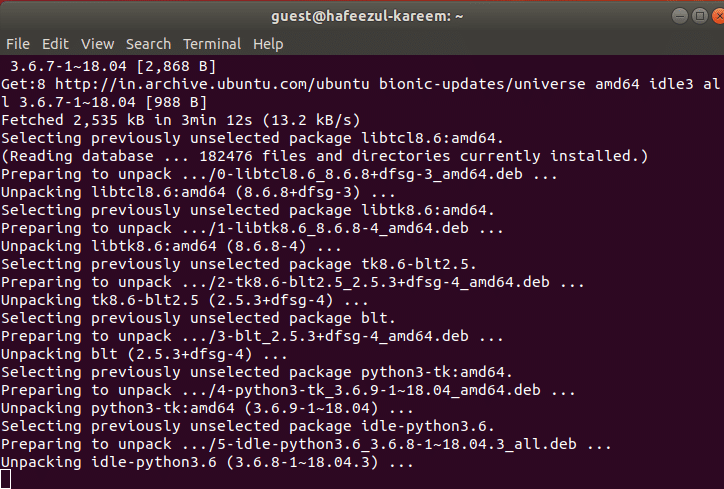
Moreover, if you don't have installed IDLE in your Linux system, then run the following commands to install.
sudo apt-get update

sudo apt-get install idle3
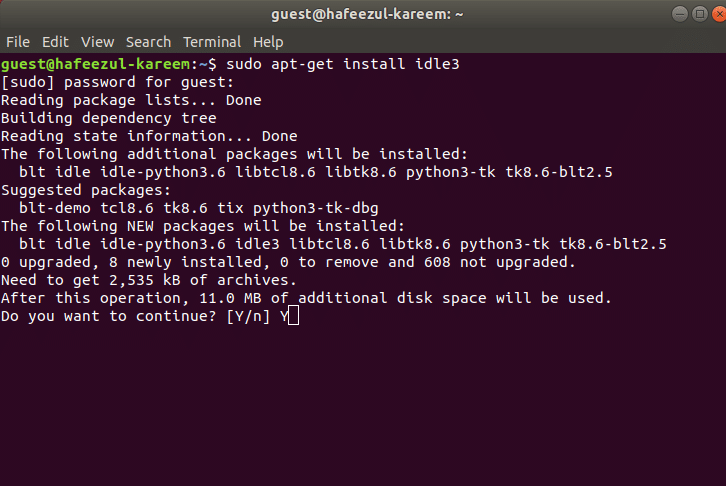
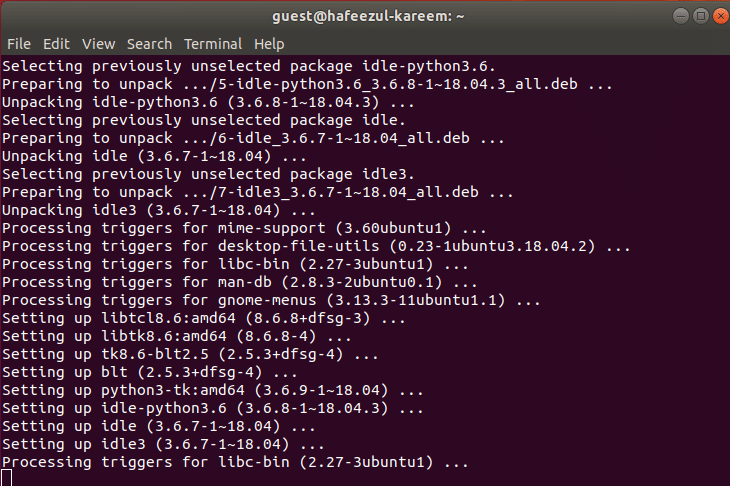
Now, check the installation of the IDLE using the command idle.
Install IDLE on Mac OS X
You don't have to install IDLE separately. Open the terminal and type the command idle to open it.

That's it. Next, we are going to install the most popular IDE PyCharm for Python.
Install PyCharm for Python
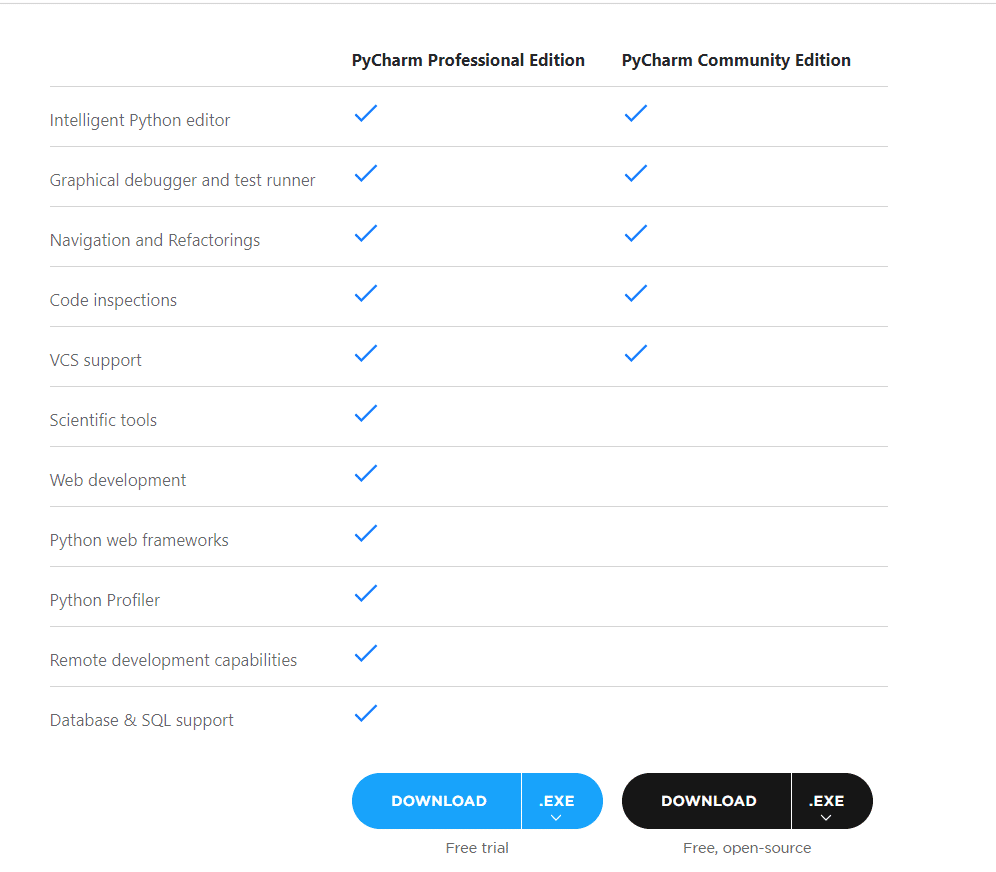
PyCharm is a JetBrains IDE for Python. It's one of the most popular IDE for the Python. We are going to use the PyCharm IDE in this course. You can skip the installation process if you have PyCharm already on your PC.
Install PyCharm on Windows
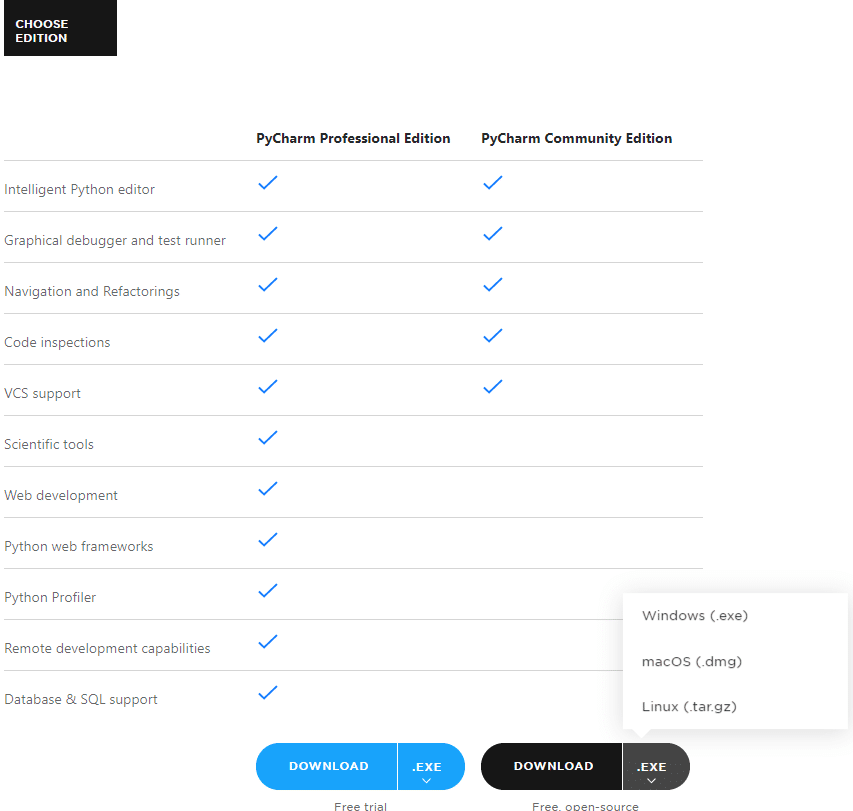
- First, go to the PyCharm official page to download the package.

- Secondly, scroll down to the download section.

- Thirdly, choose the Windows(.exe) from the drop-down in the community section.

-
Fourthly, click the download button.
-
After downloading the file, double click it to start the installation process.
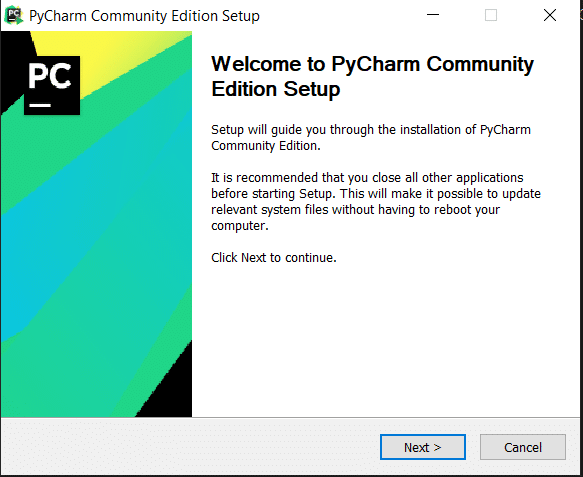
- After this, click the Next button. You will see the following screen.
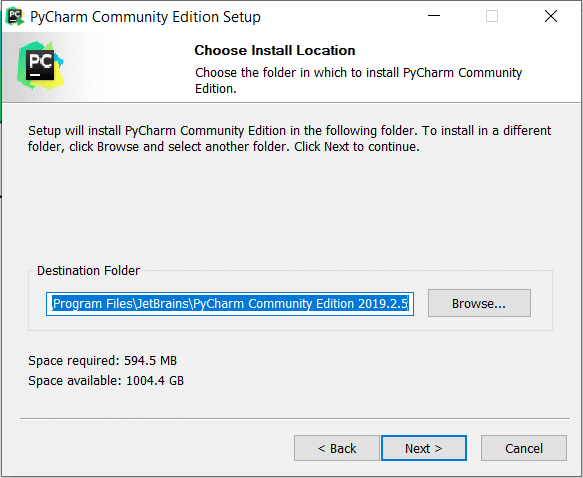
- Finally, select the installation folder. I recommend you to leave the default folder for installation. And click Next. In the next step, you will see installation options as follows.
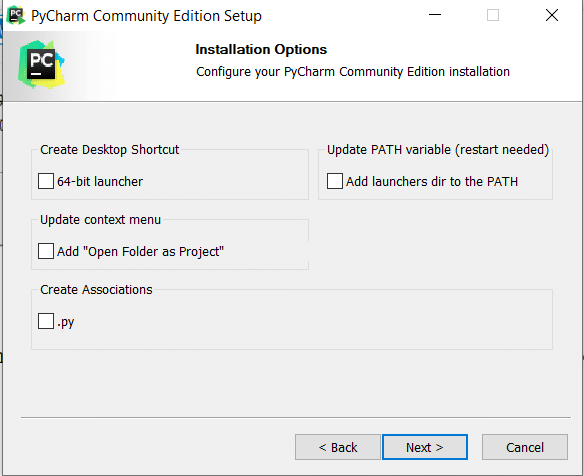
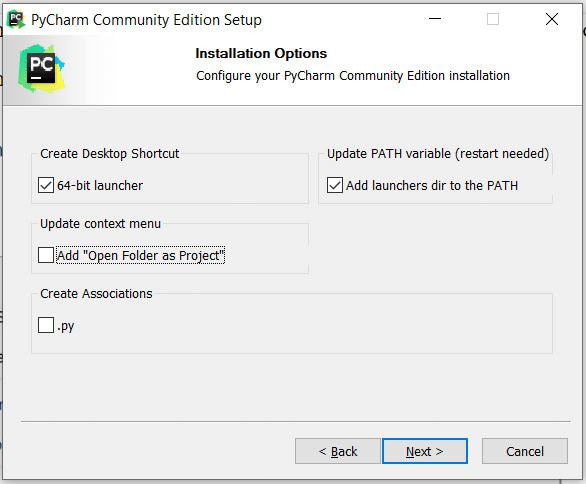
- After that, select a 64-bit launcher for Desktop shortcut. Additionally, add launchers dir to the PATH for environment variable setup. And click Next.
- After that, click the Next button.
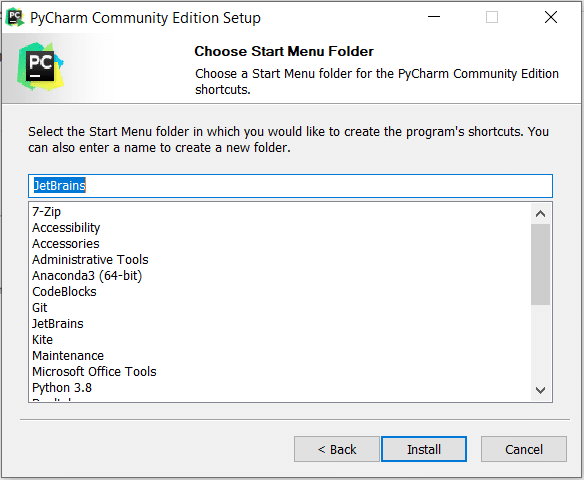
- Finally, click the Install button to start the installation.
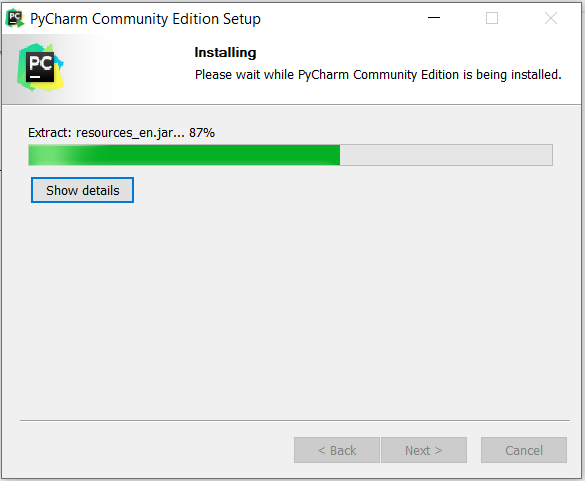
- If it asks for the reboot, then restart the PC. And you finished the most boring part of the coding.
Install PyCharm on Linux for Python
- Firstly, go to the PyCharm official page to download the package.

- Secondly, scroll down to the download section.
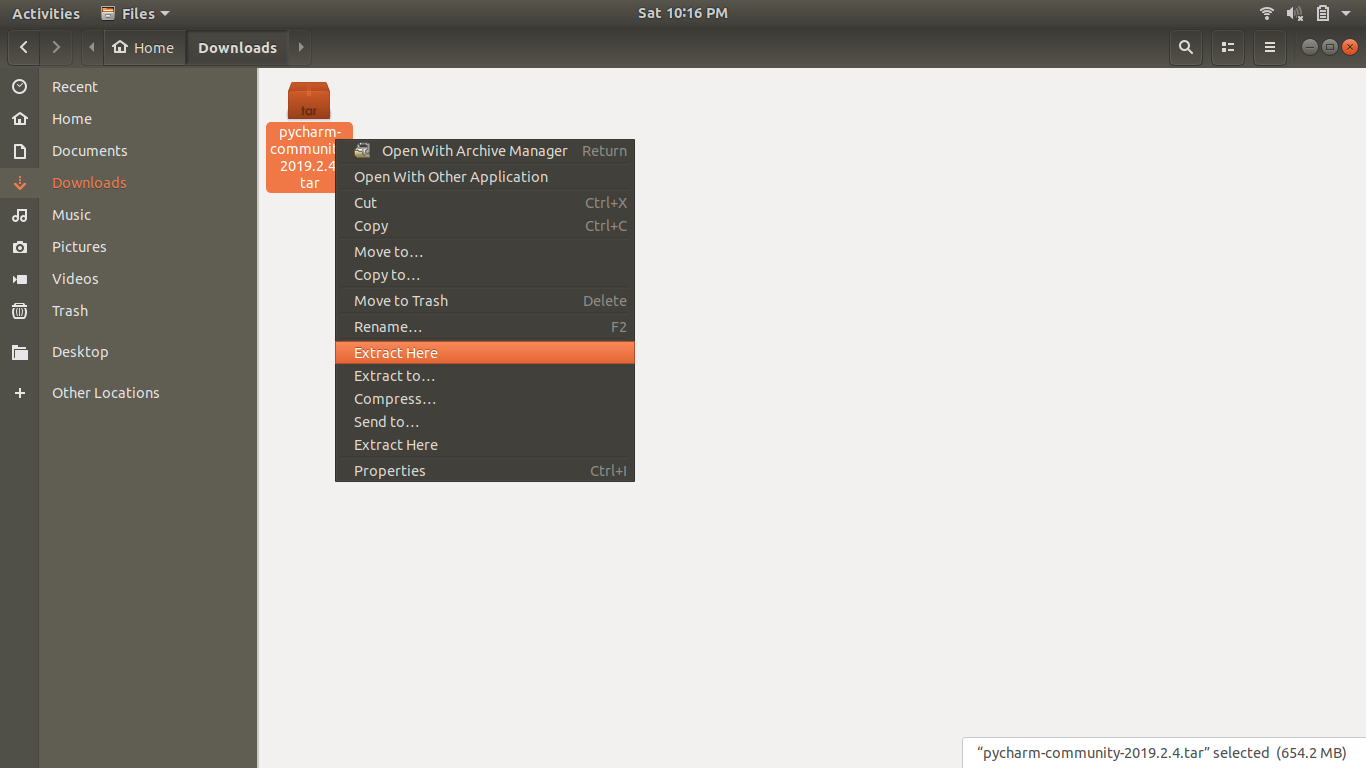
- Thirdly, choose the Linux(.tar.gz) from the drop-down in the community section, and download will start automatically.

- After that, extract the .tar.gz file.
- Open the extracted folder, and you will see a file called Install-Linux-tar.gz.txt. It contains instructions to install the PyCharm. Subsequently, you can follow those instructions or else follow the below steps.
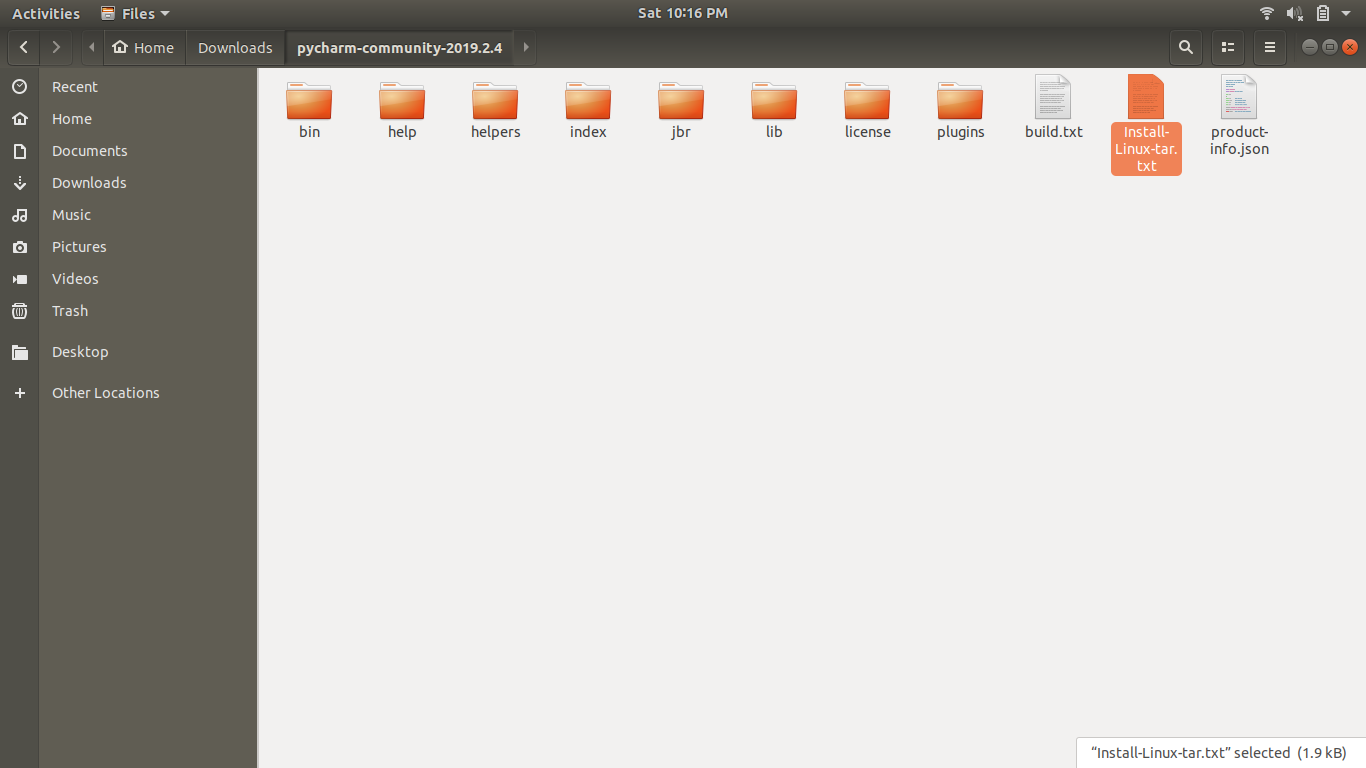
- After that, open the terminal and change the directory to the PyCharm folder. And run the below commands.
- cd pycharm-community-2019.2.4
- cd bin
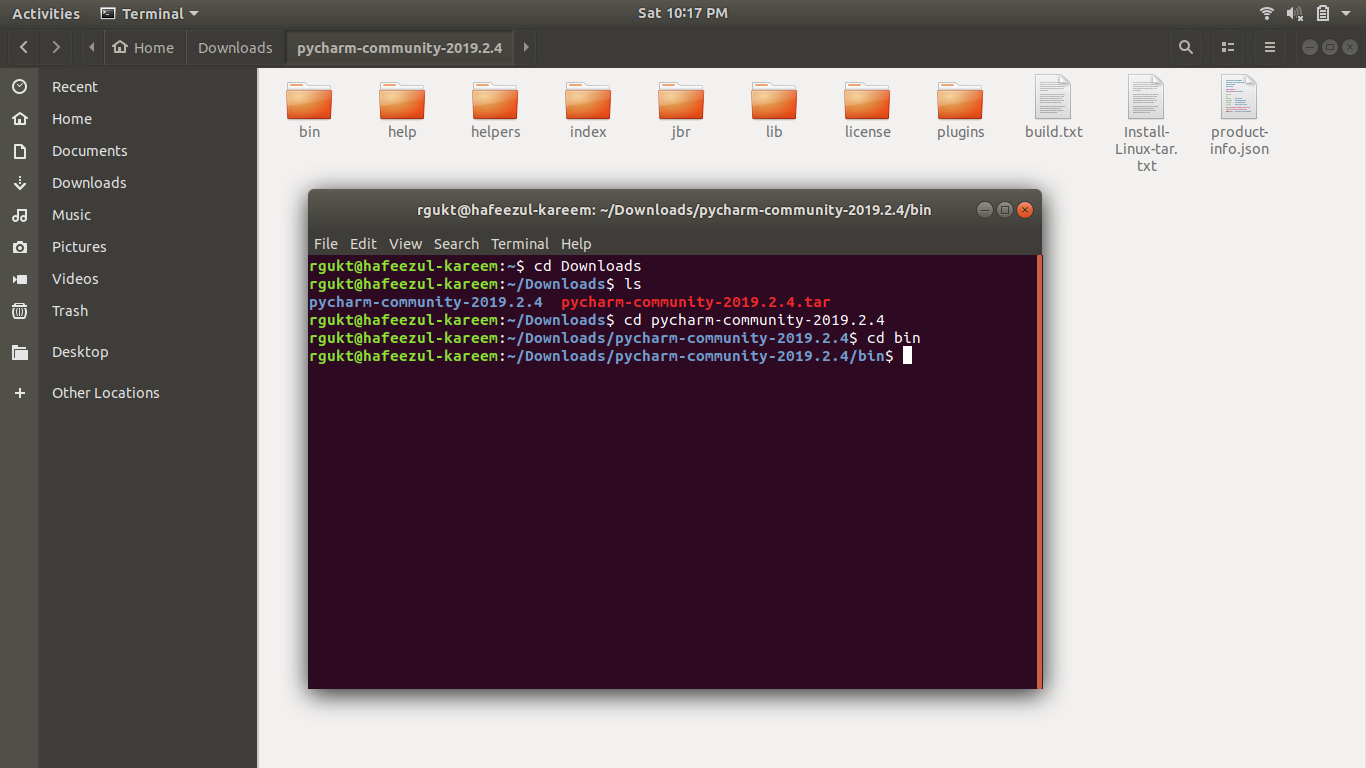
- Run the command ./pycharm.sh to open the PyCharm.
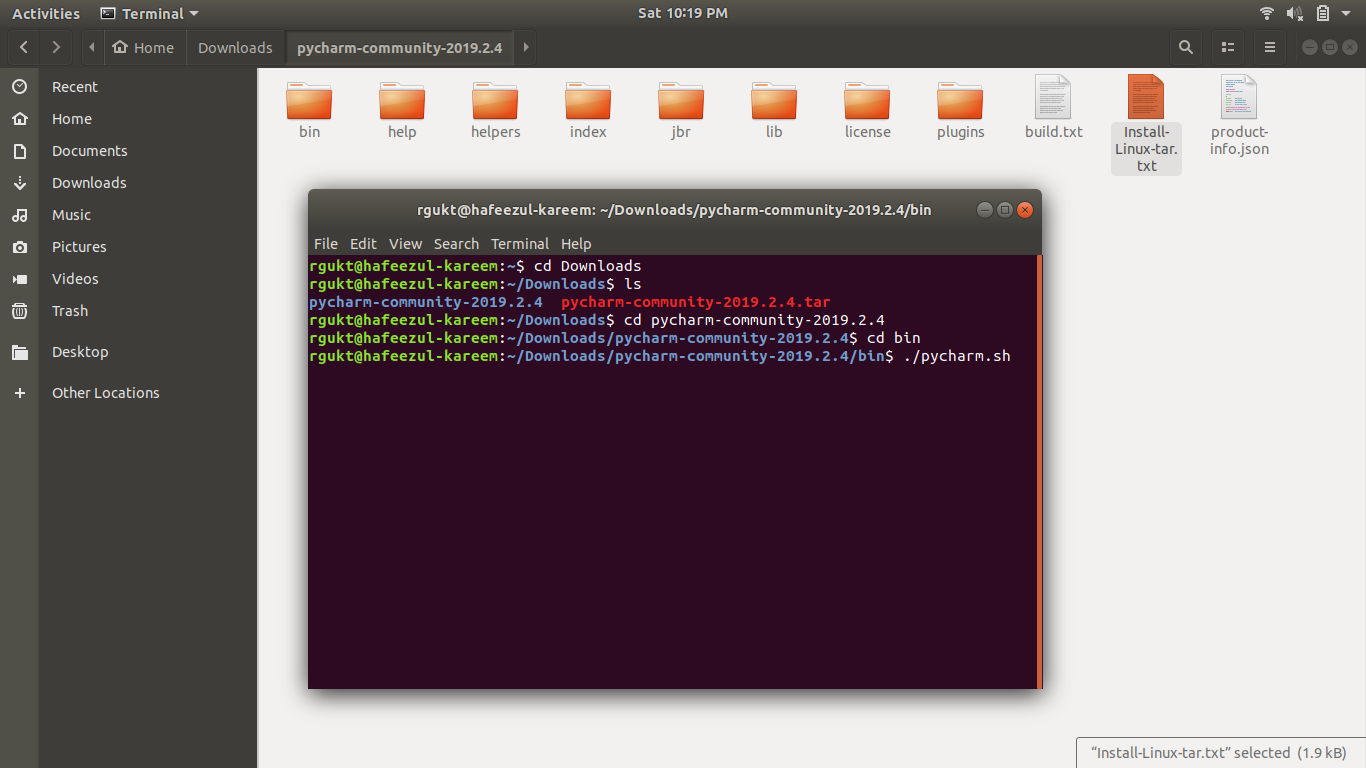
- Consequently, you will see a window as follows.
-
Follow the steps in the section Common Configuration for PyCharm.
-
After configuring the PyCharm, complete the below steps to create Desktop Entry for PyCharm.
-
After that, open the PyCharm from the terminal by running ./pycharm.sh command.
-
At the bottom of the window, you will find a drop-down option called Configure. Click it.
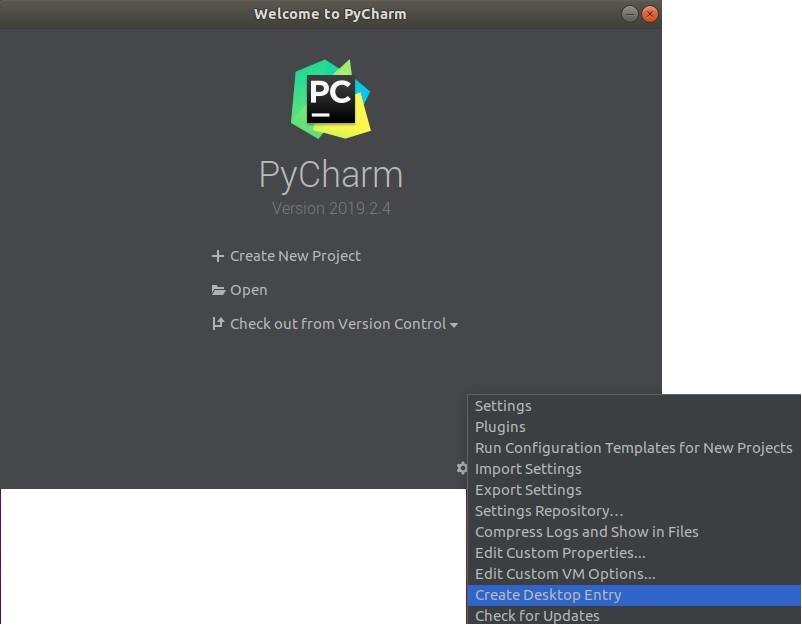
- After that, click the Create Desktop Entry option from the drop-down list. It will open a window as below.
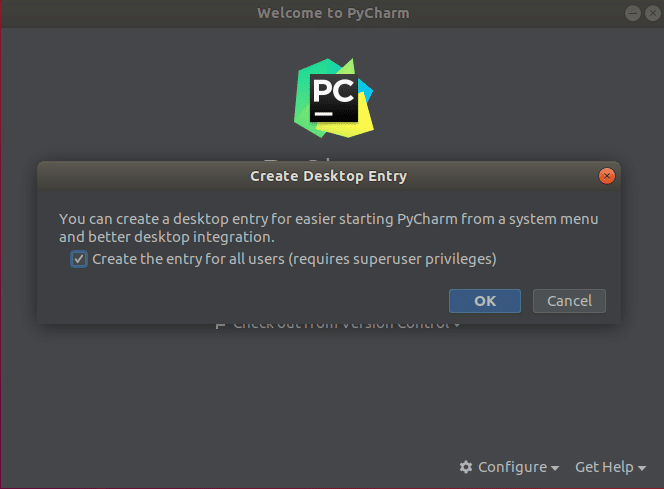
- Finally, check the box and click OK. And enter the password of the computer.
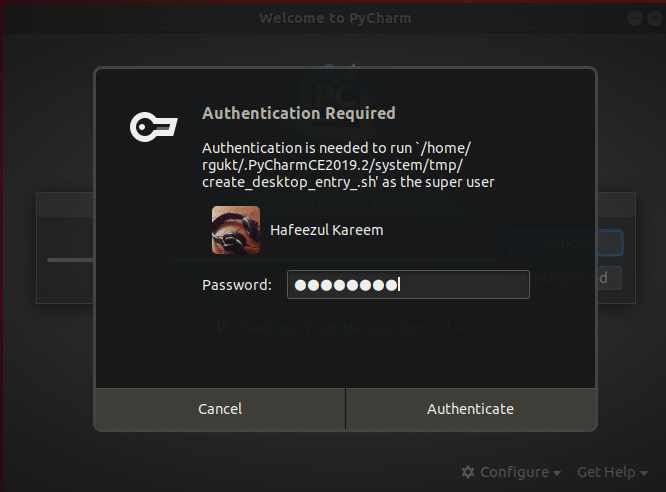
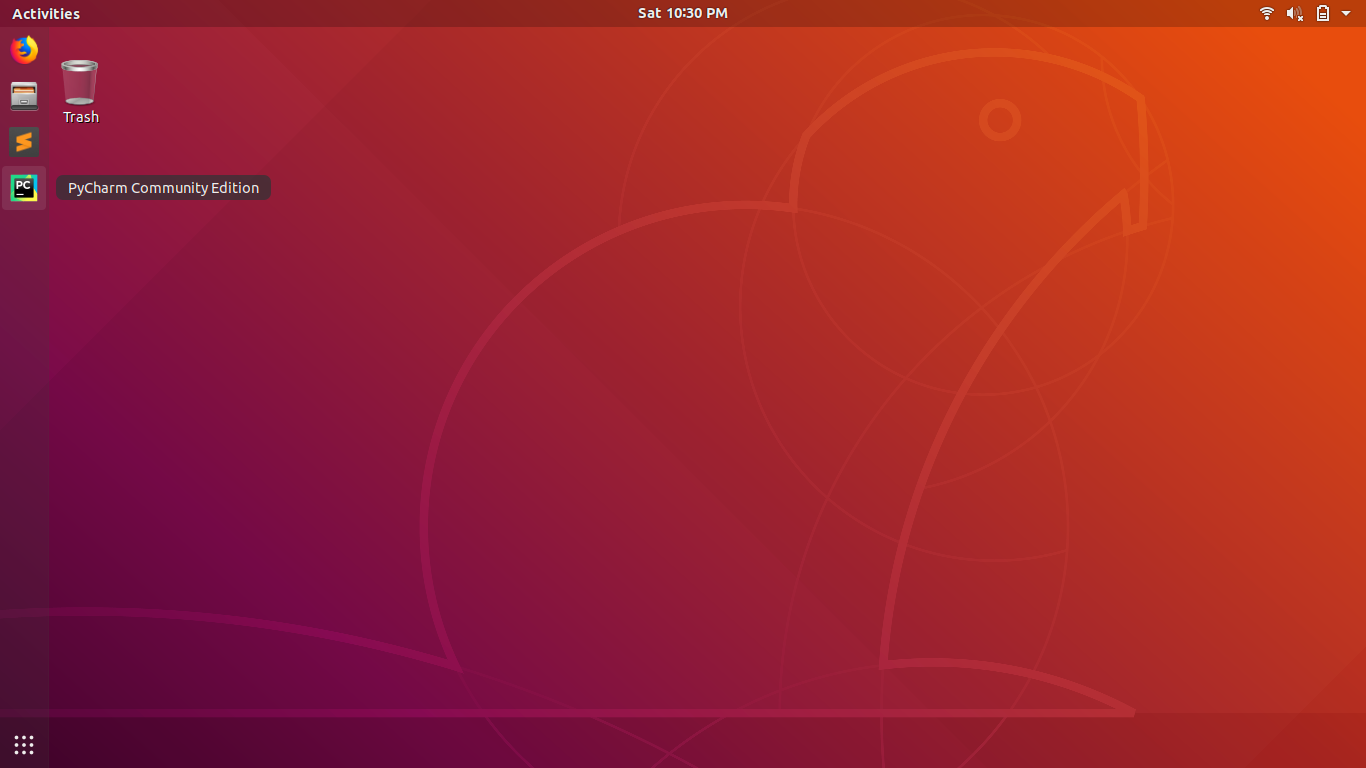
- That's it. You have created the PyCharm desktop entry successfully. Now, you can launch the PyCharm from the menu.
Install PyCharm on Mac OS X
- Firstly, go to the PyCharm official page to download the package.

- Secondly, scroll down to the download section.

- Thirdly, choose the mac(.dmg) from the drop-down in the community section, and download will start automatically.
-
After downloading the .dmg file, double click it to begin the installation process.
-
After that, drag the PyCharm into the Applications folder.
-
Finally, go to the Applications folder and double click the PyCharm to open it. That's it. You have installed the PyCharm IDE.
Common Configuration for PyCharm
-
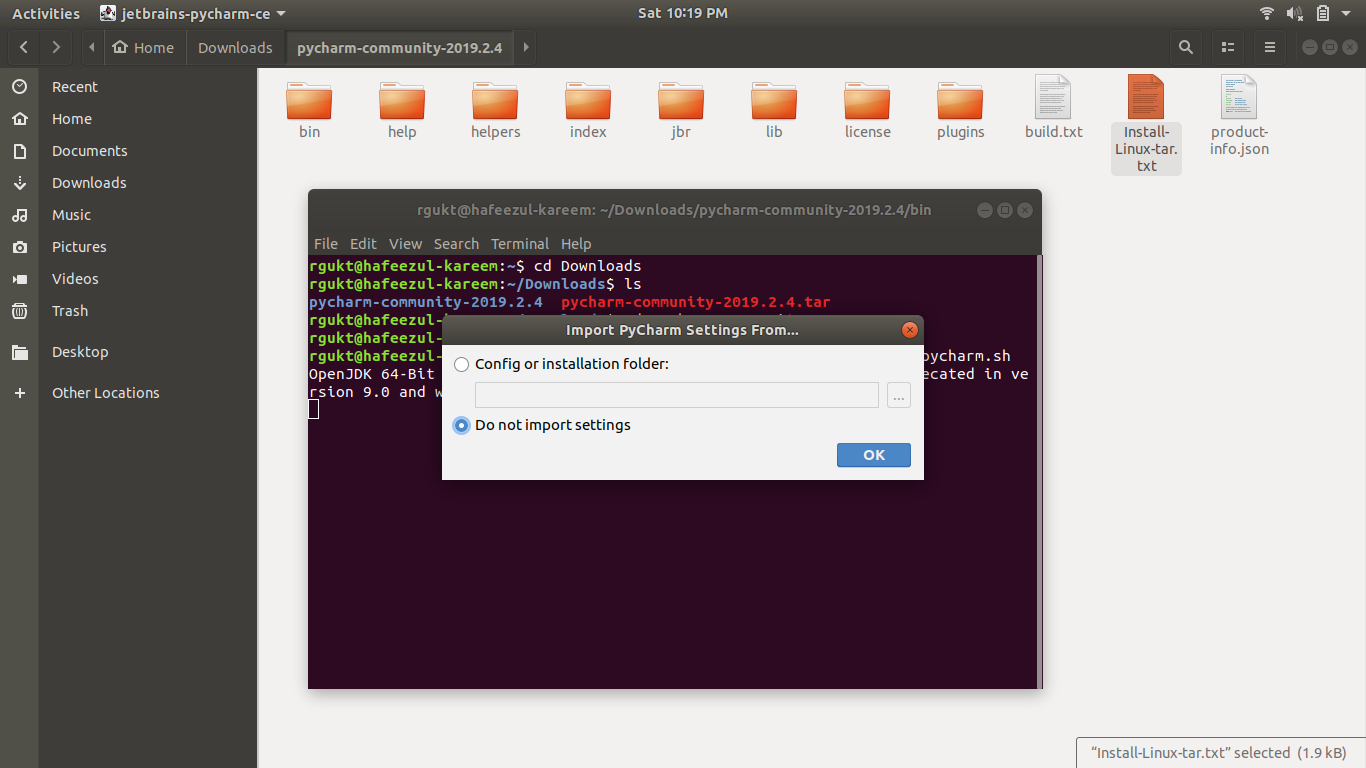
Firstly, open the PyCharm to configure some settings before starting coding.
-
One window will appear as follows.

-
Secondly, select the Do not import settings option, which is the default one, and click the OK button.
-
After that, in the next window, it asks to accept the license. Accept the license and click Continue.

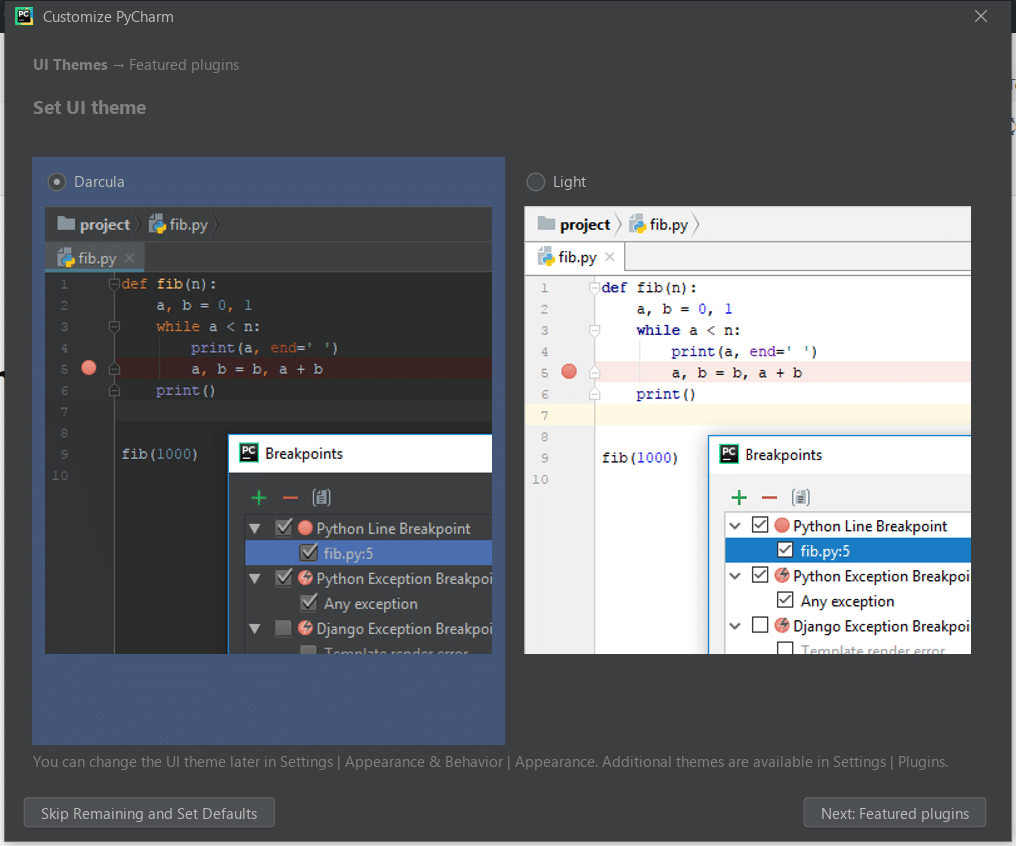
- Select the theme for PyCharm and click the Next: Featured plugins button.
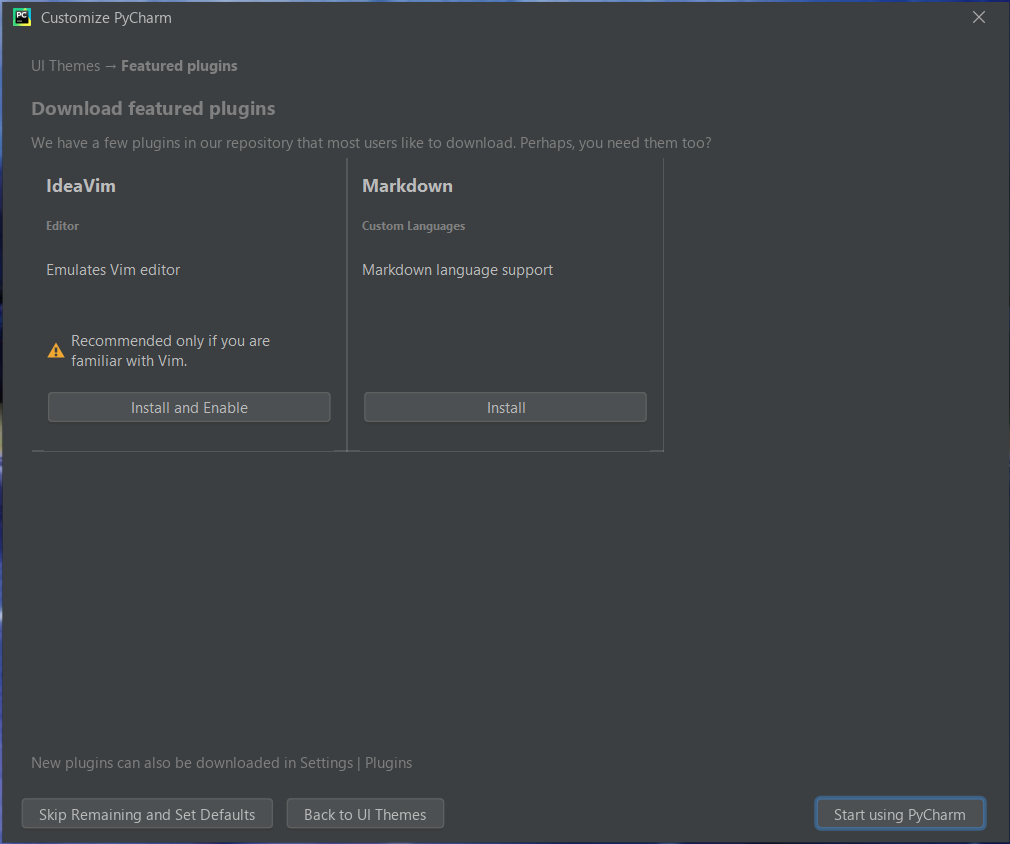
- Additionally, PyCharm will show you some featured plugins to install. Ignore them for now and click Start using PyCharm.
- Finally, you will get the following screen after completing all the steps.
Conclusively, you are now ready with the Python setup. Let's get into the action from the next tutorial.
What Next?
Phew! We have completed the most annoying part of the course. Now, you are all set to write your first Python program. We are going to use PyCharm throughout the course. Therefore, make sure that you have installed it. Additionally, if you are facing any problem in installing the Python or PyCharm, please let me know in the comment section.
Happy Coding :)