In the current era of Agile, where application development focuses primarily on time to market, software automation tools get a similar pressure to keep up with this rapid pace of innovation. Most vendors have adapted by focusing on the necessary capabilities first, and then providing additional features to adapt or extended functionalities as plugins or TestProject Addons.
TestProject takes advantage of these best practices with the concept of Addons, where Addons provide the ability to extend the capabilities needed to automate the applications. In this article, we will discuss how Addons can be added and used in TestProject, by covering the details under the following sections:
- What is an Addon in TestProject?
- How to install TestProject Addons?
- How to use TestProject Addons?
What is an Addon in TestProject?
An Addon is a reusable coded action that we can integrate with our test cases to provide useful features. These are the components that provide the extended capabilities which are not directly provided by TestProject out of the box. For example, suppose your application has a functionality to upload a file to the server. Now, TestProject does not directly provide this capability. So either we can create this functionality, using any of the programming languages using the TestProject's SDKs, or we can use an Addon, which provides the capabilities to upload the files without needing to write any code. So, even though the capability was not available in TestProject, the Addon enhances the core capabilities to perform these operations.
TestProject supports two ways to integrate and use Addons:
- Community Addons: These are the Addons that the Test Automation Community creates and shares. Additionally, we can use these add-ons directly in the test cases to save development time. Before being shared with the entire community, the TestProject team reviews the code and approves the Addon for public usage.
- Account Private Addonsons: Individual developers can develop their Addons that they can customize for their applications. Moreover, these Addons are only accessible to account team members. In addition to that, they do not need to be approved by TestProject before the upload/usage.
Now, let's see how we can add addons in TestProject and use their capabilities in our test cases:
How to install TestProject Addons?
Now, let's see how we can install any TestProject Addon in Project. For this, we need to follow the below steps:
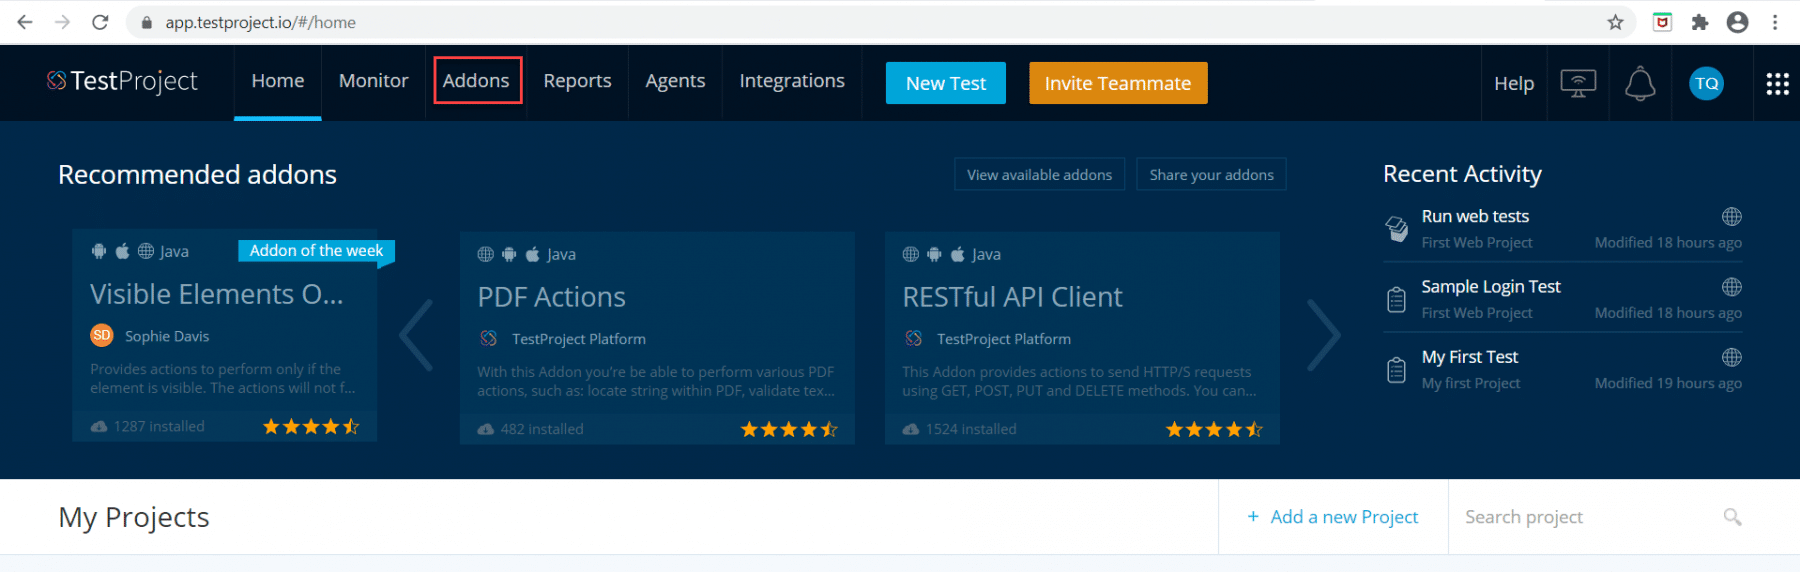
Step 1: Firstly, go to the TestProject portal and login with your credentials. After that, when the Dashboard opens, there is a "Addons" link present in the menu bar, as highlighted in the below image:
Step 2: Secondly, now click on this Addons link, and you will be redirected to the Addons Page.

Step 3: Thirdly, you will see the section of "Community Addons "marked by marker 1, which lists all the addons that are shared by the Test Automation Community. These are the addons that are available for all the users of TestProject.
Just below that, there is another section called "Installed Add-ons", marked by marker 2, which shows the addons, that have been installed by you. The "Installed Addons" section also contains two sub-sections. One is "My Addons", which shows the installed add-ons, which are your private addons. The other one is "Comunity Addons", which shows the installed addons, which you have installed from the available community addons.
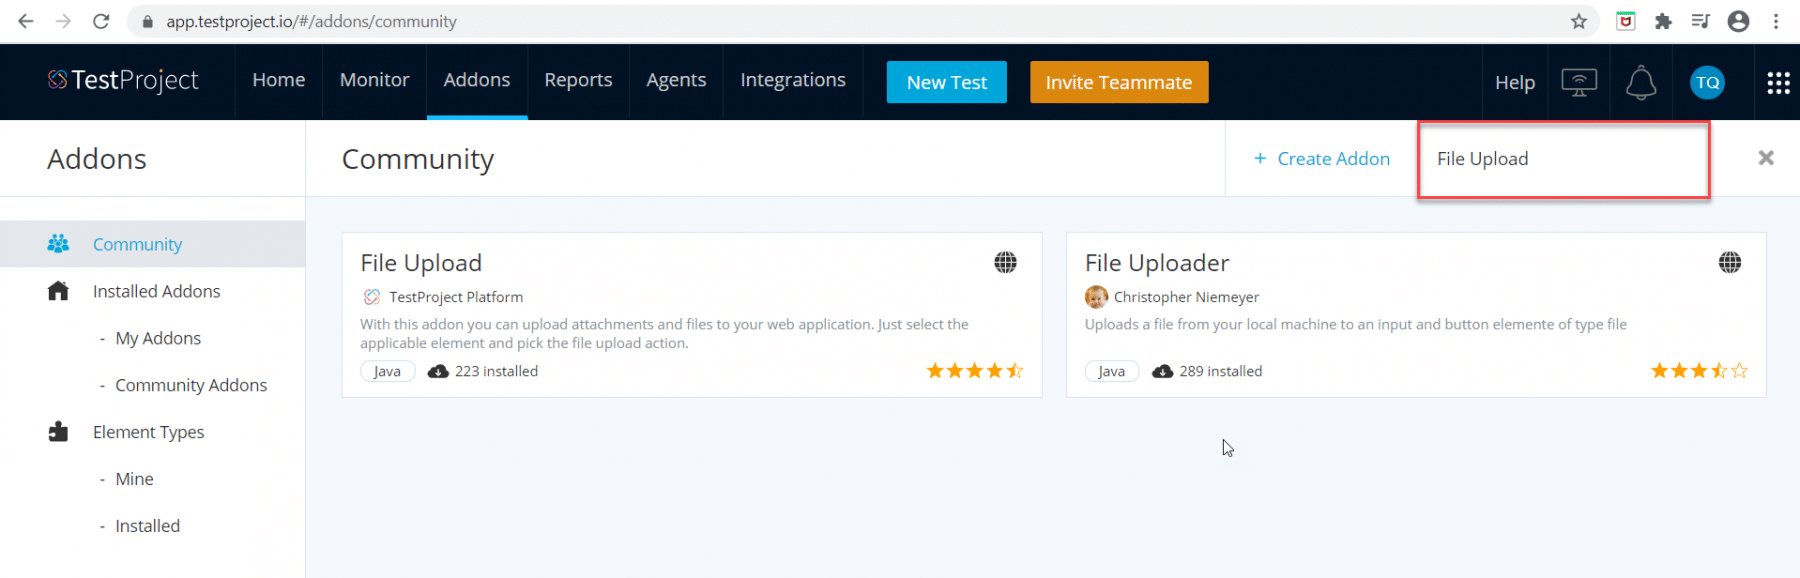
Step 4: Fourthly, search the Addon in the search box (highlighted in the below image) that you want to install and press the ENTER key. Let us suppose we want to find an add Addon related to File upload, then we search for "File upload" in the search box and press enter, and we will see all addons available related to file upload, as shown below:
Step 5: Now, click on the addon that you want to add to your TestProject account. In this case, I am selecting the "File Uploader " Addon. As soon as we click on the required addon, a popup will come as shown in the below image:
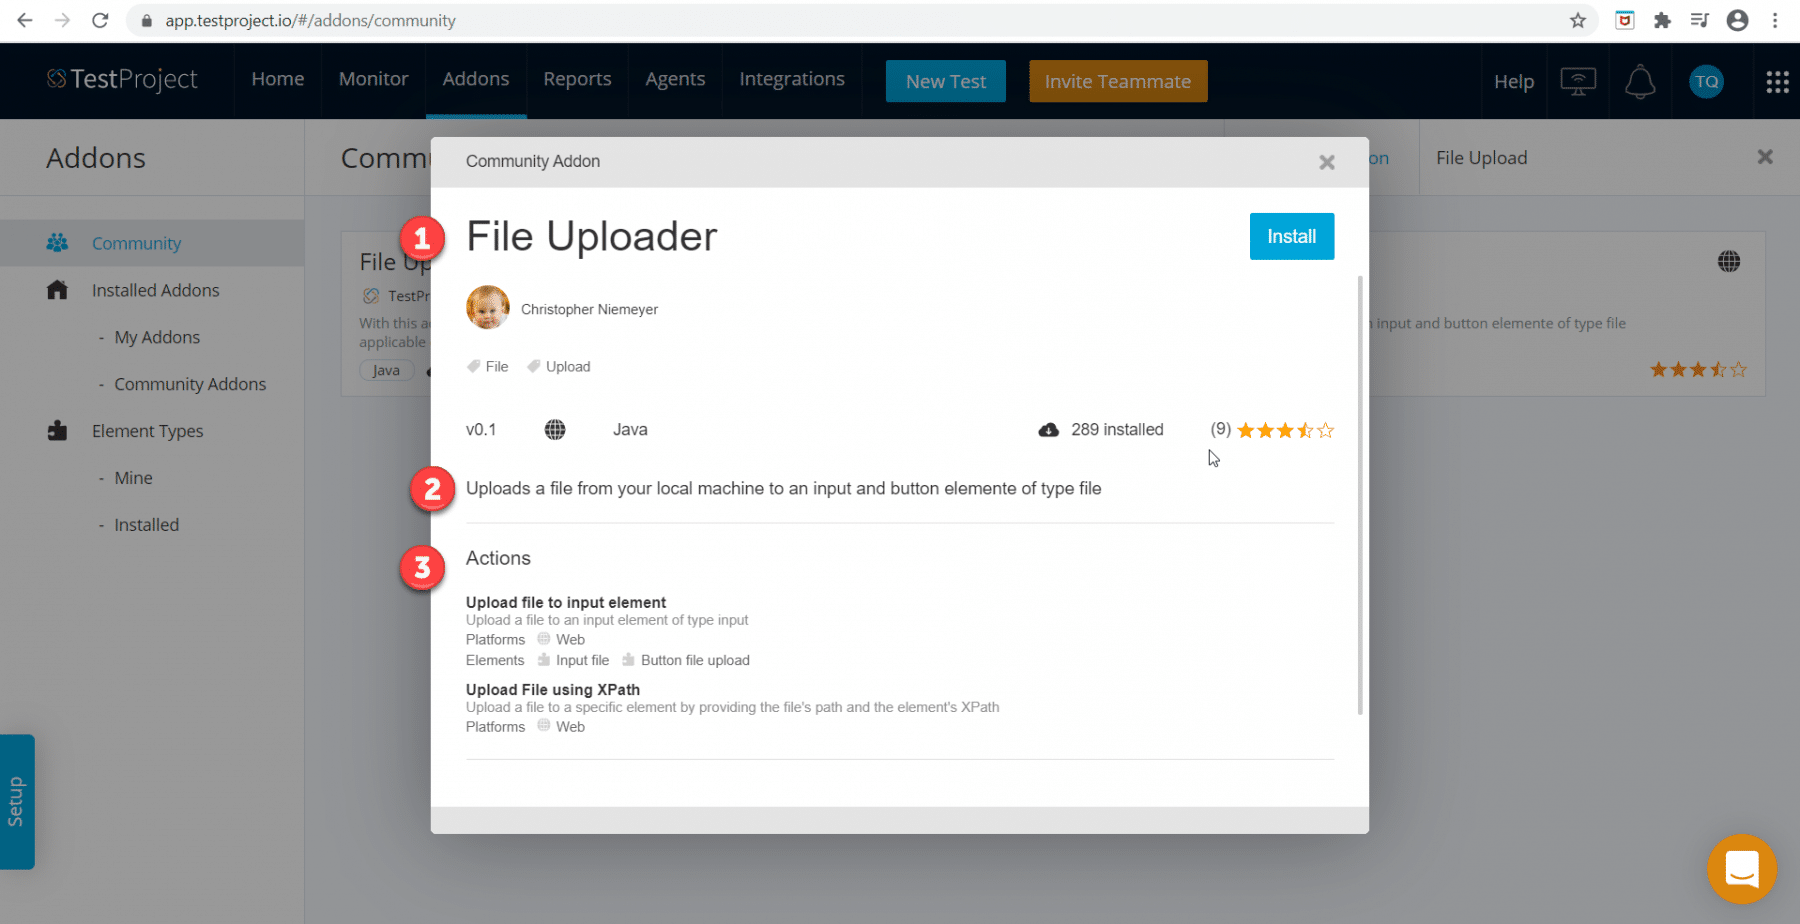
The popup will show some important information about the addon, such as:
- Marker 1 shows the name of the addon.
- The second marker mentions the description about an addon that what we can do with the help of this addon.
- The third marker describes different ways through which we can perform the relevant action using this addon.
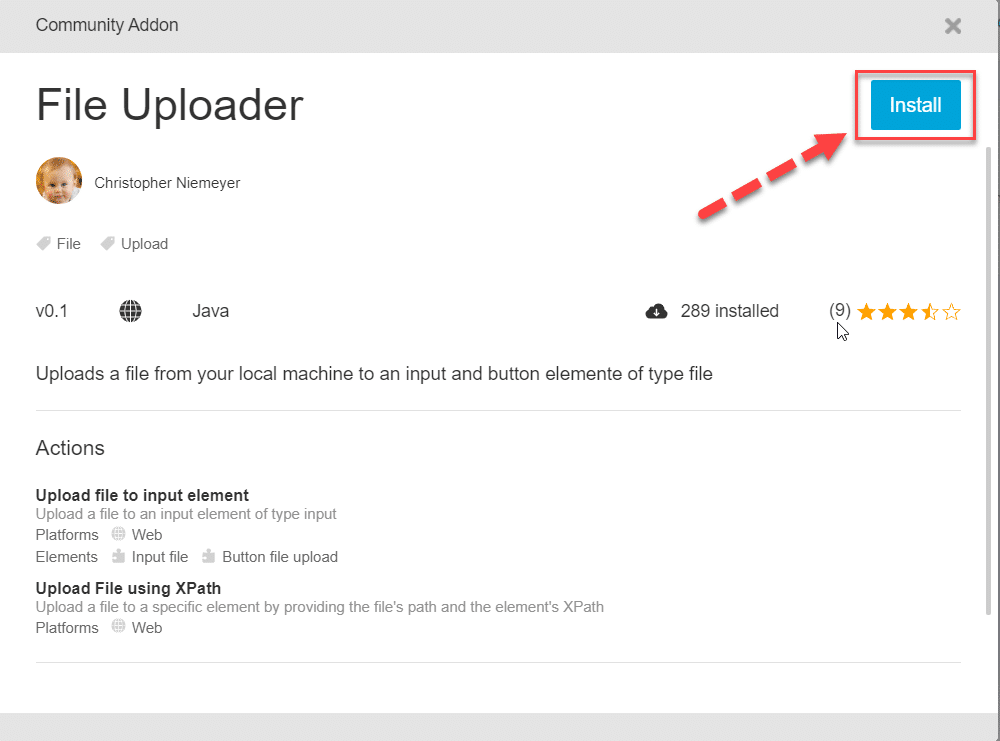
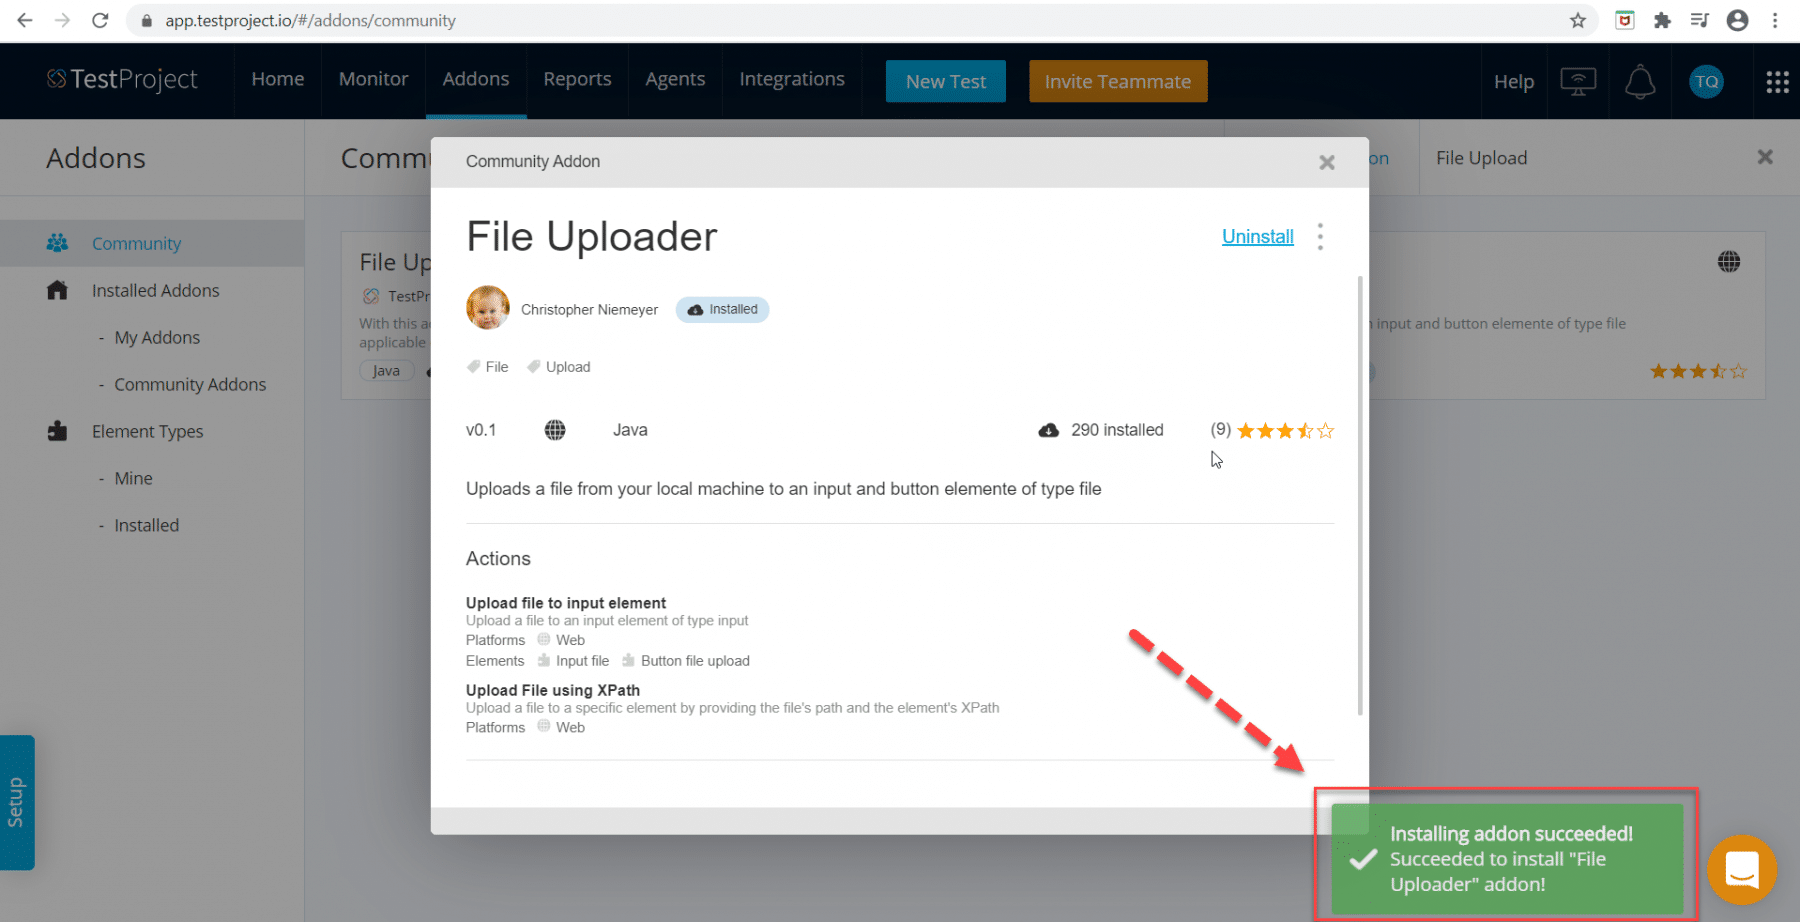
Step 6: Now, click on the Install button present on that popup, as highlighted in the below image.
Step 7: As soon as you will click on the Install button, then the installation process will start. After the successful installation, it will give a successful message, as highlighted in the below image.
Step 8: Now close the popup, and here the installation process for the addon is completed. Additionally, for the verification, you can click on the "Installed Addons" section, and you can see that the addon that recently installed shows under the "Comunity Add-ons "as highlighted below:
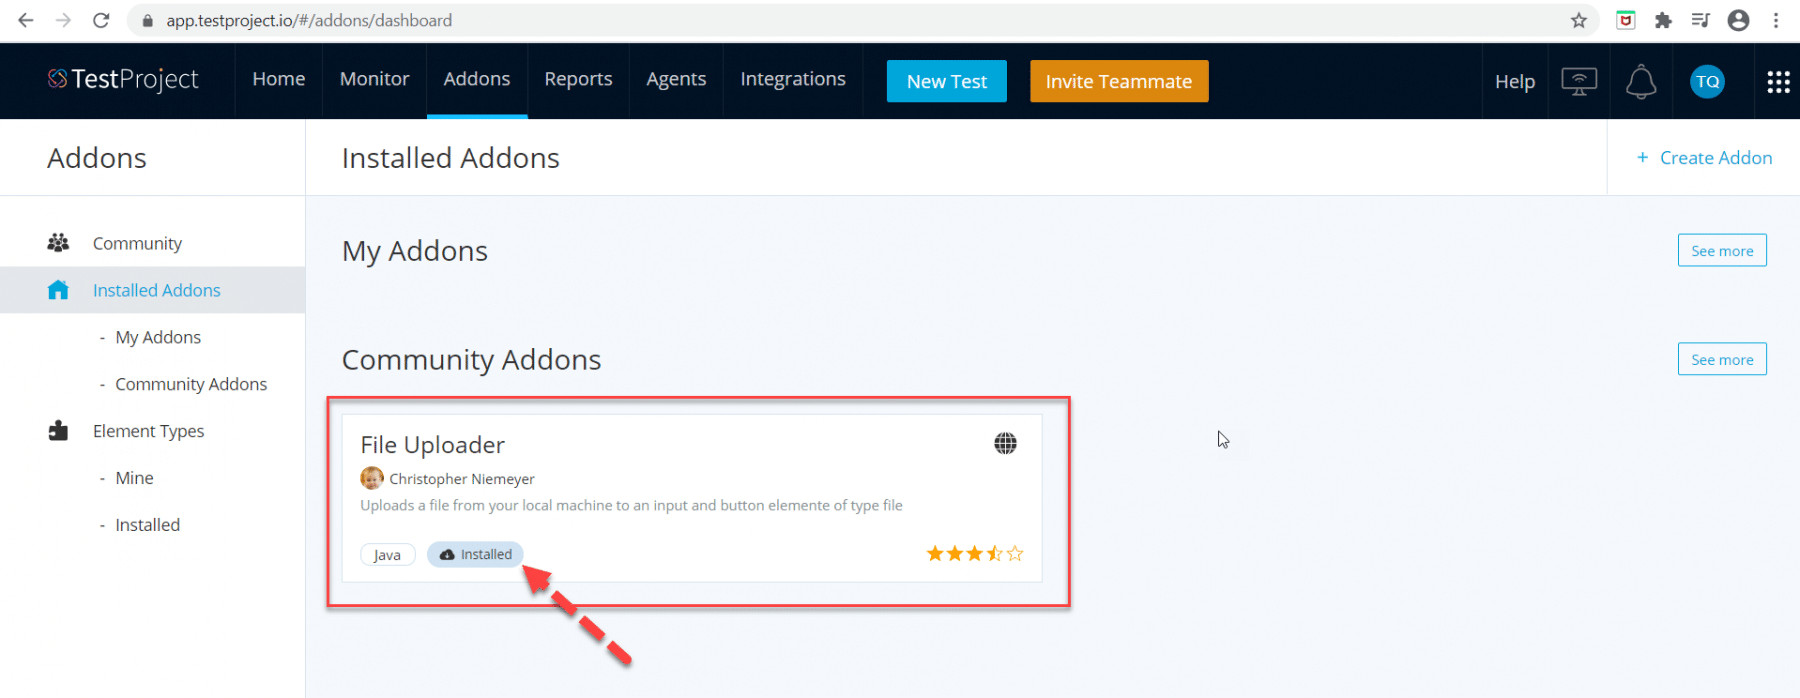
So that's all. You've successfully installed the Addon, and it is now ready for use in your test cases. Conclusively, let's now see how we can use this capability of "File uploading " in our test cases.
How to use TestProject Addon?
Now, let's see how we can use the installed TestProject AddOn in our test cases. Suppose we have a test scenario, where we need to upload a file. Follow the steps below to use the capabilities of "File upload " of the addon installed in the above section:
Step 1: First, go to The TestProject Home page and click on the "Add a New Project " link as highlighted in the below image. So firstly, we will create a new project, and inside the new project, we will create a new test case.

Note: For more information on creating the new Project and test case, refer to the article " TestProject: Installation and Setup". Here, we are going to create a test case for the workflow of a "File Upload" on the Web application "https://demoqa.com/upload-download".
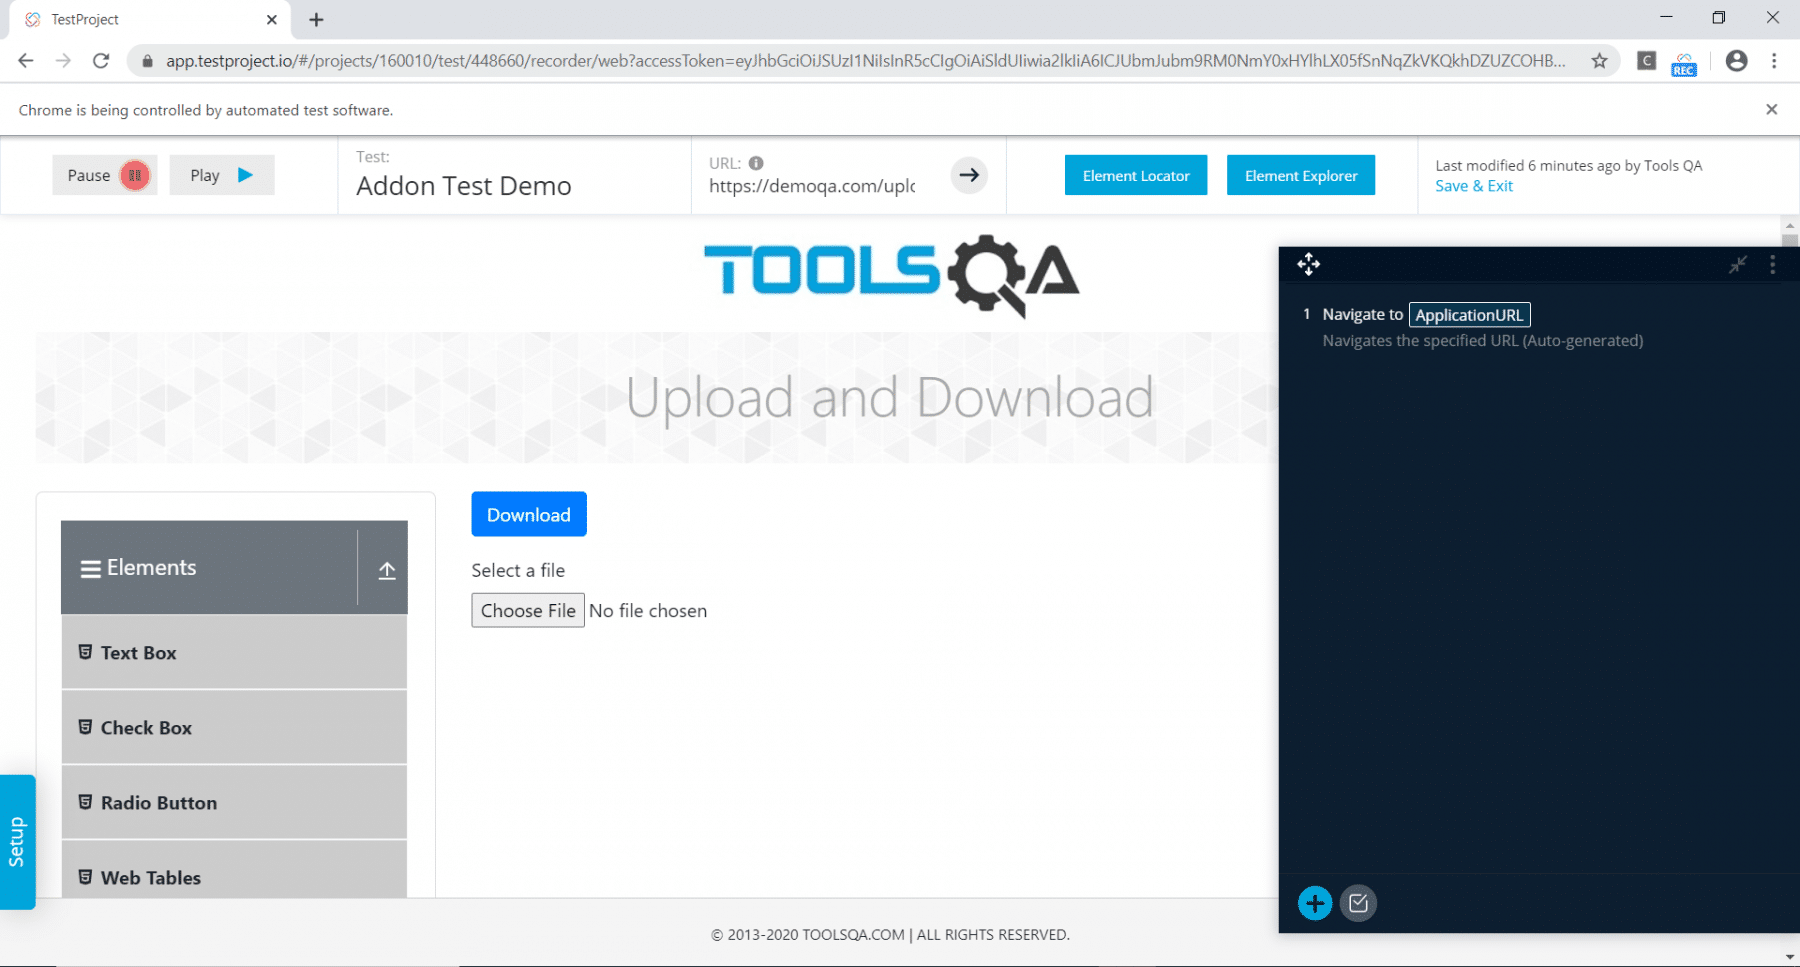
Step 2: Secondly, as we know, when the test case recording window opens, we will see a window similar to the following:
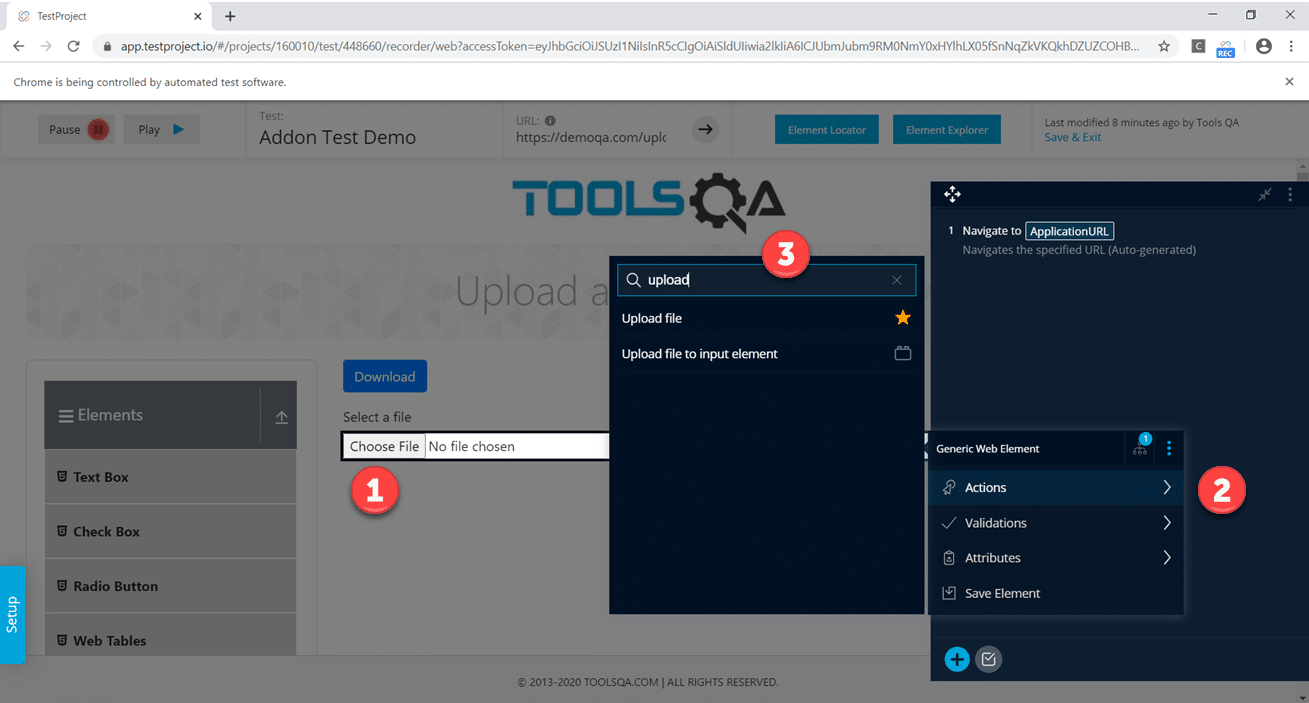
Step 3: Thirdly, as soon as the recording window will appear, we need to perform the following steps:
- First, hover the mouse on the "Choose File" button and press the shift button from the keyboard two times.
- Second, we will see different types of Generic Web Element. Expand the "Actions" option.
- Third, search the keyword "upload" in the search bar, and we will see the addons related to it. Finally, select the required add-on that we installed in the previous section.
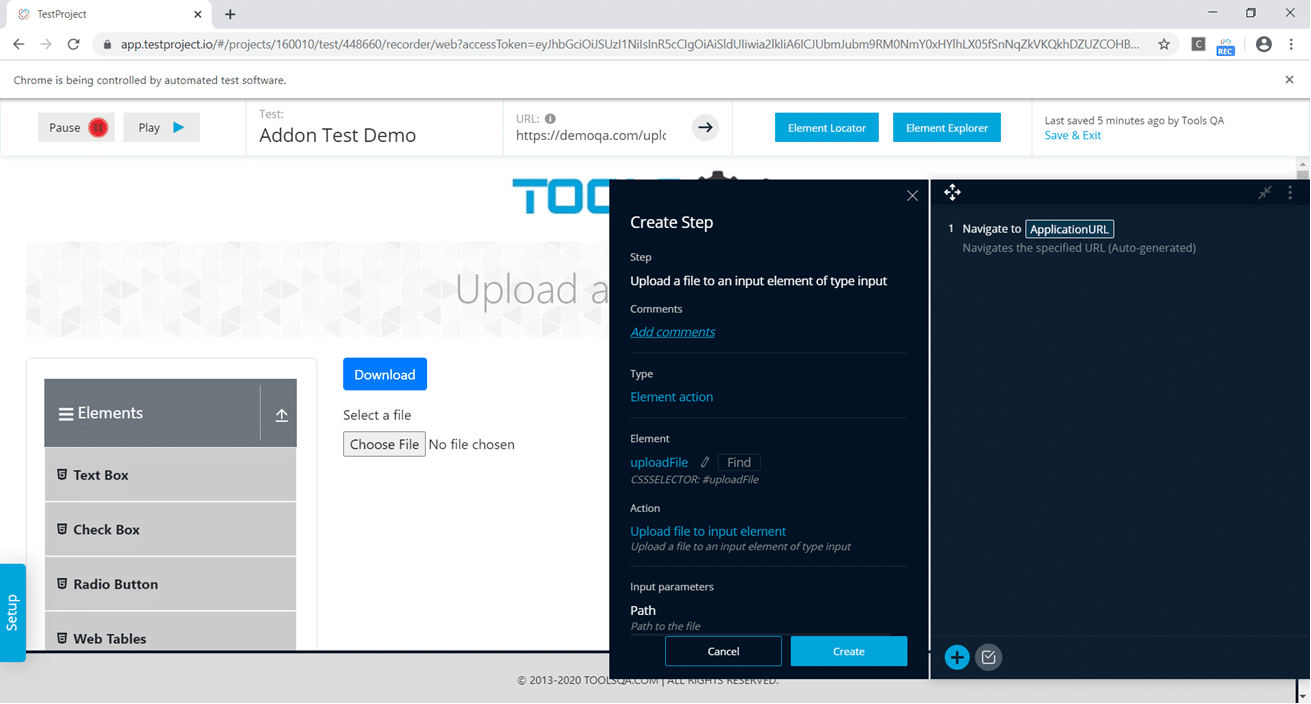
Step 4: Next, it will show the "Create Step" panel, where we can define various options related to the upload file:
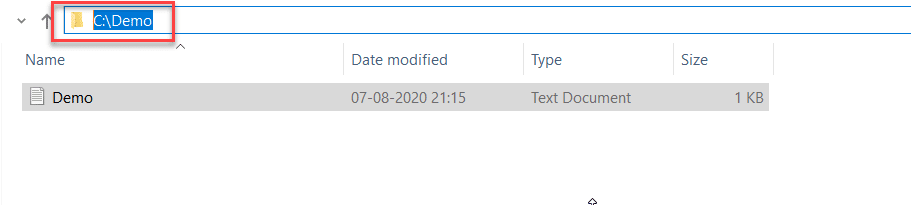
Step 5: We will create a Demo.txt file and store it in the Demo folder in the C drive, to be available later to us to upload. Finally, copy the path of the file which we want to upload on the web page:
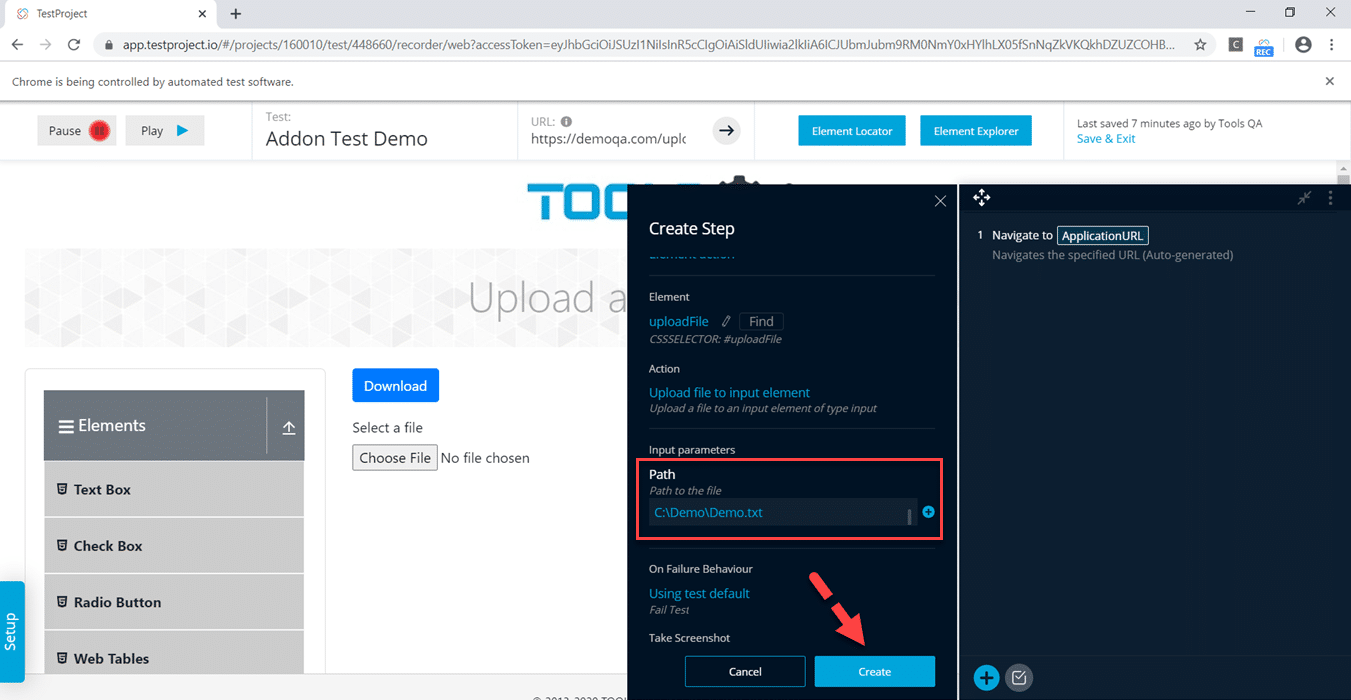
Step 6: Paste the complete path of the file in the Path section of the "Create Step " panel and click on the Create button.
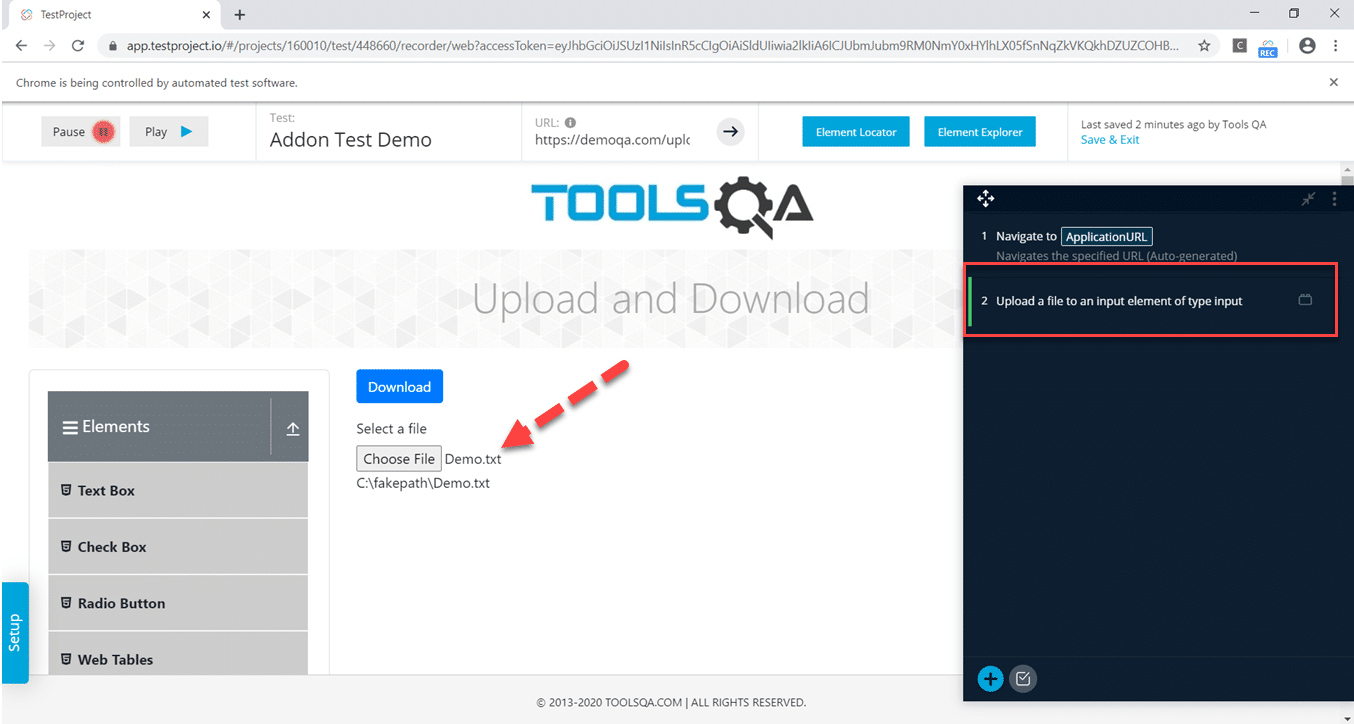
Step 7: This will add the step to upload the file in the test case, as shown below:
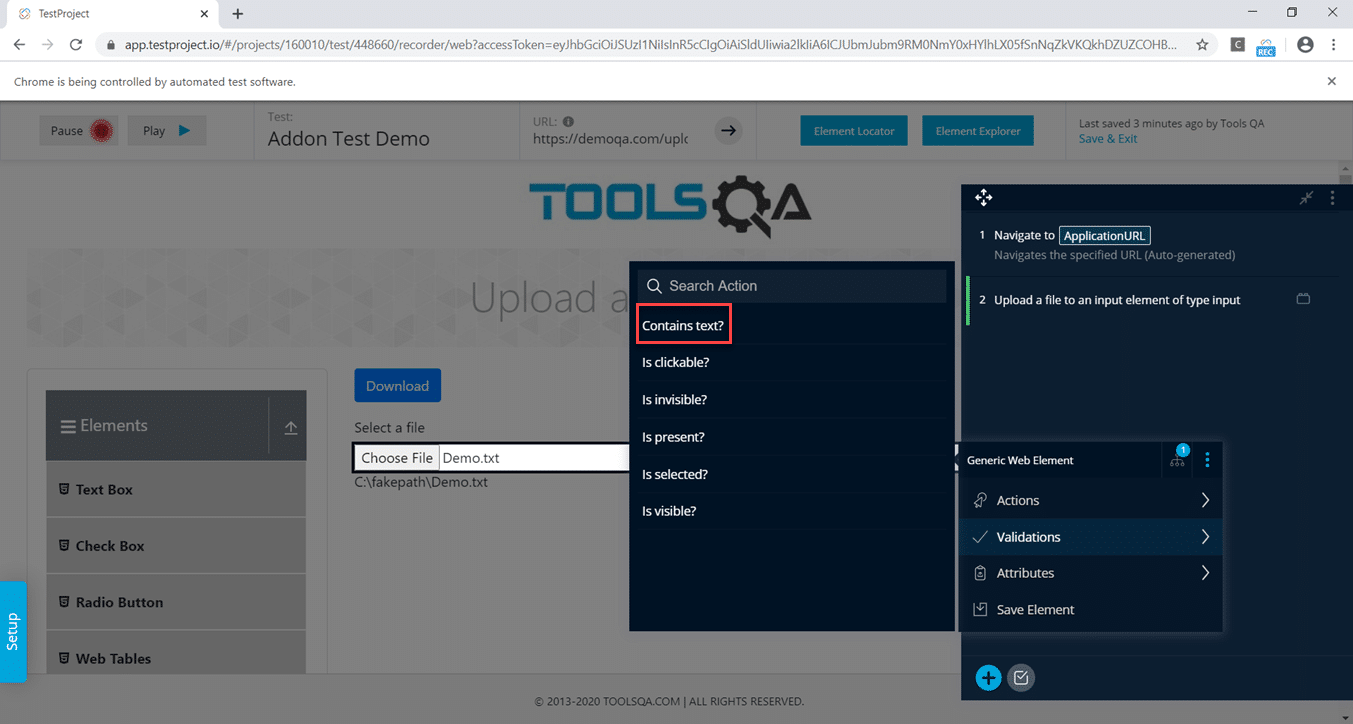
Step 8: To validate the addon action has worked as expected, we will incorporate an assertion. Hover the mouse on the name of the file and press shift two times to expand the "Validations " section. We will use the "contains text? " validation in our test case.
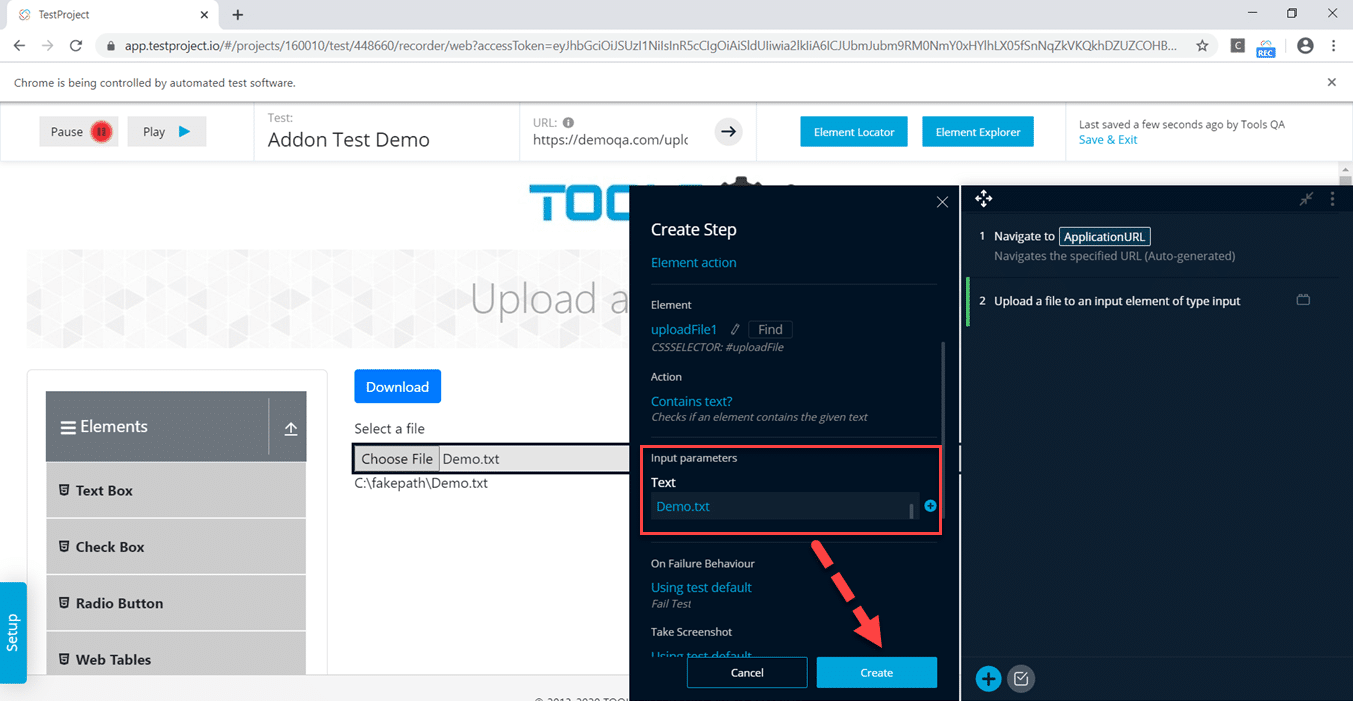
Step 9: To complete the validation, we need to put the name of the file in the text section in the Create Step panel and click on the Create button.
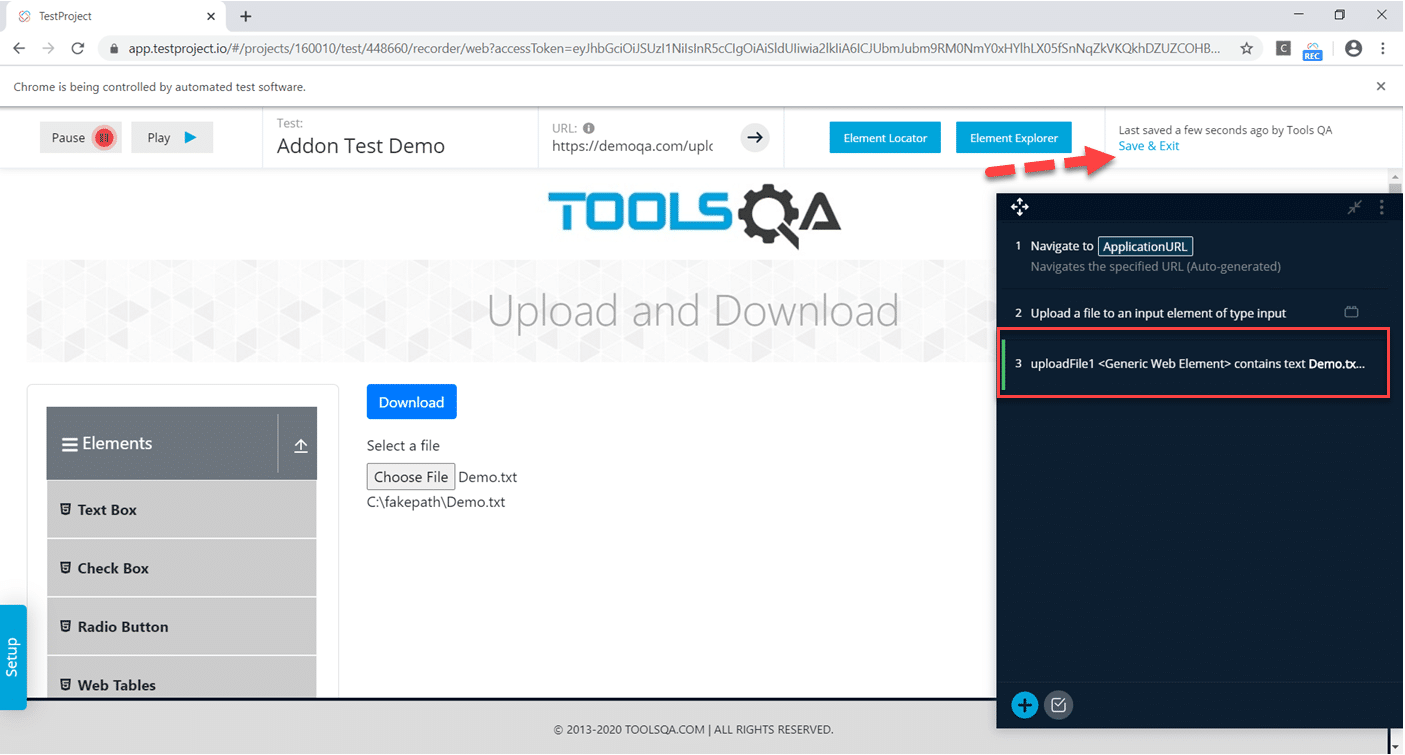
Step 10: We can see the addition of the Assertion Step to the test case. Now click on the Save & Exit link.
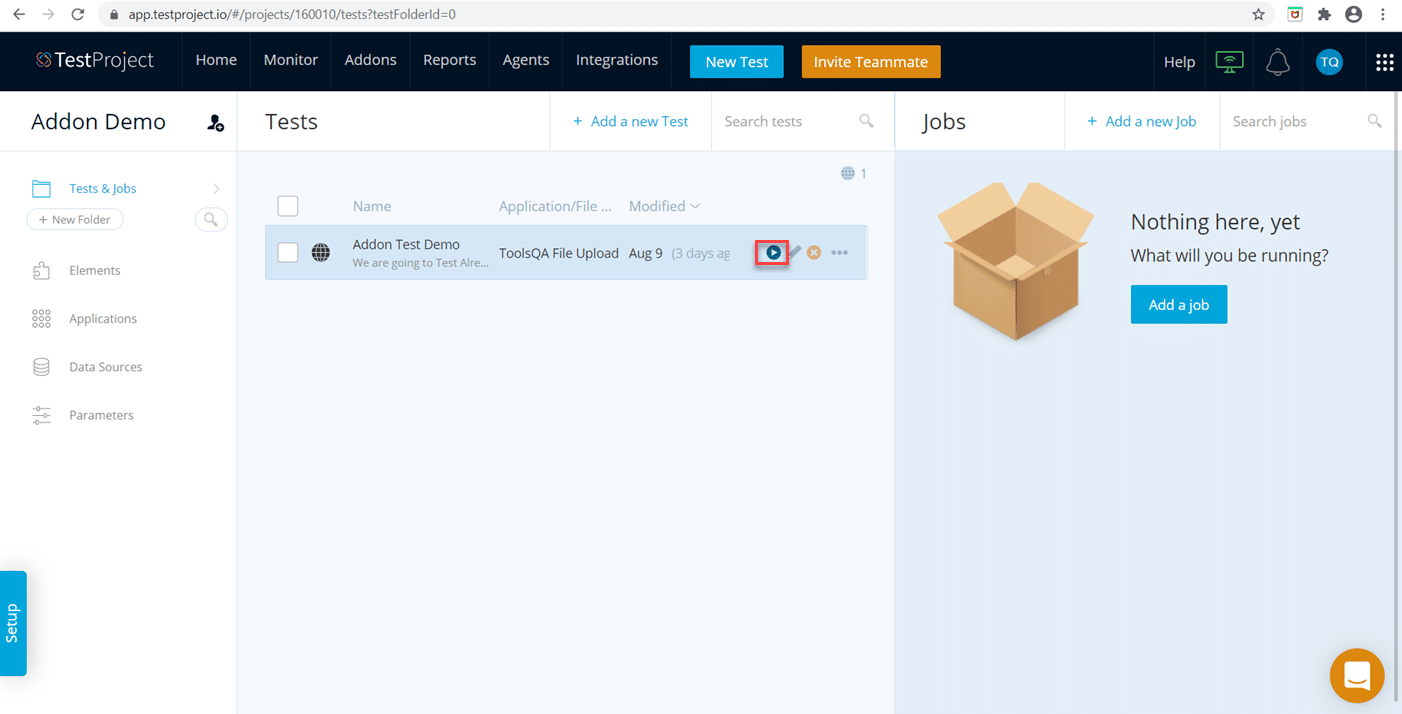
Step 11: Now run the test case by hitting the run icon, select the agent, and run the recorded test.
Step 12: After completion of execution, go to the Reports section to see the test execution report.
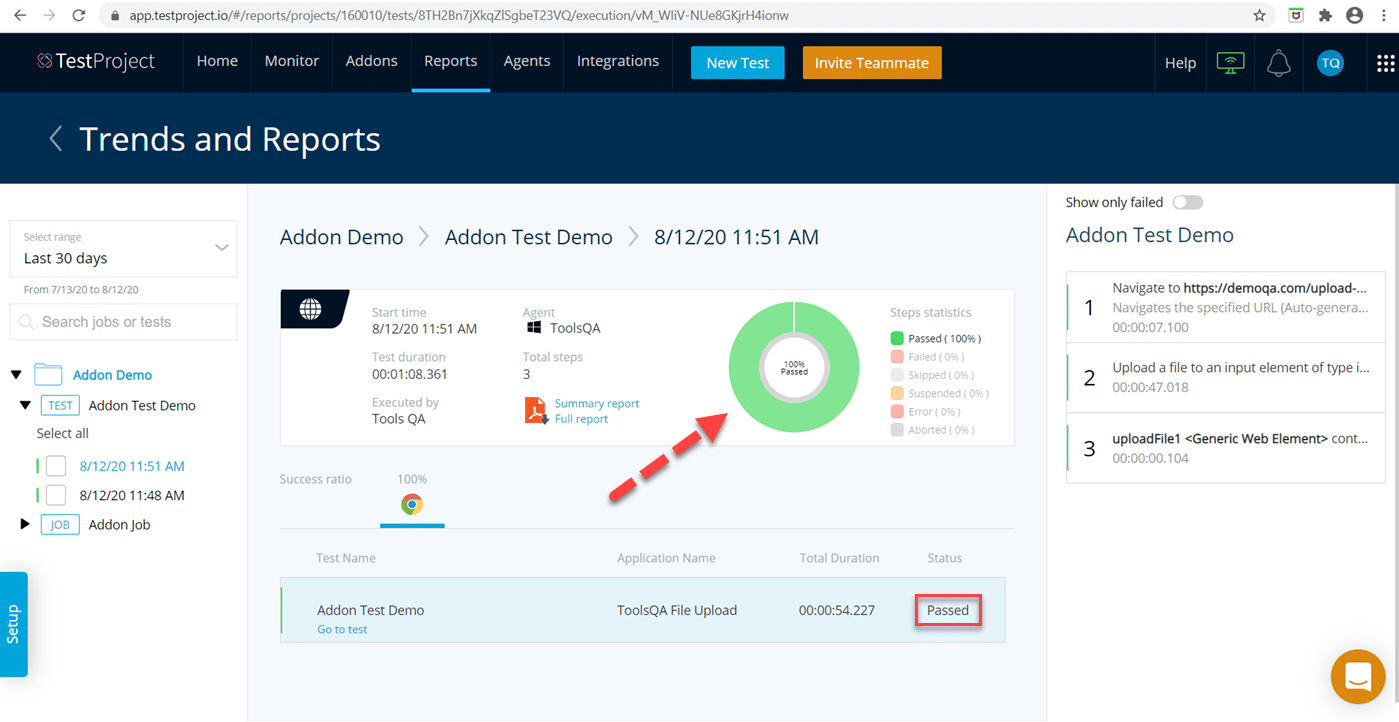
Now, we can see the successful installation of the Add-on. Moreover, we can use it within a test case just like any other action in TestProject test cases.
Key Takeaways:
- An Addon is a reusable coded action that we can integrate with our test cases to provide extended features.
- Addons are either "Comunity Addons" or "Private Addons", depending on who created them.
- We can use Addons directly in test cases, just as we use the core TestProject actions.