In multiple top organizations, Apache Tomcat is used as one of the main application servers for the deployment of various Java-based applications. For the unified experience, these organizations prefer to deploy Jenkins on the same tomcat server, and being a Java-based application, it is very easy for Jenkins also to get deployed on a tomcat server and serve the needed purposes. Let's quickly understand this integration of Jenkins Tomcat and understand the details, how we can set up a tomcat server and then deploy the Jenkins on that tomcat server. We will be covering the following details in this article to understand the deployment of Jenkins on an Apache Tomcat Server:
- What is a Tomcat Server?
- What are the pre-requisites for the Tomcat setup?
- How to install Tomcat Server on Windows?
- How to deploy Jenkins on Tomcat Server?
What is a Tomcat Server?
Apache Tomcat is a powerful/ strong servlet Java container for running web applications. It was developed and is now maintained by the Apache software foundation. The initial idea of Apache tomcat software was to host and deploy the Java servlet that is the server-side Java code that manages HTTP results from client application build using Java. The Apache Tomcat provides the basic feature of web server processing for the relevant servlets. It supports the java servlet lifecycle that are init(),service() and destroy() phases. It is one of the preferred web servers for the deployment of Java applications. You can read out the complete details of Tomcat Server at "What is Tomcat?". Now to install the Tomcat server, there are a few pre-requisites. Let's understand the same quickly:
What are the prerequisites for Tomcat setup?
As we all know that before installation, we need to check some pre-requisite. So, before the installation of the Tomcat Server, let's understand some pre-requirements.
- Minimum Java 8 version should be installed on our system. Kindly visit “How to install java”, if it is not installed.
- After installing Java, Set environment variables in your system. Kindly visit the “How to install java” article for setting up the environment variables.
After fulfilling the above pre-requisites, we are ready to install and setup the Tomcat server. We will be covering the details of installation on the Windows Operating System. Let's see how we can install a Tomcat Server on Windows :
How to Install Tomcat Server on Windows?
Alright, we are good to install the Tomcat server on Windows. For installation of the Tomcat server on windows, please follow the below steps:
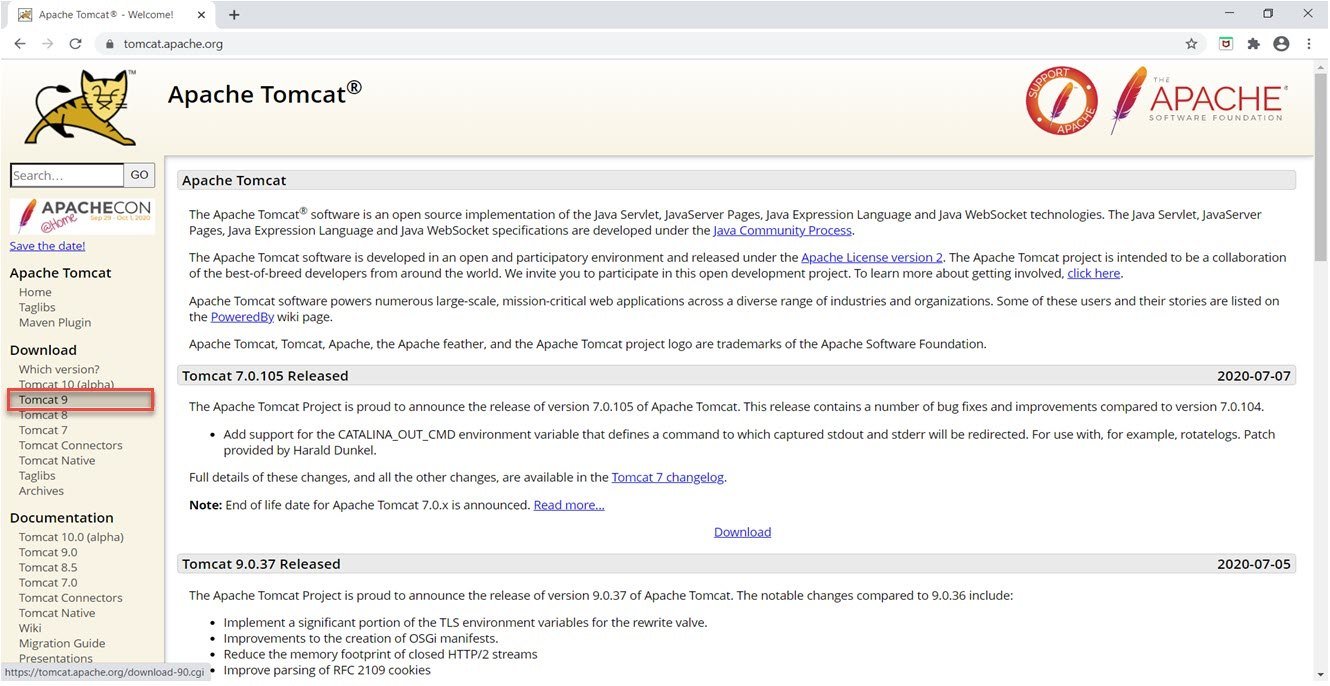
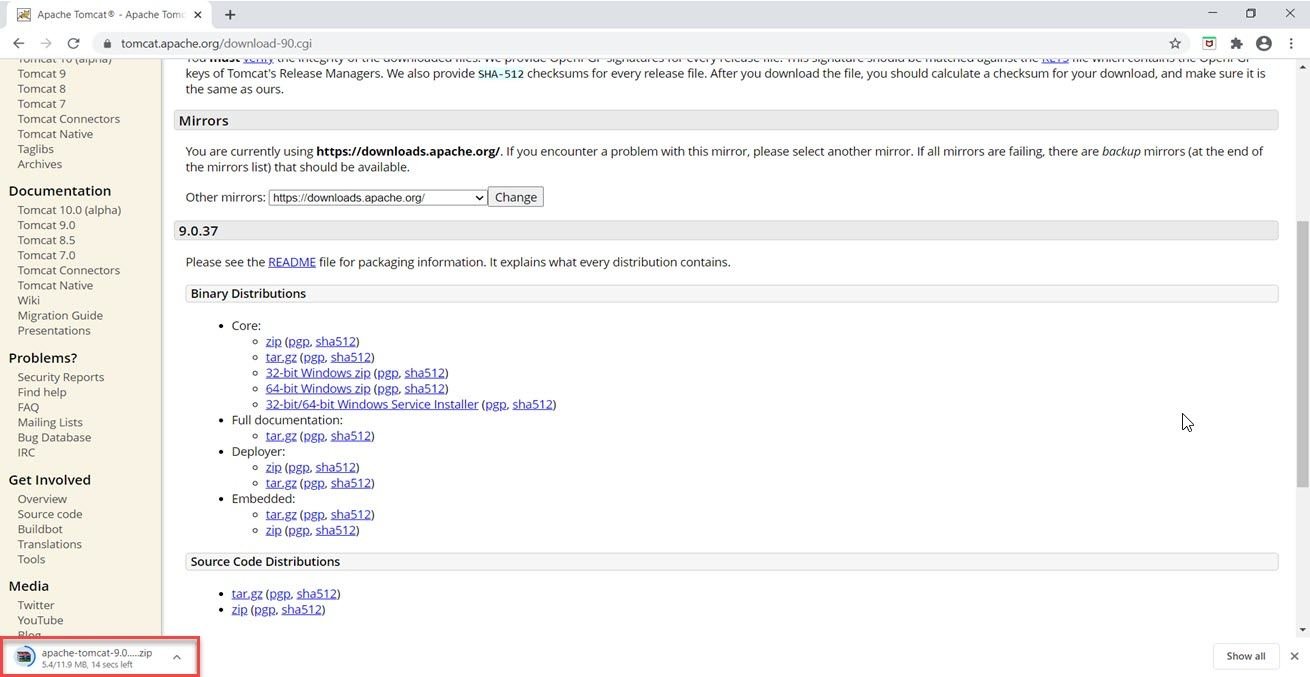
Step 1: Firstly, go to the official Apache Tomcat website and choose the latest stable version, as we chose Tomcat 9.
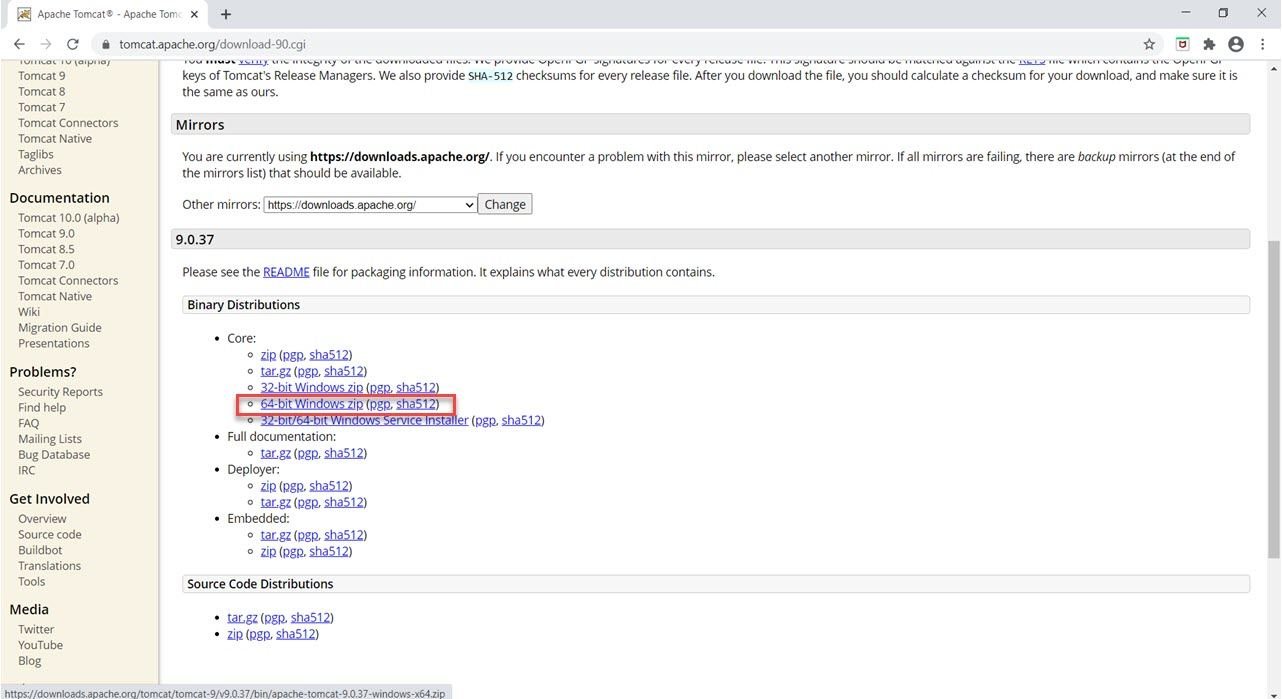
2nd Step: Secondly, choose the appropriate binary distribution according to your machine configuration, as I am going to choose 64 bit Windows zip.
Step 3: Thirdly, download the zip file and store it in any of your working directories. Also, unzip this file after storing it in the working directory.
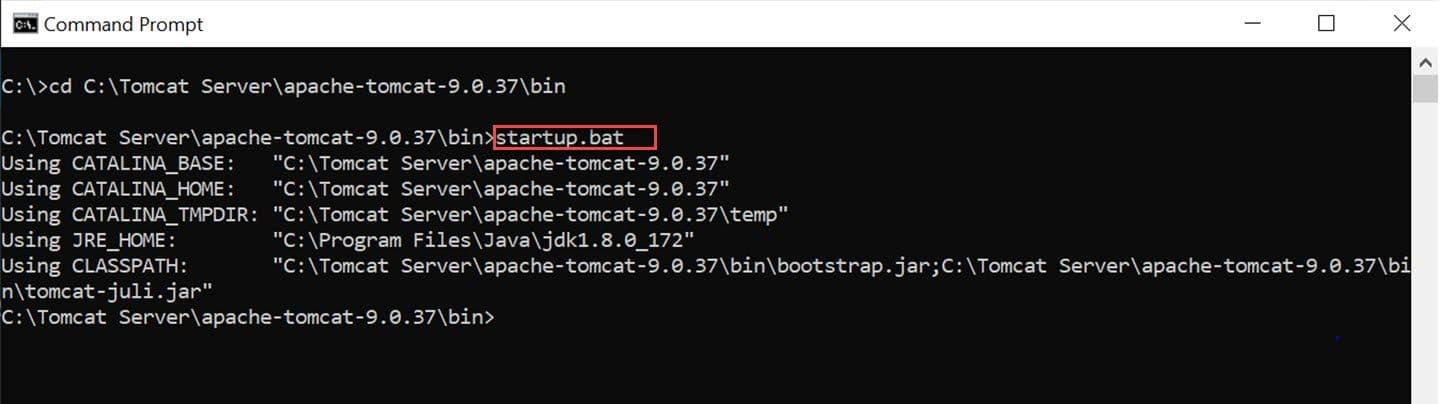
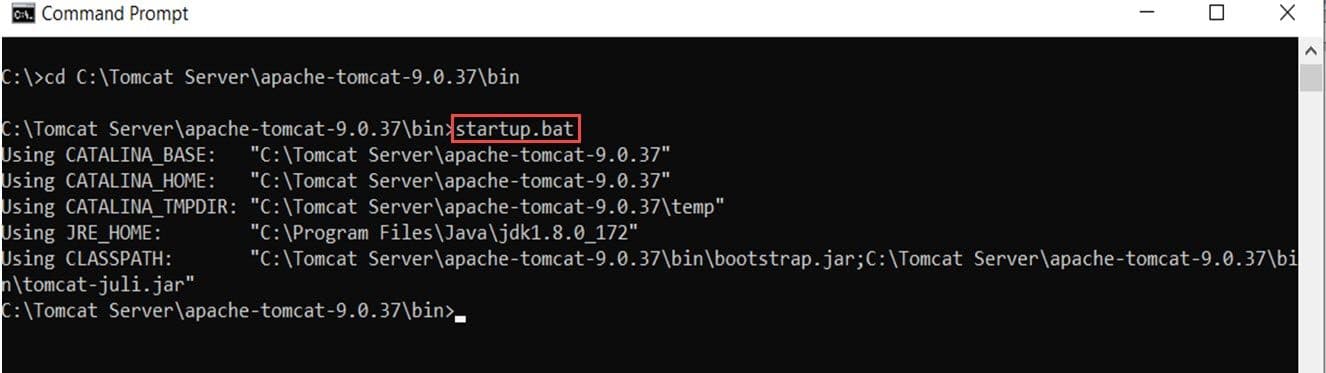
4th Step: Now, open the command prompt, go to bin folder path, and type the below command:
startup.bat
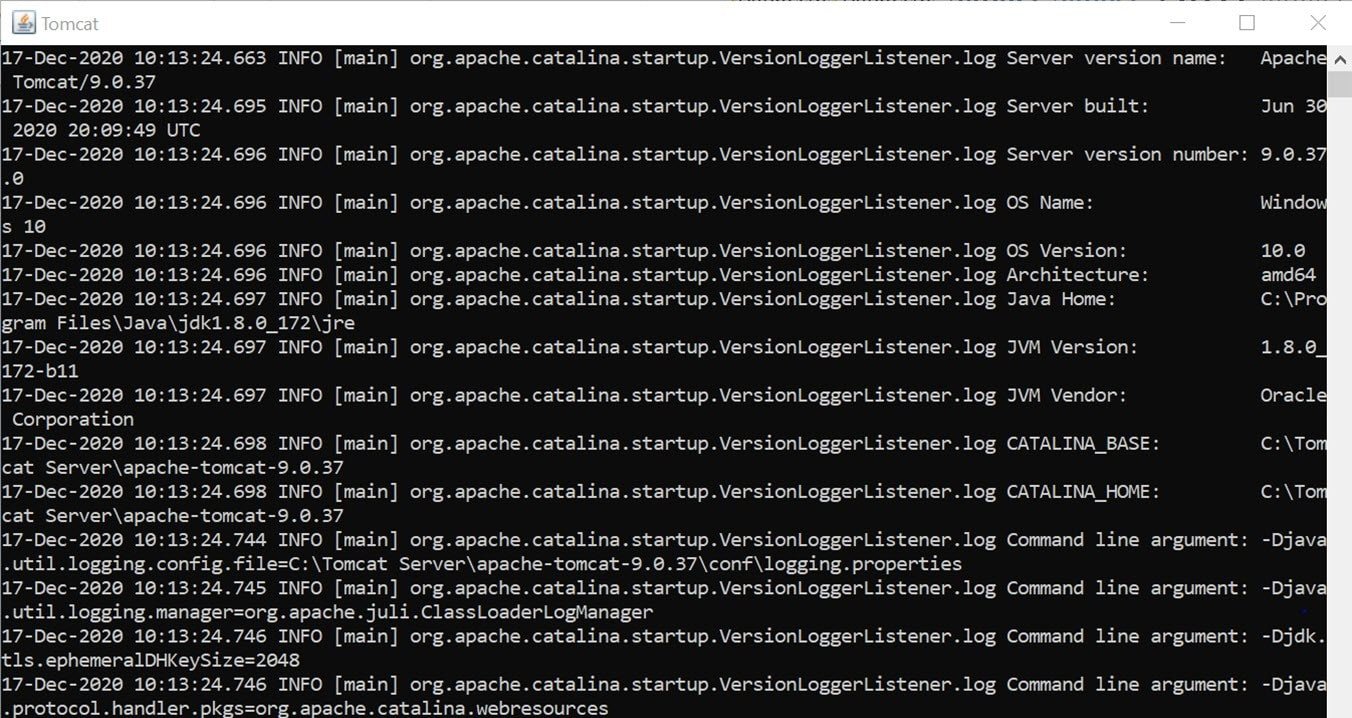
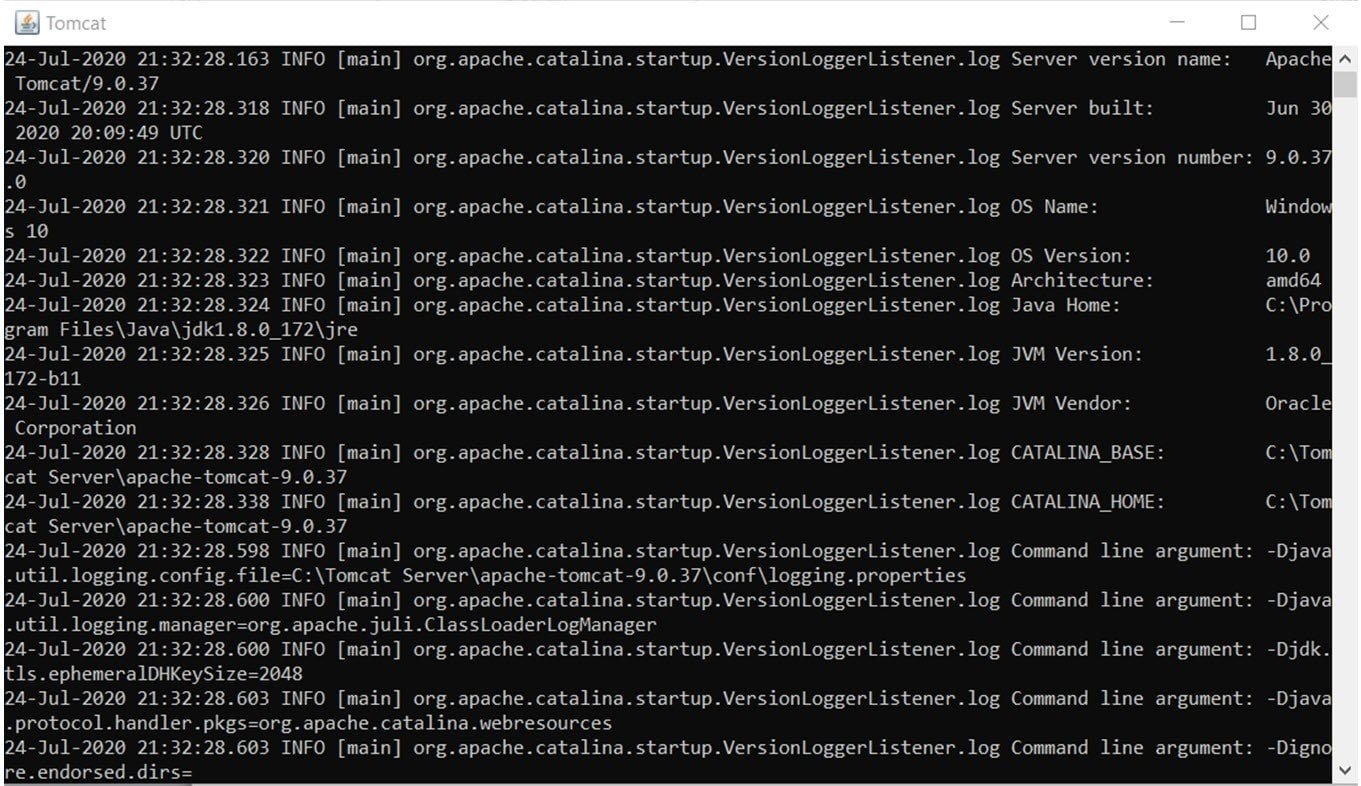
Step 5: As soon as the command will execute, a new window "Tomcat" will open in which some processing will happen.
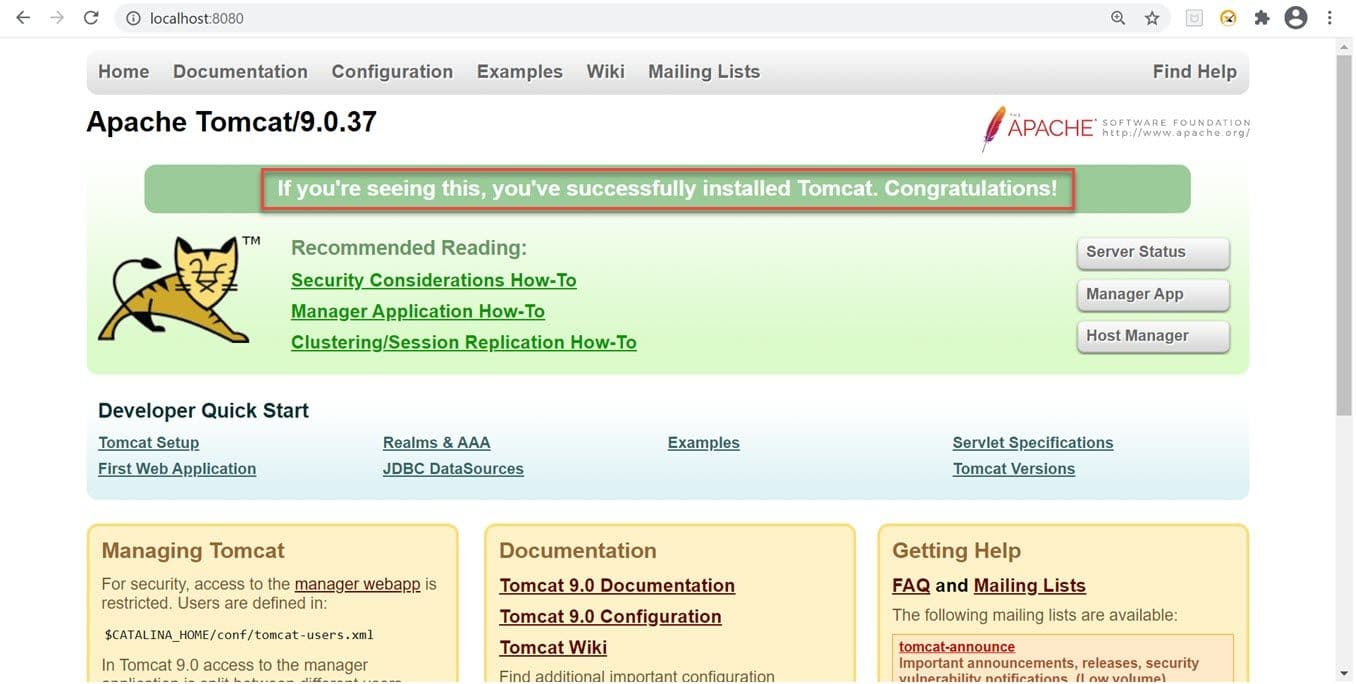
Step 6: Once processing will be done, just for validation whether the tomcat server is installed on our system, open the browser, and hit the URL http://localhost:8080/. After hitting the URL, we will see below the window as shown below, if there is a successful installation of tomcat on our machine.
So, in this way, we can install the tomcat server in the system. In the next section, we will see how to deploy Jenkins on the Tomcat server.
How to deploy Jenkins on Tomcat Server?
Alright now, let's see the Jenkins set up after the installation of the Tomcat server. Kindly follow the below steps to deploy the Jenkins on the Tomcat Server:
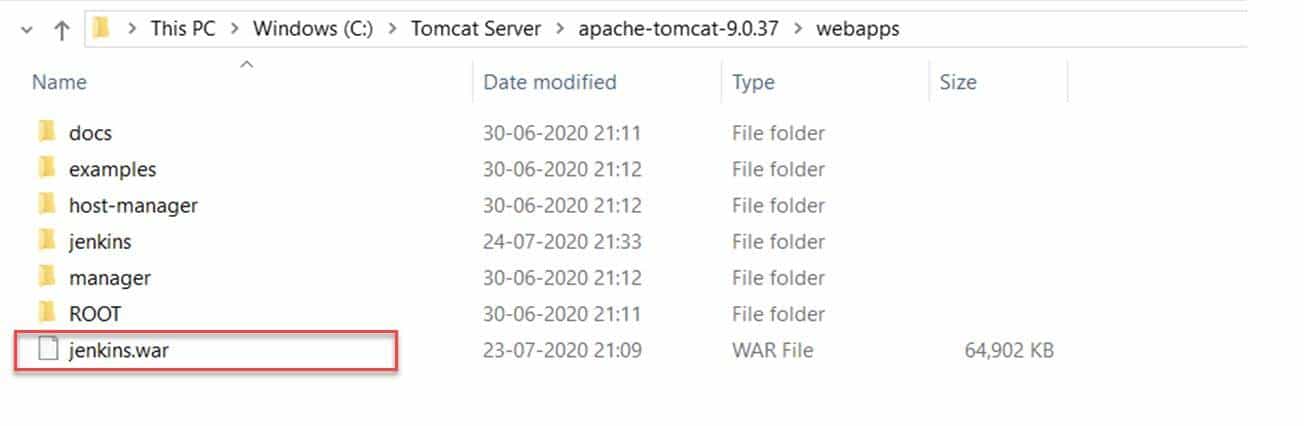
Step 1: Go to webapps folder and inside it paste the jenkins.war file that we downloaded in the previous article Jenkins installation.
Step 2: Open the command prompt and go to the bin folder of the tomcat directory and again run the startup.bat command.
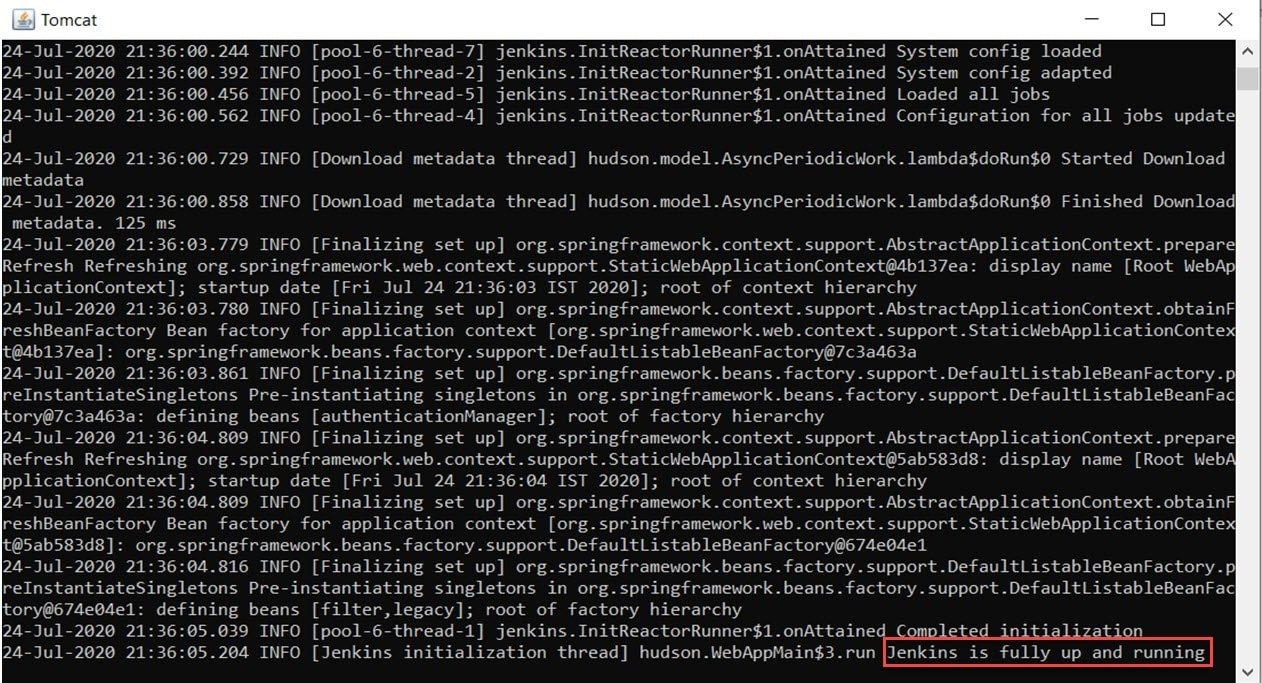
3rd Step: As soon as startup.bat file will run, apart from the above command prompt window, there will be one more window named tomcat will open in another command prompt.
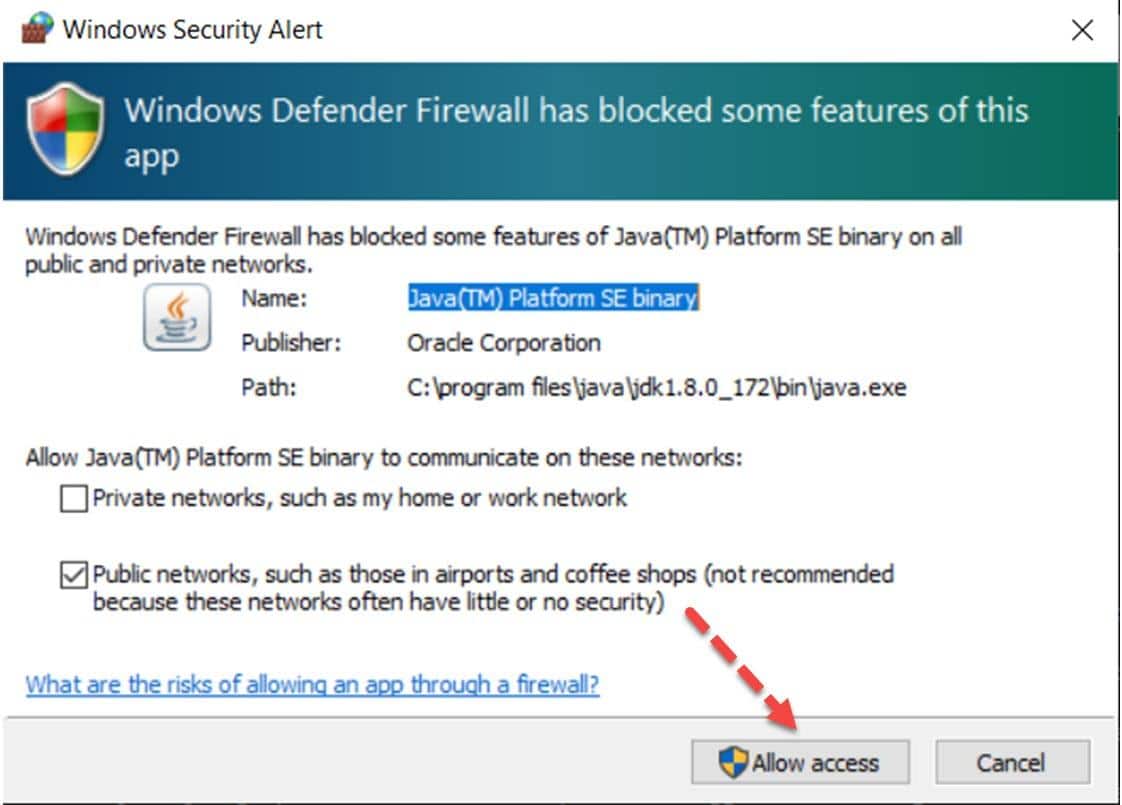
In the middle of the configuration, you may also get a Windows security alert popup. Click on the Allow access button.
Step 4: After completing all setup, you will get the message “Jenkins is fully up and running” at the bottom line of the command prompt.
Step 5: Now open the browser and put URL: http://localhost:8080/jenkins/ and press the ENTER key and you will see the below page for the first time by default.
Note:If you have already installed Jenkins in your machine through jenkins.war file then, you will be redirected on the Jenkins Login page directly and after putting username and password, you will directly reach to the Jenkins dashboard i.e. Step 12.
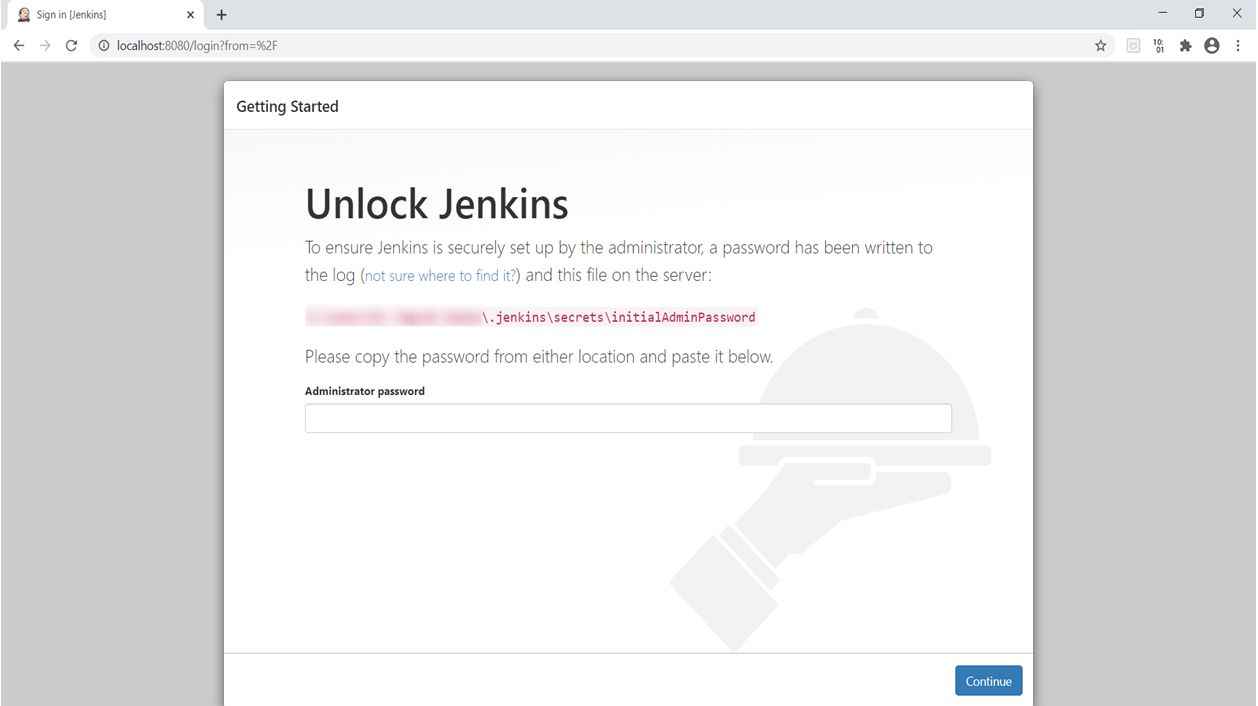
Step 6: Here you need to put the administrator password that you got during the processing of jenkins.war file (Kindly see the tutorial "Install Jenkins " to know that how this administrator password is generated) and click the Continue button.

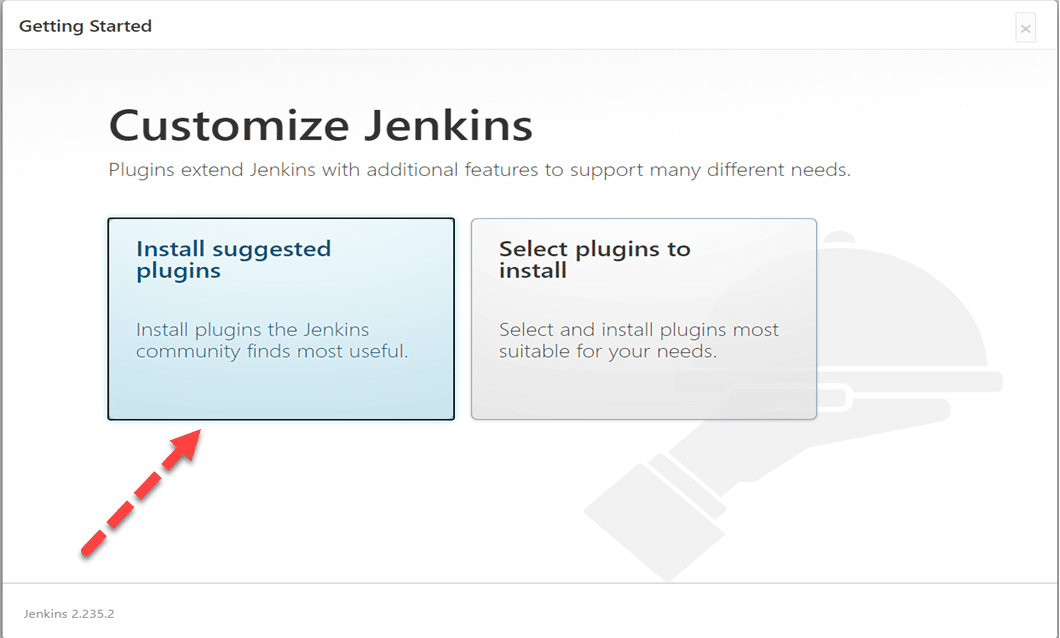
7th Step: As soon as you will click on the Continue button, you will redirect to the page where it will suggest you install suggested plugins. Now click on “Install suggested plugins ”.
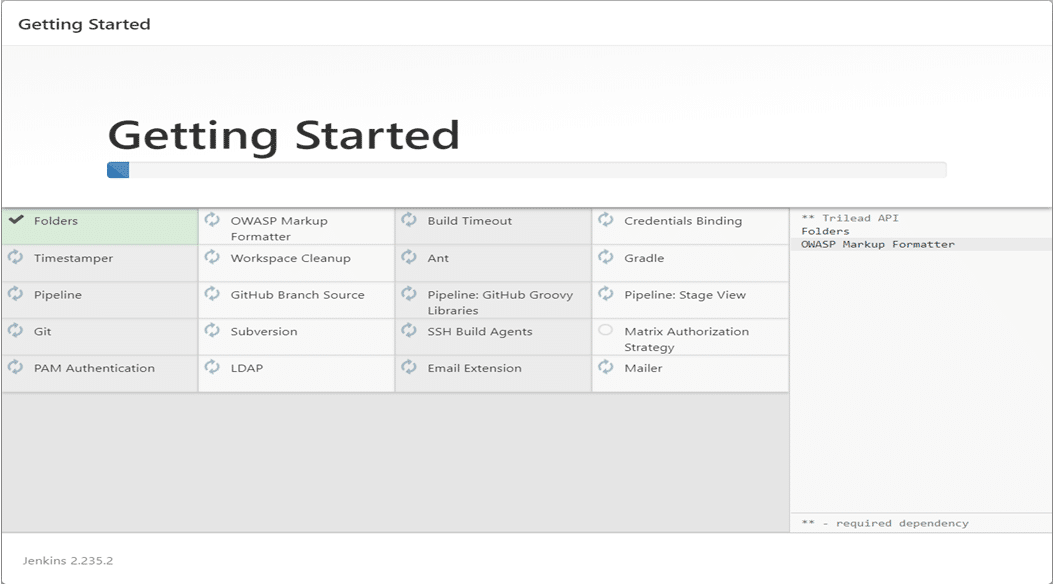
Step 8: After clicking, the standard plugin installation will be started automatically like the below screen.
Step 9: After installation of all suggested plugins, you will redirect to the User Account Page like below.
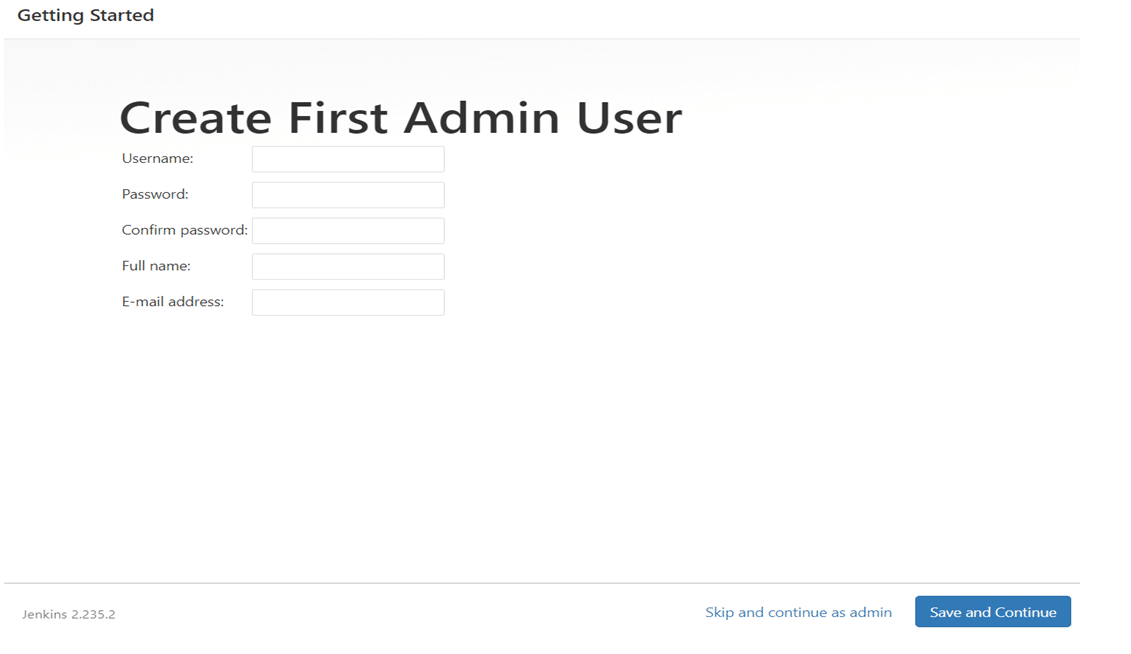
Here you need to put Username, new Password that you want to put, confirm password, Full name, Email-address. After that, click on the “Save and Continue” button. You can choose the option “Skip and continue as Admin” and in this case, you need to put the same administrator password. We always recommend that you need to put in a new password according to your choice.
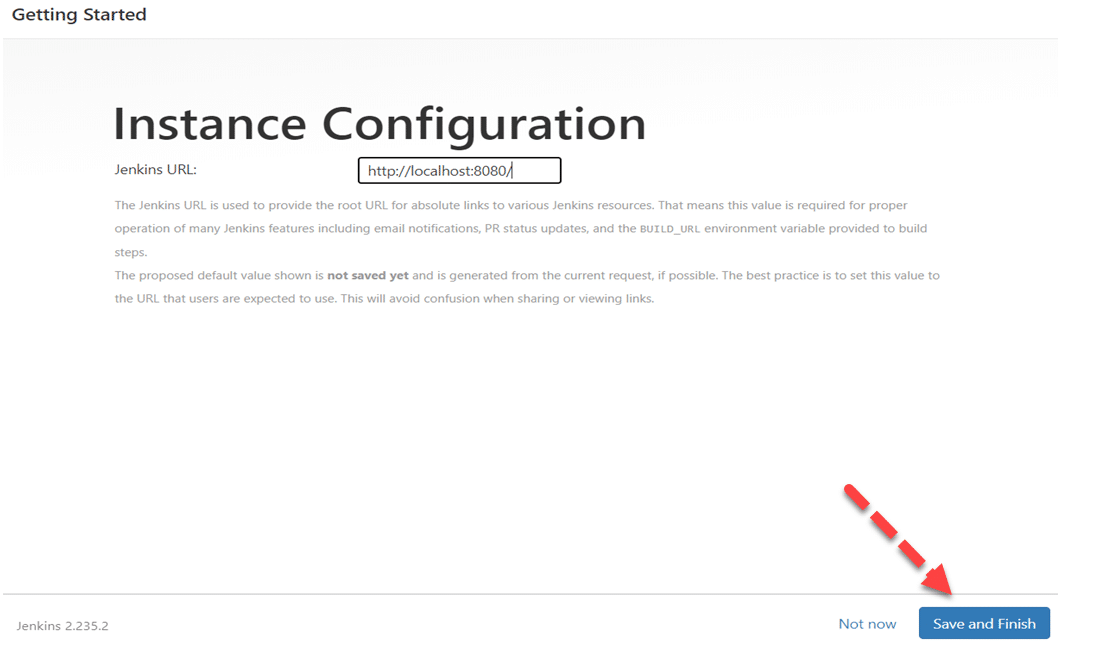
Step 10: After clicking on the “Save and Continue Button”, you will redirect to the instance configuration screen. Here just click on the “Save and Finish Button”.
Step 11: After clicking, you will redirect to a new screen. It will display a message like “Jenkins is Ready ”.
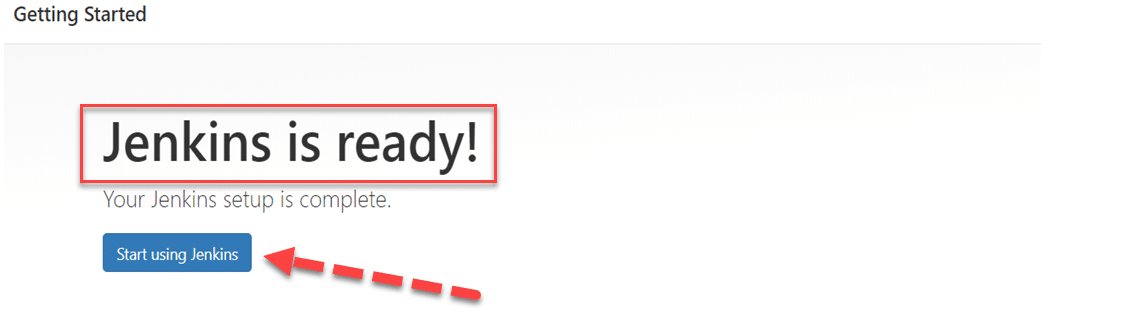
Step 12: Now click on the “Start using Jenkins ” button and you will redirect to Jenkins Dashboard.
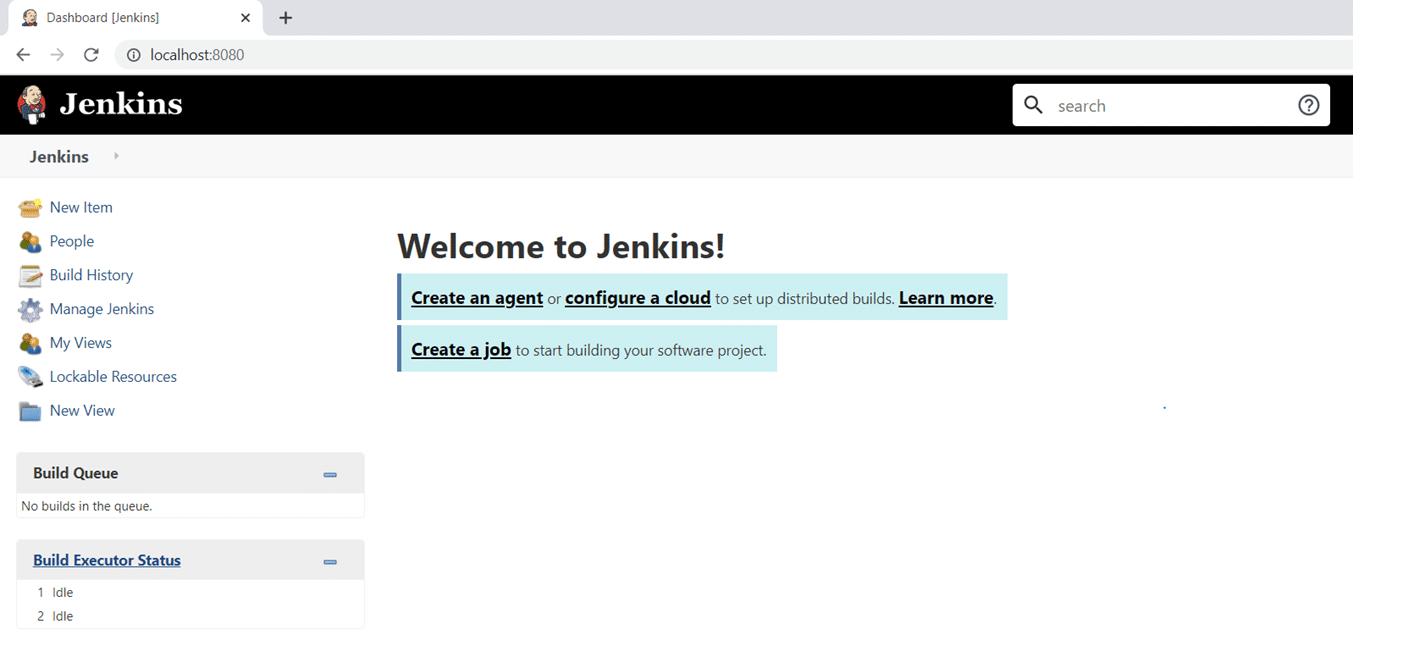
So, the Jenkins dashboard is ready and we explore and configure various options available.
Key Takeaways:
- Tomcat is a Servlet Java Container to run web applications.
- Additionally, Java and setting the path environment variables are pre-requisite to install the Tomcat server.
- Moreover, after downloading and running the tomcat server, we need to put jenkins.war file inside the webapps folder. After that, just run the startup.bat command