The conventional method of working with most automation tools is very similar. We have software that needs testing, we write test cases in a way that the tool will understand and convert into actions. Tools like testRigor have made our lives much easier by introducing plain English as a medium of communication and demanding no code from the tester's side. However, some people might want the process to be simplified even further, and there is a solution for that as well. You can simply navigate through the test steps of your live application as a regular user, and the tool will record all steps. These steps will then become your automated test case, which you will be able to re-run as often as needed to make sure the functionality is still working as before.
Table of contents
- What is a test case recorder in testRigor?
- How to install testRigor test case recorder Chrome extension?
- How to record a test case in testRigor?
- How to add a recorded test to the test suite?
What is a test case recorder in testRigor?
A test case recorder in testRigor is exactly what it symbolizes word to word. testRigor provides a test case recorder that can record test cases through the actions of the tester. For example, a tester takes the following steps by navigating through the web application:
- Opening a web address.
- Hovering over an option but not clicking.
- Clicking an option.
- Selecting an option from the side panel.
- Filling out a form.
- Clicking Submit.
These steps were taken through the input device, but testRigor can capture them and convert them to a test case. These test case can then be added to our test suite without having to write a single line of code (or rather English-based steps), we can get a complete test case for ourselves.
How to add testRigor test case recorder browser extension?
testRigor's Chrome extension is hosted on the web store and can be easily added to your Chromium-based browser:
Open the Chrome store on your Chromium-based browser (Edge, Chrome, Brave, etc.)

In the search box located on the top-left, enter "testrigor" or "testrigor test case recorder" or "testrigor recorder" and press "Enter". This will list down the testRigor's chrome extension:

Select this extension and click on "Add to Chrome" for Chrome browser or "Add to <Browser>" as per your browser:

The extension installs in the browser. It is now ready to record your actions and convert them to test cases.
How to record a test case in testRigor?
Now that our extension is added to the browser, its icon will be visible on the top right. Click on the icon to get the "Start new recording" button:
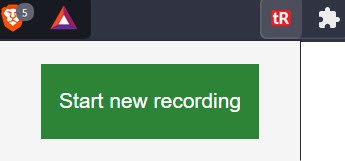
Clicking this button will start the recording of our actions. The actions performed after the click are captured and testRigor converts them to test. For demonstration purposes, we will be using the DemoQA website.
For this example, the steps we will follow after pressing the button are as follows:
- Click on the "Forms" tab available on the home page of DemoQA.
- From the side panel, click "Browser Windows".
- Here, we change our mind and click another option "Modal Dialogs".
- Click on "Small modal" on the screen that appears.
- Click "Close" to close the modal.
Perform the above actions as stated and when completed, click on the testRigor extension icon and click "Stop recording".
In the same popup screen, the performed actions converts to test case instructions:
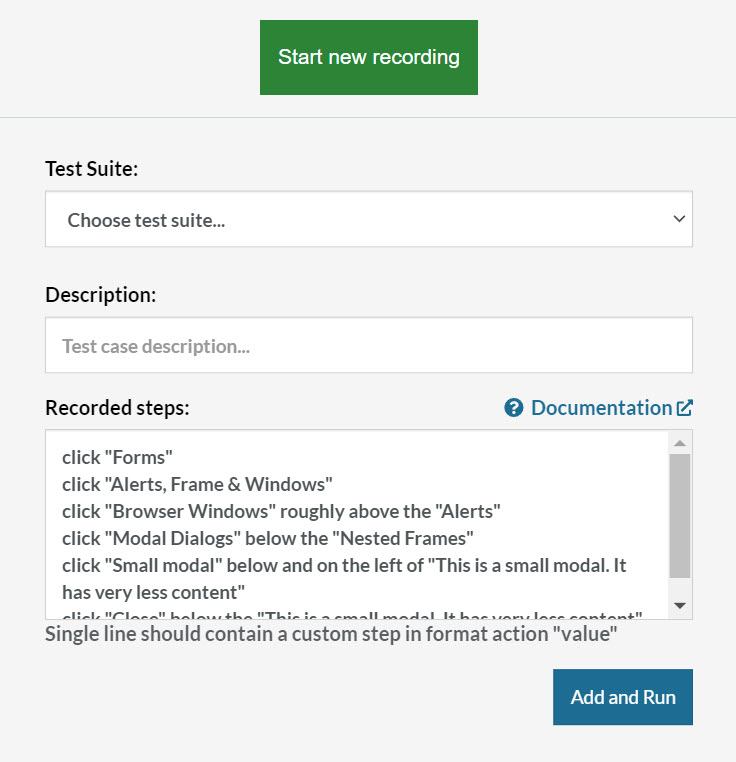
We achieve this automatically without writing any single word in the steps. It is extremely easy to create a test case with the testRigor test case recorder. Even if the number of steps is close to a hundred, it will take just a few seconds for it to write.
At this point, it is important to mention that the website should be opened before starting the test case recording from testRigor extension. If you select "Start new recording" and then open the website, you will notice that clicking the icon again would ask you to "Start new recording". This can also be identified by observing the toggling colors of the icon available when recording is in process. Also, the recording is specific to the tab, and therefore, the output will not be visible on clicking the extension icon while the tester is on a different tab.
How to add a recorded test in test suite?
The recorded test case is not much of a value if we cannot store it somewhere. As soon as you close the tab, it will vanish from your extension board. The best way to go in this situation is to add this test case to our already created test suite so that we can run it in the future on our current or other web applications.
To do this, we don't have to work hard - as testRigor provides an option to add a recorded test case to the test suite with a single button click.
Continuing on the same pop-up, we have a few more options to consider. The first one is choosing the test suite:
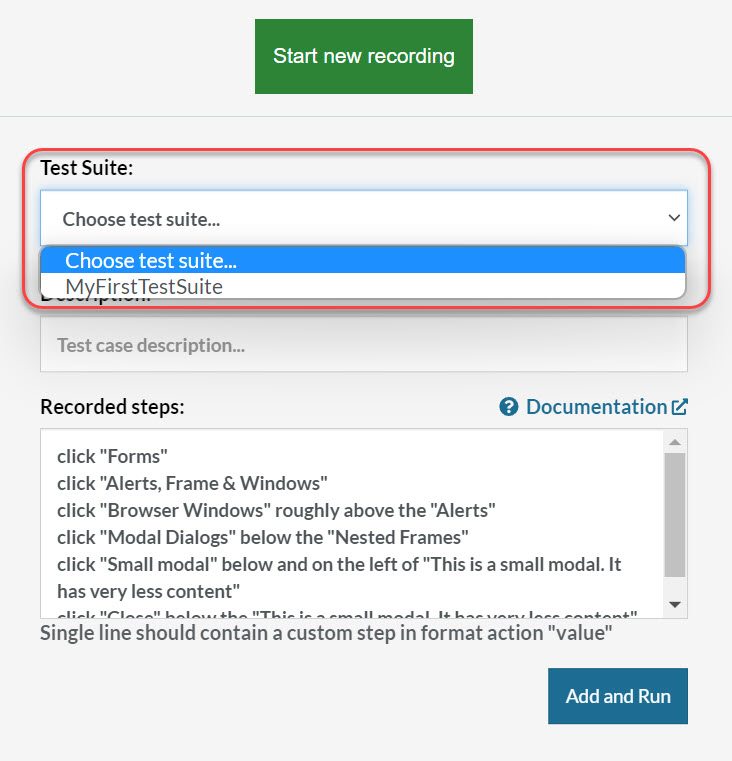
This dropdown will have all the test suites created by you and are still available on the dashboard. Since I have only one, there is only one option for me to select from.
Next, enter a test case description:
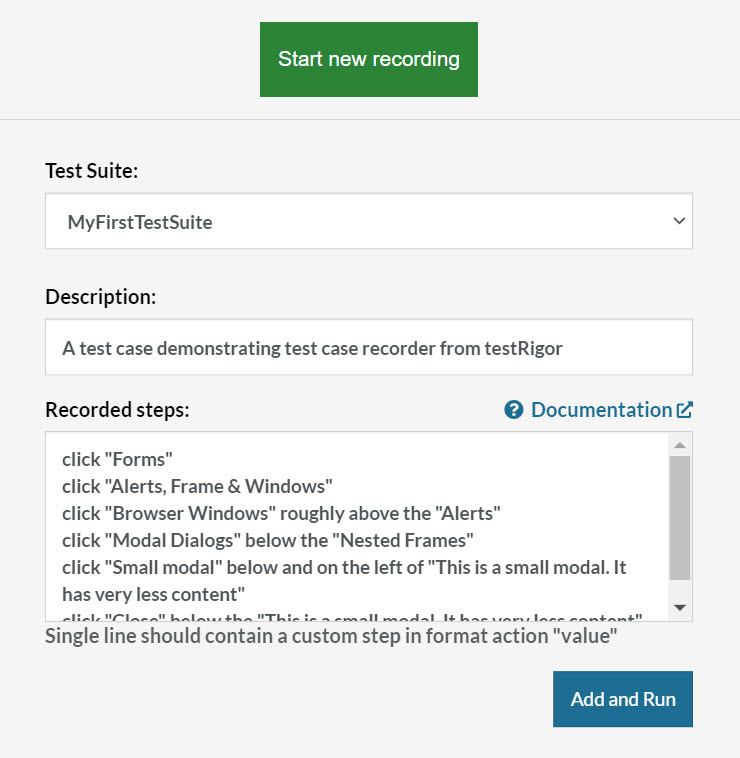
Click on the "Add and Run" button. You will be notified of the addition of this test case to the test suite:
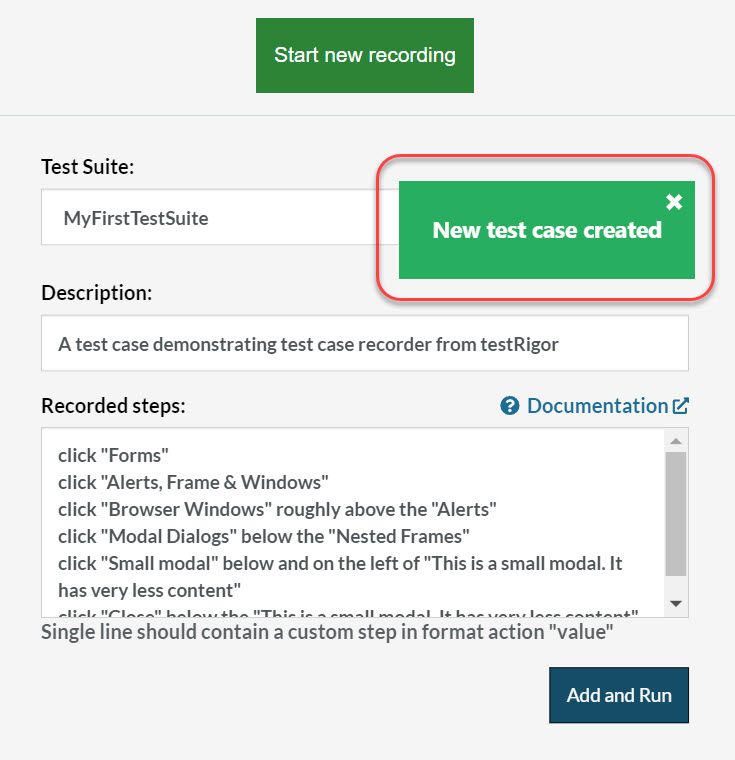
Let's hop on to our dashboard in testRigor to verify the addition of the test case.

Our list of test cases shows the test case added to the account.
What's next?
Writing test cases was once a huge concern for organizations that did not want to lose on good testers just because they didn't know how to program. From writing lots of fragile code to using plain English commands is a long journey that we have traveled. The current tool in focus - testRigor has made a lot of work to simplify the process of test creation as much as it's technically possible. Do play with this extension to create detailed test cases without writing a single word.
In the next post, we will introduce integrations in testRigor and how they help us combine multiple tools under the same roof.
