Table of Contents
Download and Start Eclipse IDE
Download Eclipse for Java Developers, extract and save it in any drive. It is totally free. You can run 'eclipse.exe' directly so you do not need to install Eclipse in your system.
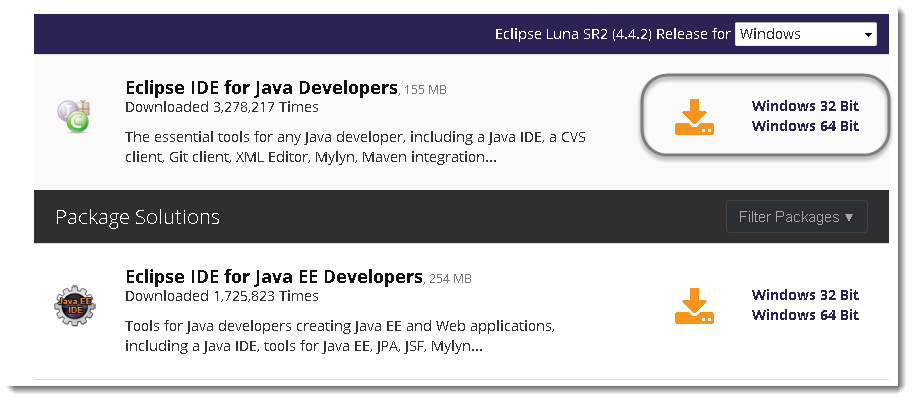
- For Windows users, you will have to know what type of version of your OS you have. If your computer is a 64 bit Windows, select Windows 64 and if you have a 32 bit Windows, select Windows 32 bit.
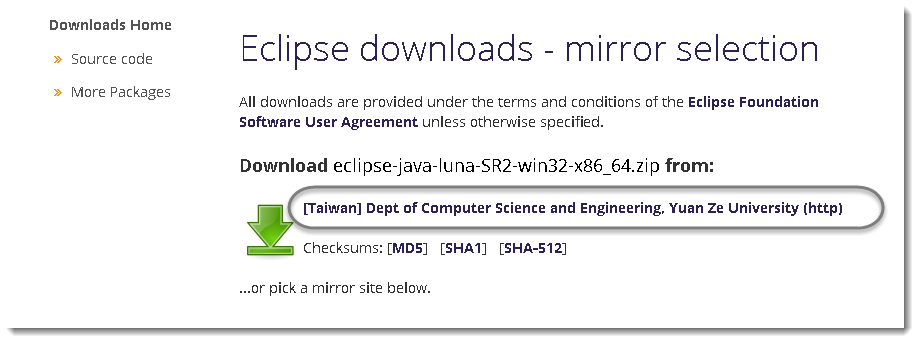
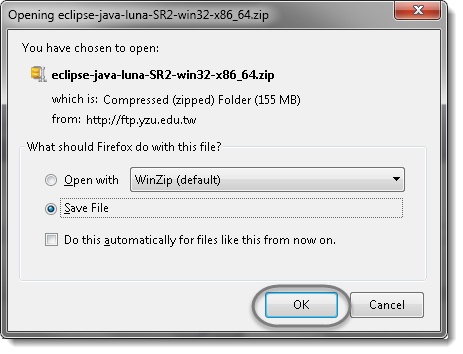
- Save the .zip file to your disk.
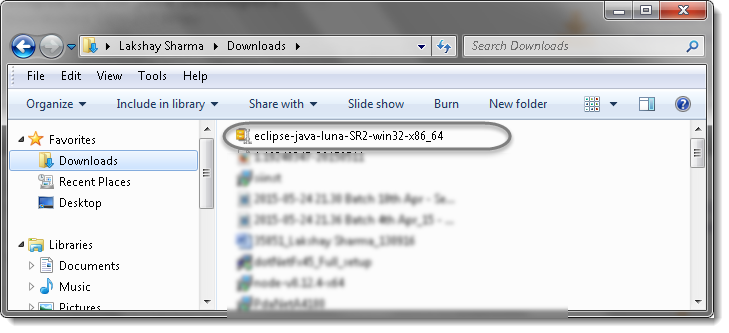
- Once you have downloaded the Eclipse archive you will need to Extract the zip file, which will create the unzipped Eclipse folder.
- You may want to Extract the archive to the root of C: drive, thus creating the folder “C:eclipse”, or just moved the extracted eclipse folder to the root of C: drive if you extracted it already. I prefer to leave it as it is.
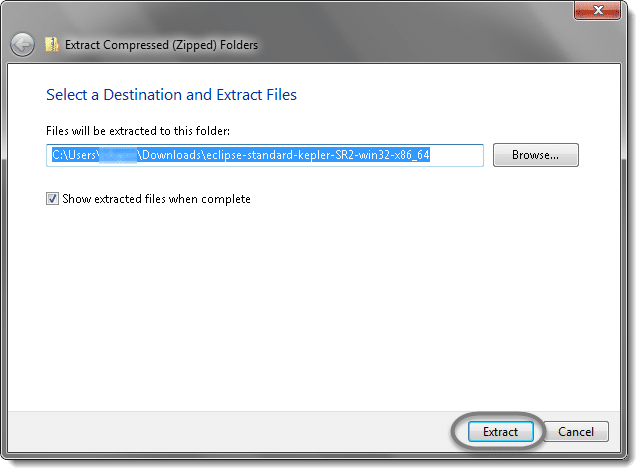
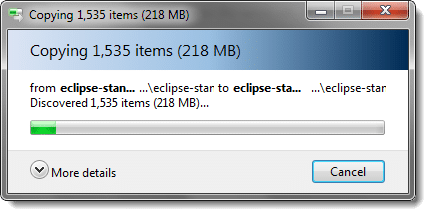
- Let the extraction process finished.
- Open the eclipse folder.

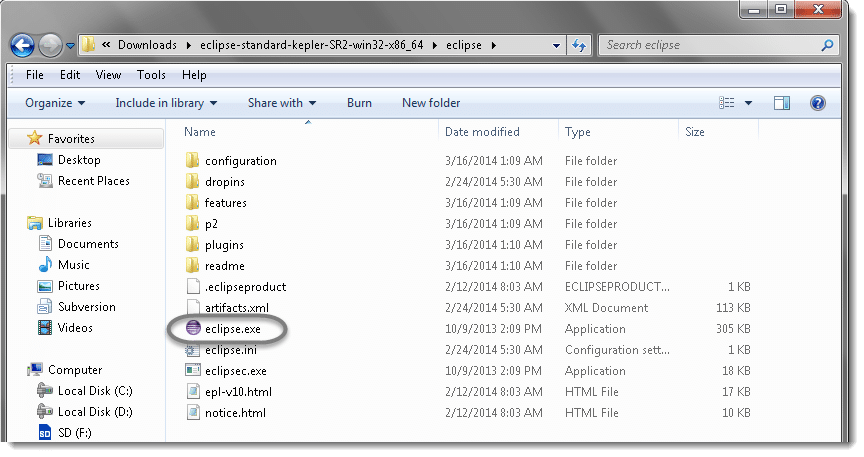
- Since Eclipse IDE does not have any installer, there will be a file inside the Eclipse folder named eclipse.exe. You can double click on the file to run Eclipse.
Note:(This step is not required, but it's strongly recommended.) Right-click the Eclipse Icon and press "Send To" -> "Desktop (Create Shortcut)". Now you will be able to launch Eclipse from your desktop.
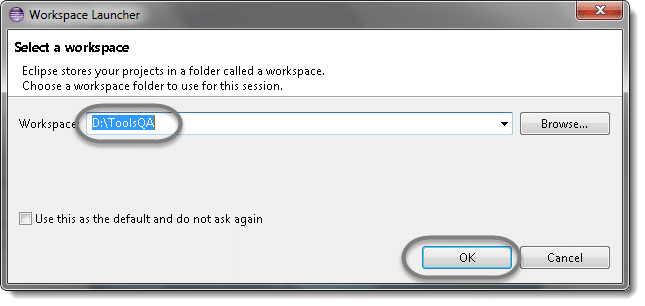
- Create a workspace folder where you will contain all the program files you create. You can choose whatever place you want for your workspace, but it's easiest to just use the default you're given. I like to choose my own workplace location and will place all my ToolsQA tutorial projects under it.
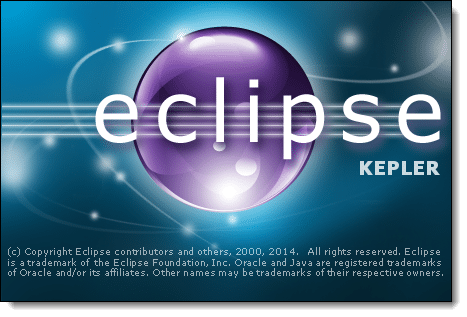
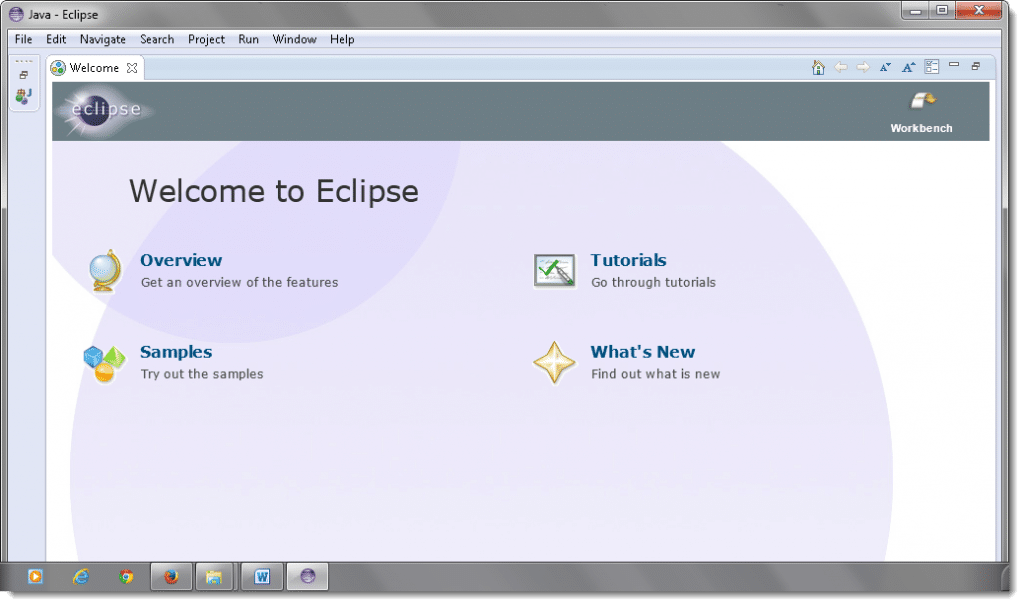
- You may see the window like this, this is the Welcome window for Eclipse.
- Now that you have finished installing eclipse restart your computer. By restarting your computer it refreshes system memory and allows changes made by installers and uninstallers to take effect.
Video to Download and Start Eclipse
