First, do not get confused with this Cucumber Eclipse Plugin as it is not the main cucumber plugin for running the test as BDD. Even this is not a mandatory plugin but it is quite handy. At the start when you write the feature file for the cucumber test, the code for the feature file looks like this:
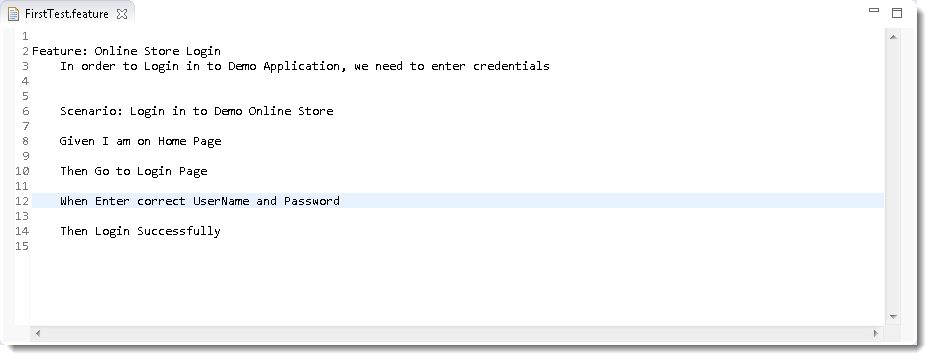

Note: None of the keyword in feature file is highlighted, all the text is plain.
Cucumber Eclipse Plugin helps eclipse to understand the basic Gherkin syntax and it works like a syntax highlighter. It highlights all the main syntax in the feature file which makes it more readable and clear. It also enables the run of the feature file independently, without the help of JUnit. We will talk about it later, but as of now please go ahead and install this plugin.
PreRequisites
As its name suggests Cucumber Eclipse Plugin, is a plugin for Cucumber that works with Eclipse. That means that we are going to work on Eclipse IDE for this tutorial. For that first we need to install the pre-requisites mentioned below:
Java JDK: How to install Java?
Eclipse: How to set up Eclipse?
Install Cucumber Eclipse Plugin
It is easy to install Cucumber Eclipse Plugin, as it comes as a plugin for Eclipse IDE. A prerequisite for installing this plugin is your Internet connection should be up & running during the installation of this plugin and Eclipse IDE should be installed on your computer. Please see Download and Install Eclipse to set up Eclipse in your system.
Steps to follow:
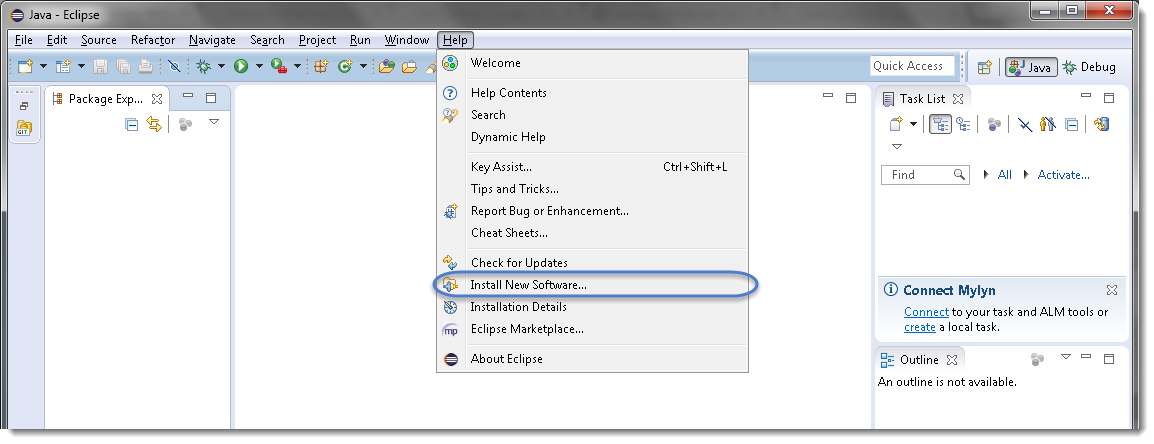
- Launch the Eclipse IDE and from Help menu, click “Install New Software”.
- You will see a dialog window, click “Add” button.
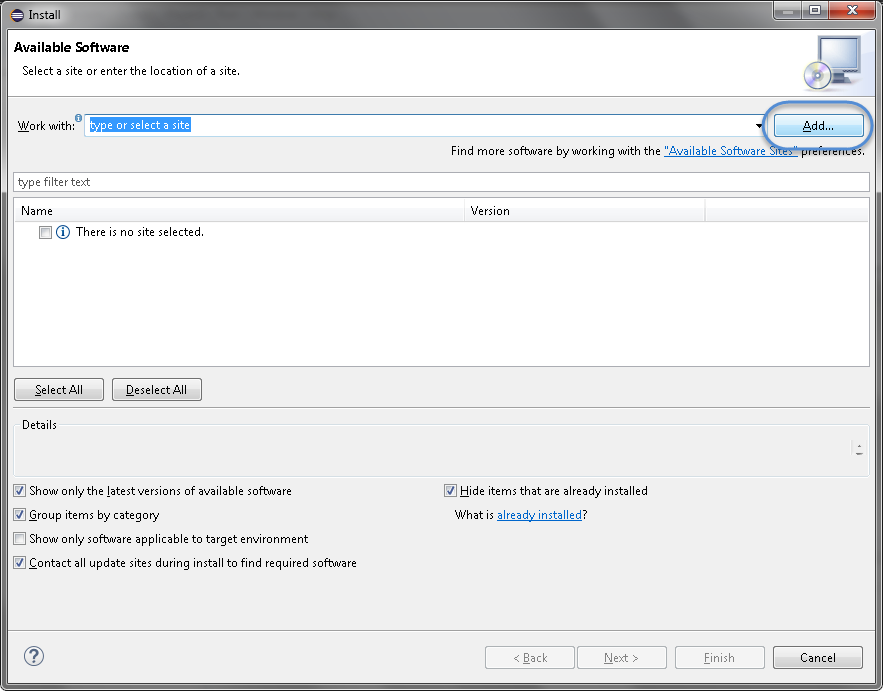
-
Type name as you wish, let's take “Cucumber” and type “http://cucumber.github.com/cucumber-eclipse/update-site” as location. Click OK.
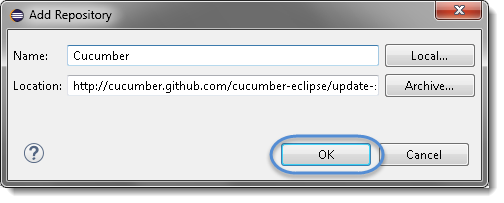
-
You come back to the previous window but this time you must see Cucumber Eclipse Plugin option in the available software list. Just Check the box and press “Next” button.
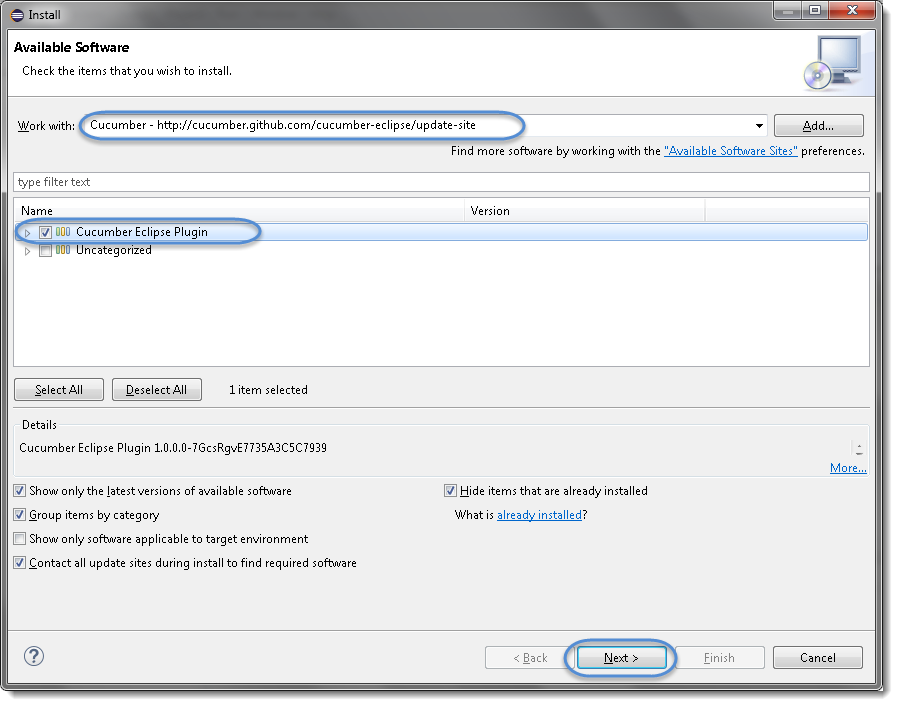
Note: If running behind a proxy server and you get a ‘HTTP Proxy Authentication Required’ error you may need to contact a system administrator to set up your proxy server settings.
- Click on Next.
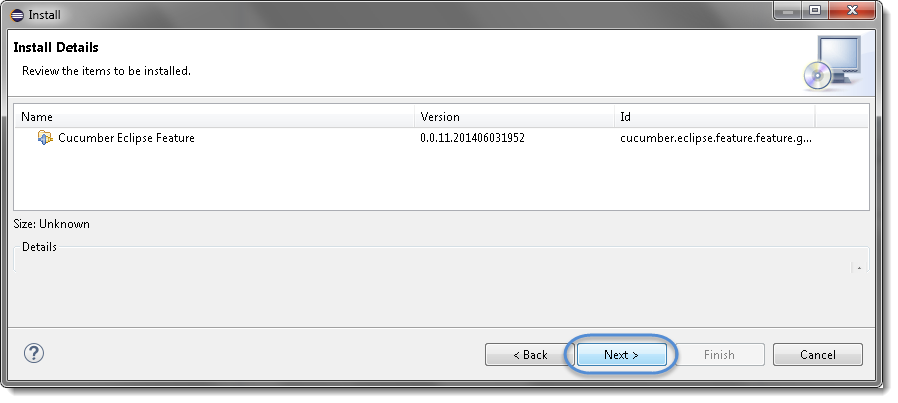
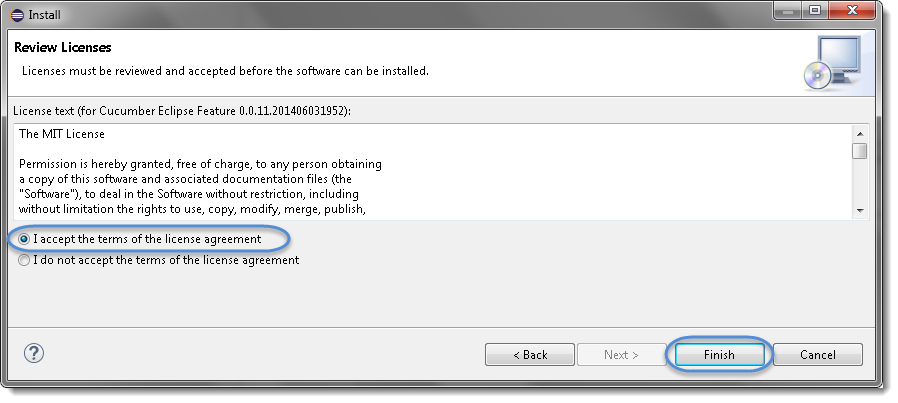
- Click “I accept the terms of the license agreement” then click Finish.
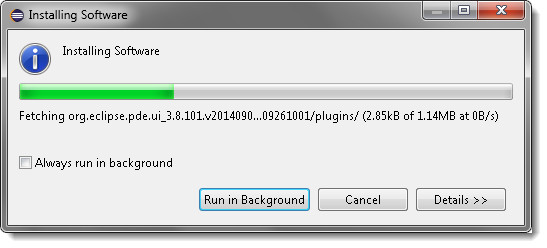
- Let it install, it will take few seconds to complete.
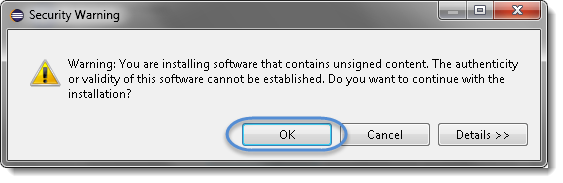
- You may or may not encounter a Security warning, if in case you do just click OK.
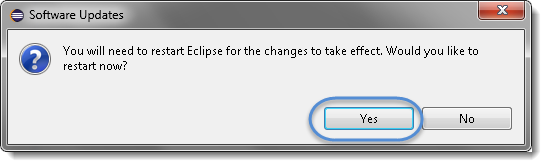
- You are all done now, just click Yes.
Conclusion
At this point, the Cucumber Eclipse Plugin is installed, and Eclipse has been restarted. Going back to a feature file, the keywords that earlier appeared as plain, unhighlighted text are now colour-coded, because the plugin teaches Eclipse to recognise basic Gherkin syntax. That alone makes feature files far easier to read and scan, and the plugin also lets you run a feature file on its own without JUnit — something we come back to later in this tutorial.
The install itself was a nine-step run-through of Eclipse's Help → Install New Software dialog: add a new site named Cucumber pointing at the cucumber-eclipse update site, tick the plugin in the available software list, accept the licence terms, and let it finish. Two things are worth remembering if it does not go smoothly. A live internet connection is required throughout, and behind a corporate proxy you may hit an HTTP Proxy Authentication Required error, which needs your system administrator to configure the proxy settings in Eclipse. A security warning during install is normal and can be accepted.
Keep in mind what this plugin is not. It is a convenience, not a requirement — it does not run your BDD tests. For that, we need the Cucumber JVM jars, which is the next lesson.