This chapter will be a quick one, as in this chapter we will cover How to use Hooks in Selenium Cucumber Framework. Although we have already covered Hooks in detail in the Cucumber Tutorial series. But here we actually make a good use of it in the actual framework. Still, I request you to please go through the below tutorials, which revolves around Tags & Hooks in Cucumber:
How to use Hooks in Selenium Cucumber Framework?
Unlike TestNG Annotations, cucumber supports only two hooks (Before & After) which works at the start and the end of the test scenario. As the name suggests, @before hook gets executed well before any other test scenario, and @after hook gets executed after executing the scenario.
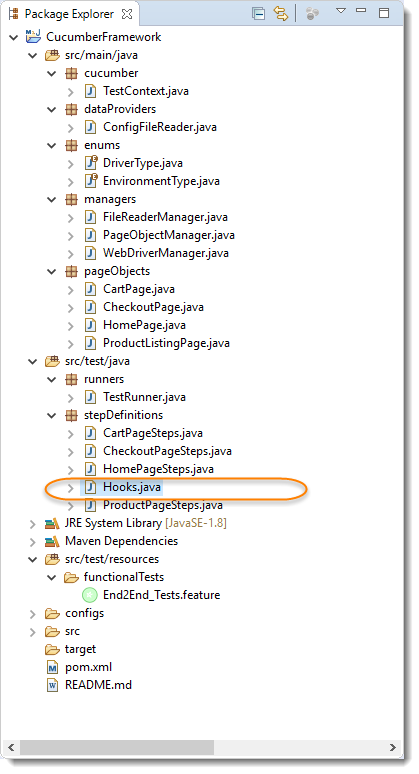
1. Create a New Class file and name it as Hooks by right click on the stepDefinitions package select New >> Class.
Hooks.java
package stepDefinitions;

import cucumber.TestContext;
import cucumber.api.java.After;
import cucumber.api.java.Before;

public class Hooks {

	TestContext testContext;

	public Hooks(TestContext context) {
		testContext = context;
	}

	@Before
	public void BeforeSteps() {
		/*What all you can perform here
			Starting a webdriver
			Setting up DB connections
			Setting up test data
			Setting up browser cookies
			Navigating to certain page
			or anything before the test
		*/
	}

	@After
	public void AfterSteps() {
		testContext.getWebDriverManager().quitDriver();
	}

}
Things to note
- An important thing to note about the after hook is that even in case of test fail, after hook will execute for sure.
- Method name can be anything, need not to be beforeScenario() or afterScenario(). can also be named as setUp() and tearDown().
- Make sure that the package import statement should be import cucumber.api.java.After; & import cucumber.api.java.Before;
Often people mistaken and import Junit Annotations, so be careful with this.
- Also make sure to remove the testContext.getWebDriverManager().quitDriver(); from the place_the_order() method of the CheckoutPageSteps class.
- We have not started our driver in the @Before method, because we have been doing the same in the TestContext class constructor. Because our PageObjectModel needs the driver at the early stage.
- Rest of the project does not have nay change. So in case you need the code for the whole project, please visit previous chapters of Selenium Cucumber Framework Series .
Run the Cucumber Test
Run as JUnit
Now we are all set to run the Cucumber test. Right Click on TestRunner class and Click Run As >> JUnit Test. Cucumber will run the script the same way it runs in Selenium WebDriver and the result will be shown in the left-hand side project explorer window in JUnit tab.
You will notice that after executing all the steps, the execution will come in the hooks and it will execute quitDriver().
Project Explorer